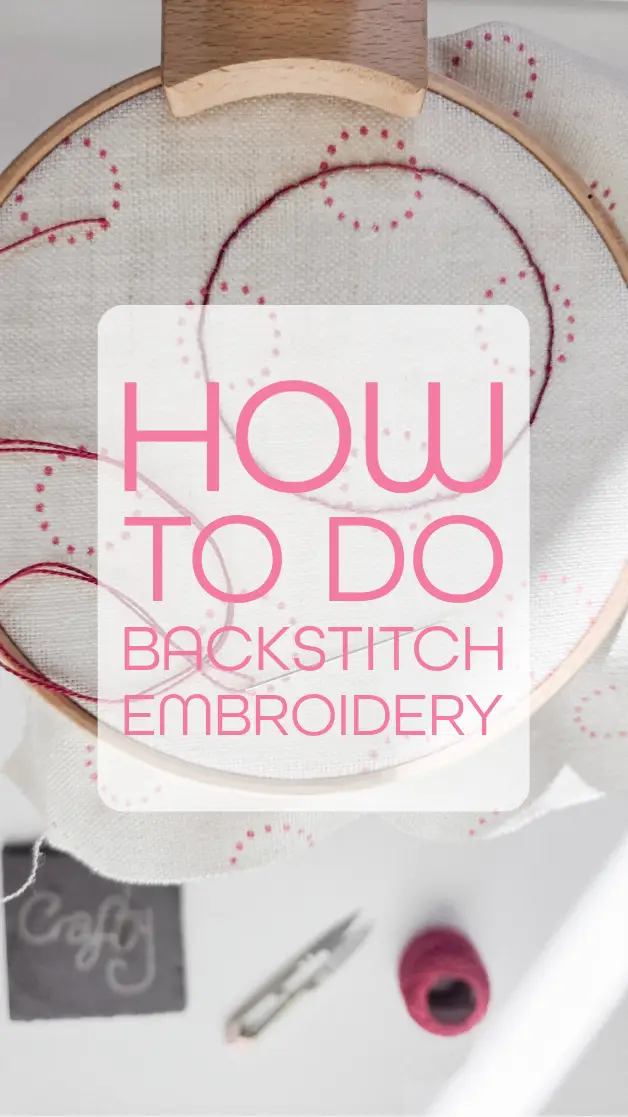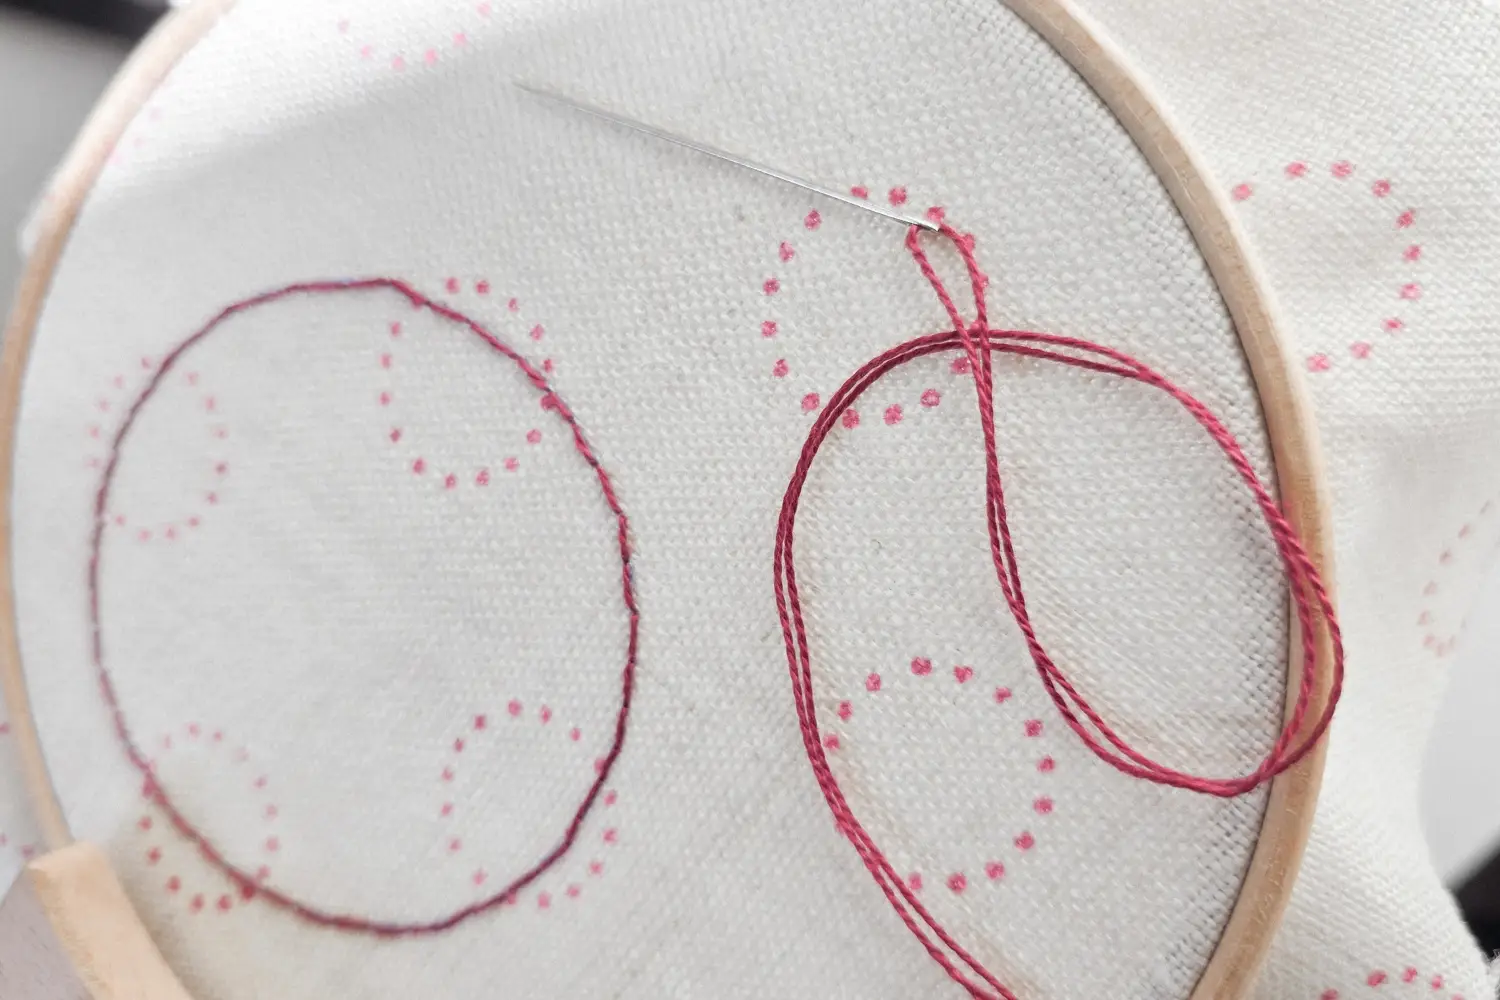
How to do backstitch embroidery

Back stitch is probably my most used hand embroidery stitch, it’s strong, decorative and easy to master. Never tried it before? Here is how to do back stitch embroidery.

What is backstitch?
Back stitch is a simple embroidery stitch used for outlines and stitching details in embroidery and cross stitch projects.
What is the purpose of backstitch?
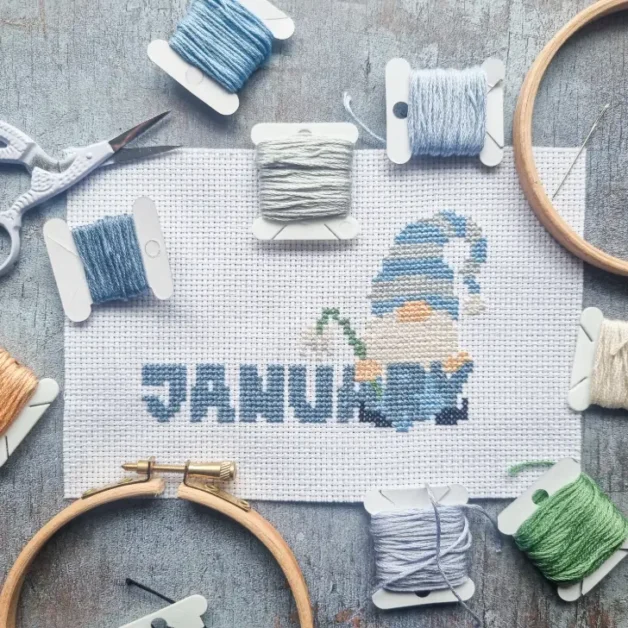
Back stitch is the perfect stitch for outlining designs, giving structure before filling with satin stitch. In cross stitch, it is used over the top of the cross stitched design to add more detailed elements and parts that are too small to be constructed from crosses.
Is it permanent?
If the stitches are secured with a knot then they are considered permanent. If you need to remove back stitch. It is useful to have a pair of embroidery scissors or a quick unpick to cut the stitches, then remove them with tweezers.
The difference between backstitch and running stitch
Running stitch or tacking stitch has gaps in between each stitch. Creating a more open look to outlines. Backstitch has no gaps between the stitches and gives a continuous look to outlines.
Variants of backstitch
Once you’ve mastered back stitch you could try one of it’s variants. Such as Stem stitch for floral work. Outline stitch to add greater definition to projects and Split stitch also good for floral designs and lettering.

How to do back stitch embroidery
Materials
- Cotton fabric
- DMC stranded cotton
Tools
- Hand embroidery needle
- Embroidery scissors
- Embroidery hoop
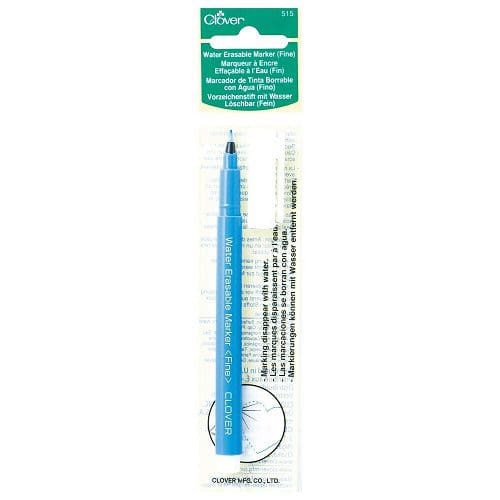
- Transfer pen
Instructions
- Split your thread into two strands, thread the needle and secure at the back of your fabric.
- Come up through the fabric at point a and move along a short distance before going down at point b.
- Move along an equal short distance across the back of the fabric and come up at point c.
- Now return the needle to point b and stitch down.
- Across the back of the fabric move along past point c and an equal distance again to go up at point d and repeat the back stitch to point c.
- Continue until you have fully stitched your desired length.
- Secure the thread at the back of your fabric, either with a knot or by working the needle under some of the stitches and then removing any waste thread. This gives a neat and smoother finish.
Recommended Products
As an Amazon Associate and member of other affiliate programs, I earn from qualifying purchases.