How to use printable stick and stitch embroidery stabiliser

It’s fair to say you may already know that I love cross stitch, but I also love all types of embroidery not just the pixel based ones! I used to struggle transferring my designs onto fabric, but I’ve since discovered printable stick and stitch embroidery stabiliser. It has to be one of the easiest ways to get designs onto fabric.

No more freehand drawing, tracing, holding it up to the window or lightboxes needed. It will even work on normally tricky fabrics like jersey, velvet, and corduroy.
If you’ve not tried it before here’s my step-by-step guide on how to use printable stick and stitch embroidery stabiliser.
What is stick and stitch stabiliser?
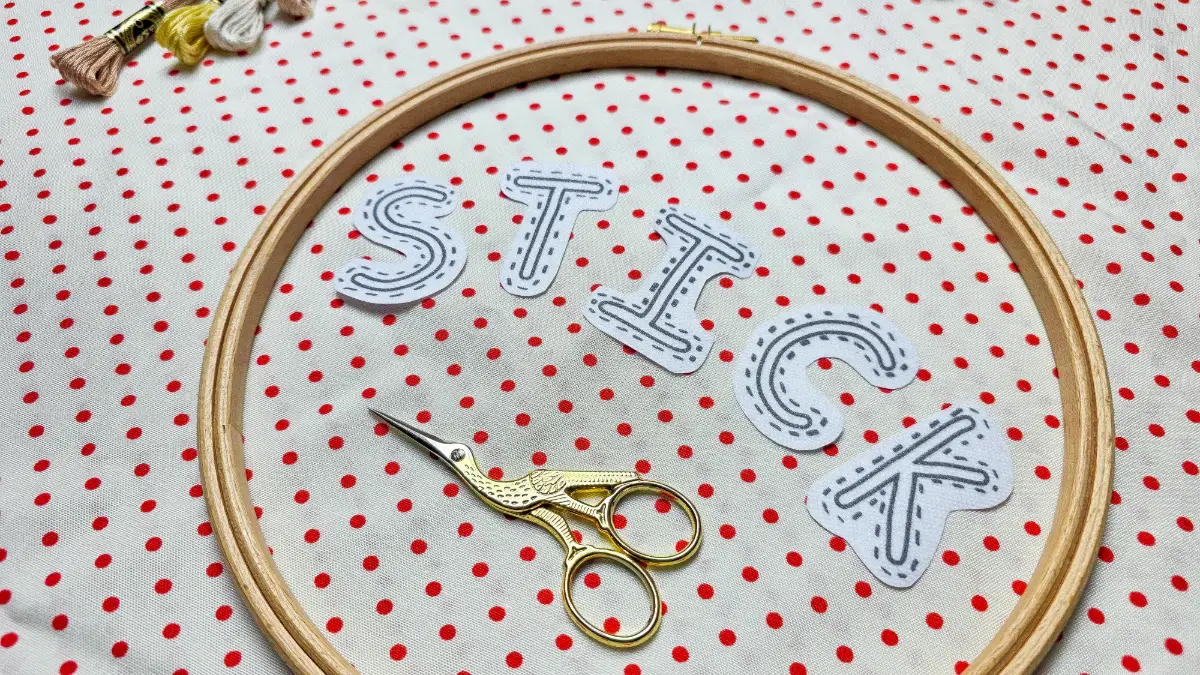
Stick and stitch stabiliser is a thin, water-soluble sheet with a textured surface you can print or free hand draw on. It comes with a peel off backing, so once your design is ready you can remove it and stick it directly onto your fabric. It is often in shops under stick and stitch, stick n stitch, sticky stabiliser, water-soluble embroidery paper or printable stabiliser. They all refer to the same material, but it’s worth testing out a few brands to see which you like. As some run through the printer better, having varying stickiness etc.
Step 1: print or draw your design
The textured side of the stabiliser is the side for printing or drawing on. You can use it to trace as well by holding it near a window or using a light pad.
If you’re drawing by hand, use permanent pens or hard pencils. Avoid pens that bleed into the fabric or thread, you don’t want to spend all that time embroidering a design only for it to be ruined when you wash away the stabiliser.
If you’re printing, make sure the sheet is inserted with the textured side for printing. Group designs together before printing to maximise all the space. Run only one sheet through at a time to avoid printer jams.
Step 2: cut and stick
Allow the ink to dry and then cut around your design with sharp paper scissors. Don’t use your fabric scissors as the glue will ruin your blades. I recommend you cut them all out and store them in a box ready for your next project. Then all you have to do is peel off the backing and press the design firmly onto your fabric. make sure the edges are fully stuck in place, so they don’t lift while you stitch.
Step 3: stitch through the stabiliser
Then you can just stitch as you normally would. It is an extra layer that has a glue on the back so a sharp needle is important, and you might find you get a build-up of residue on your needle if you are stitching a larger piece. Then clean your needle with an alcohol wipe or switch to a new one.
Because the stabiliser is water soluble, try not to handle the stabiliser too much while stitching. The moisture from your hands can soften it, so avoid using it on very hot or humid days.
Step 4: wash away the stabiliser
Once your stitching is finished, place your fabric in a dish of lukewarm water. The stabiliser should dissolve within a few minutes, but it might need a gentle rub if it’s not fully gone. It’s worth checking the instructions for your specific brand. Then rinse gently to remove any residue.
When stick and stitch works best
This printable stabiliser is ideal for embroidering on clothing, small motifs on ready-made textiles, stretchy fabrics and any project where you want quick, accurate pattern placement. It’s also great for those that want to try other designs, as you can find great selections of designs on sites like Etsy and free on here!
When to avoid it
Avoid using stick and stitch stabiliser in hot or humid conditions, as it can begin dissolving while you stitch. it’s not suitable for non-washable projects or for large or long-term projects, as the constant handling can soften the stabiliser.