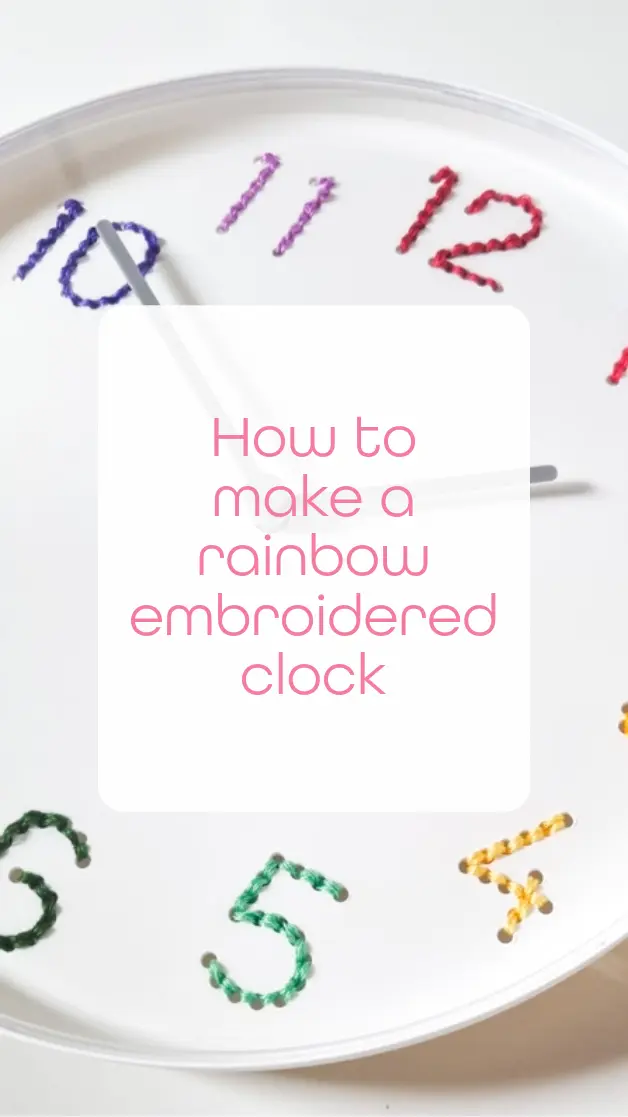
How to make a rainbow embroidered clock

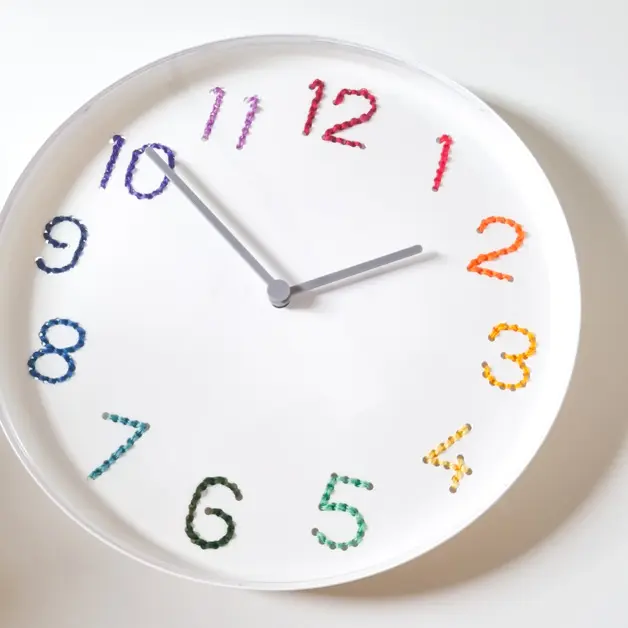
Looking for an easy, budget-friendly craft project that adds a splash of colour to your space? This rainbow embroidered clock is just perfect for my craft studio and a great way to use up my left over ORTS. I used the the IKEA TROMMA wall clock, which already has perforated number outlines, you can stitch directly onto the face—no drilling needed.

What you’ll need
- 1 IKEA TROMMA wall clock (25 cm, white)
- 12 colours of embroidery thread or floss
- Embroidery needle
- Small scissors
Step-by-step instructions
Step 1: Remove the plastic front
Carefully pop off the clear plastic cover from the front of the clock. It’s easy to remove by hand and gives you direct access to the clock face and pre-cut number holes.
Step 2: Plan your colour layout
Choose 12 different embroidery floss colours, one for each hour. To create a rainbow effect you will need to have different shades of the colours. I used dark red for 12 o’clock, then followed the rainbow around the face ending in violet at 11.
Lay them out in order first so you’re happy with the transition.
Step 3: Stitch the numbers
Thread your needle with your first colour and begin stitching through the pre-cut holes on the number. I used a simple backstitch to create neat, continuous outlines, but you could also try chain stitch for a more textured look.
When you reach the end of a number:
- Secure your thread by slipping the needle under the back of the stitched section. This anchors the thread neatly.
- Snip the excess thread close to the stitched area.
Repeat this process for each number, switching colours as you go.
Step 4: Replace the plastic cover
Once you’ve finished stitching all the numbers and secured your thread ends. Insert a battery and check that the hands move freely.
Then snap the clear cover back onto the front of the clock.