| |

6 Leaves Embroidery Pattern (free)

Get ready to embrace the beauty of autumn with our delightful 6 Leaves Embroidery Pattern! Whether you’re a seasoned hand embroidery enthusiast or just starting out, this printable pattern is perfect for creating stunning designs that capture the essence of the season.

Designed with simplicity and ease in mind, this pattern is suitable for all skill levels. Even if you’re new to hand embroidery, you’ll find our step-by-step instructions and clear template a breeze to follow. With just a few basic stitches, you can bring these charming autumn leaves to life on any fabric or project of your choice.

To make things even more convenient, we offer this pattern in a downloadable PDF format. Simply download and print it out at home, and you’ll have everything you need to get started on your next embroidery masterpiece. Whether you want to adorn clothing, accessories, or home decor items with these lovely leaves, our pattern is versatile enough to suit any creative vision.

So why wait? Let the vibrant colors of autumn inspire your needlework and download our 6 Leaves Embroidery Pattern today. Get ready to embark on an artistic journey that celebrates the beauty of nature and adds a touch of warmth and charm to your creations. Happy stitching!

The popularity of embroidery continues to grow and what I love most about this craft is how simple it is to start. By just using the basic back stitch this 6 Leaves Embroidery Pattern looks beautiful. Framed in a hoop or used to decorate clothing or home furnishings.

Don’t forget to share your makes with me on twitter, Instagram and Facebook, just tag me with @Craftcartwright so I spot them.

Have you joined Club Craft Cartwright yet on Facebook? It’s a great place to chart all things crafts related.

New to embroidery?

Find everything you need in my 25 beautiful embroidery uses post and 7 ways to master embroidery.

Buy the kit to get stitching!

You will need:

Embroidery scissors,

DMC or Anchor threads,

Embroidery hoop,

Embroidery needles,

How to do back stitch embroidery

How to do back stitch embroidery

Prep Time: 1 minute
Active Time: 10 minutes
Total Time: 11 minutes
Difficulty: easy
5.0 Stars (298 Reviews)

Materials

  • Cotton fabric
  • DMC stranded cotton

Tools

  • Hand embroidery needle
  • Embroidery scissors
  • Embroidery hoop
  • Transfer pen

Instructions

  1. Split your thread into two strands, thread the needle and secure at the back of your fabric.
  2. Come up through the fabric at point a and move along a short distance before going down at point b.
  3. Move along an equal short distance across the back of the fabric and come up at point c.
  4. Now return the needle to point b and stitch down.
  5. Across the back of the fabric move along past point c and an equal distance again to go up at point d and repeat the back stitch to point c.
  6. Continue until you have fully stitched your desired length.
  7. Secure the thread at the back of your fabric, either with a knot or by working the needle under some of the stitches and then removing any waste thread. This gives a neat and smoother finish.

Don’t forget to Pin it for later!

Grab your free leaves embroidery pattern here

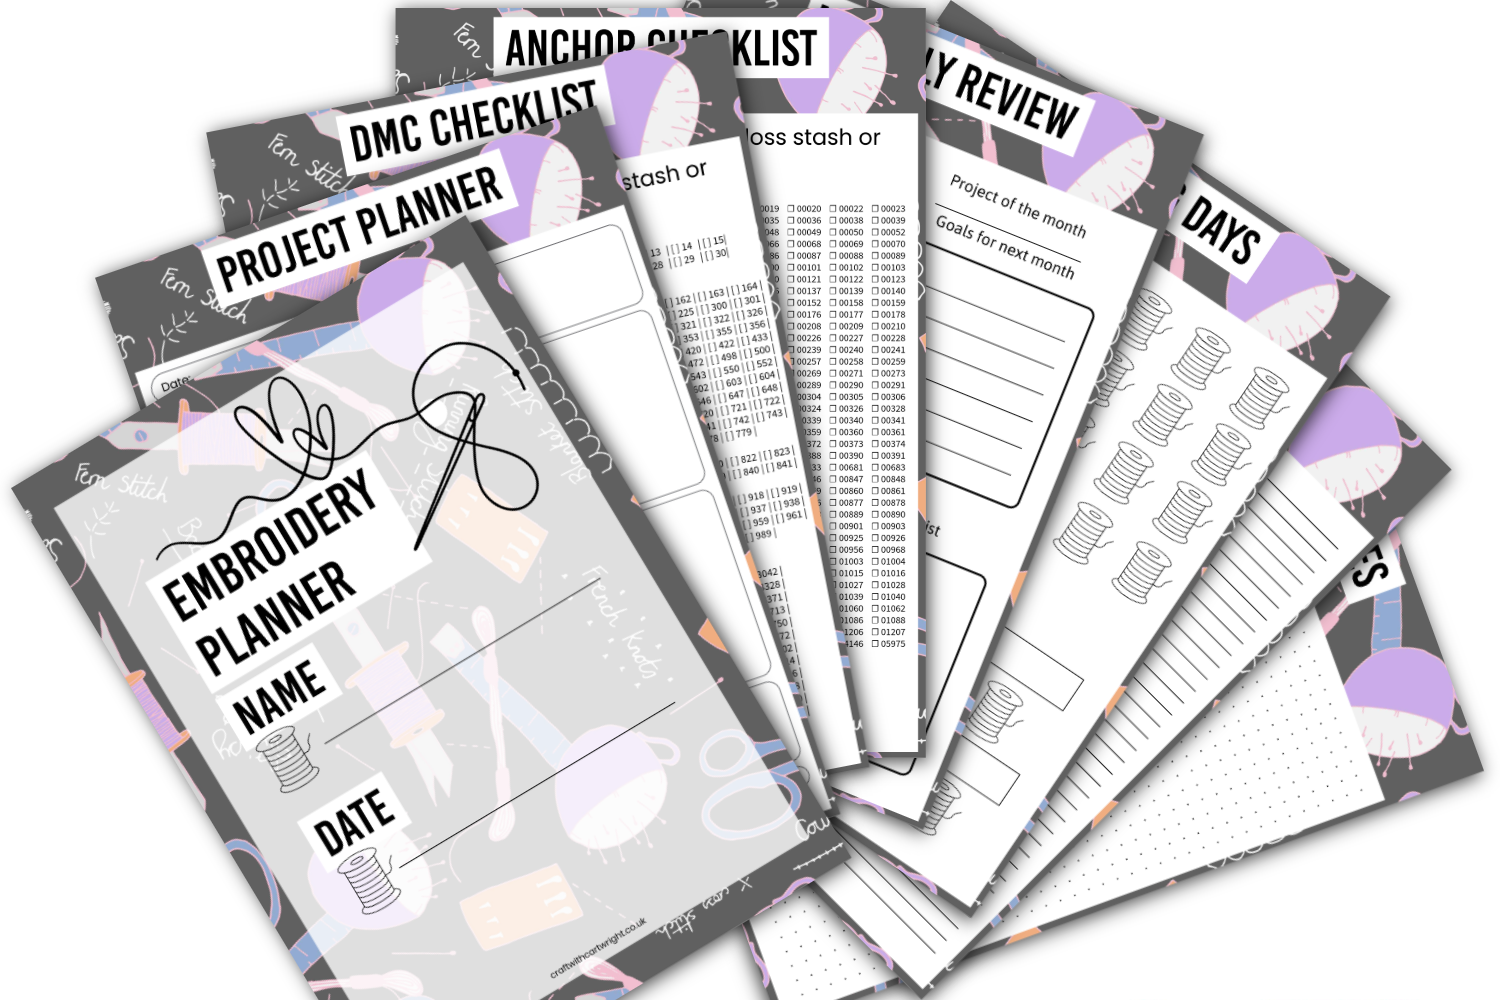
Embroidery planner
Send the planner straight to your inbox 
Featured Image

Similar Posts

Leave a Reply

Your email address will not be published. Required fields are marked *

This site uses Akismet to reduce spam. Learn how your comment data is processed.