How to finish your cross stitch in a padded aperture card

I love stitching mini motifs, but my walls are covered with hoops framing them and I need to find other ways to use up all the projects I stitch. Finishing these small projects in a padded aperture card is the perfect solution!

Step 1: Gather your materials
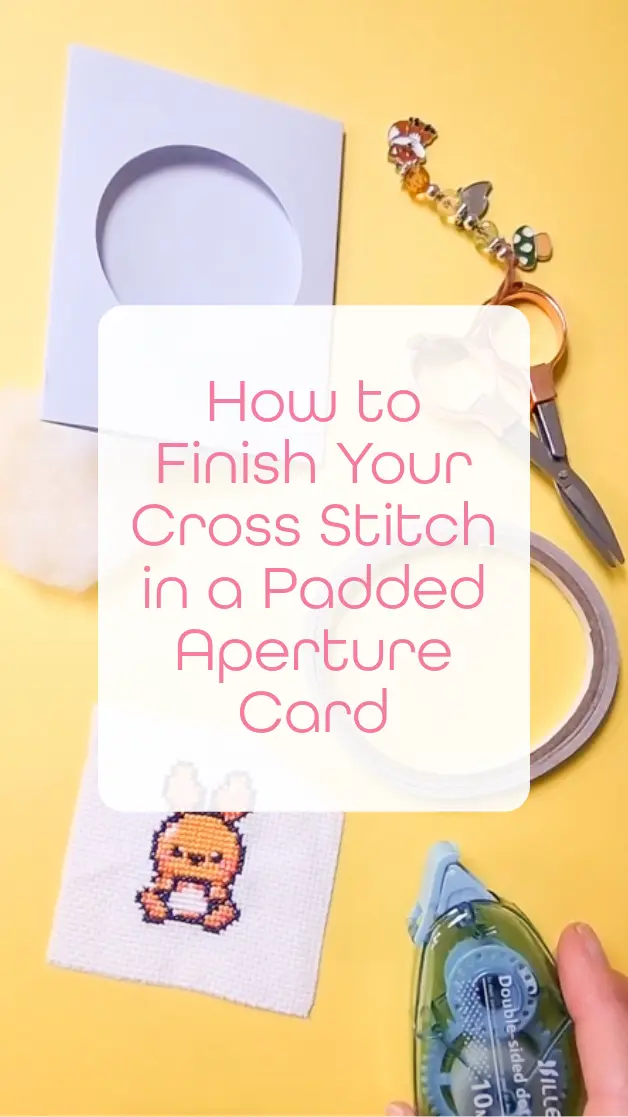
You’ll need your completed cross stitch, a aperture card, some wadding, some double-sided tape, and a pair of scissors.
Step 2: Trim your cross stitch
Trim your cross stitch fabric, leaving a border around your design. This will make it easier to centre your design in the aperture.
Step 3: Attach your cross stitch to the card
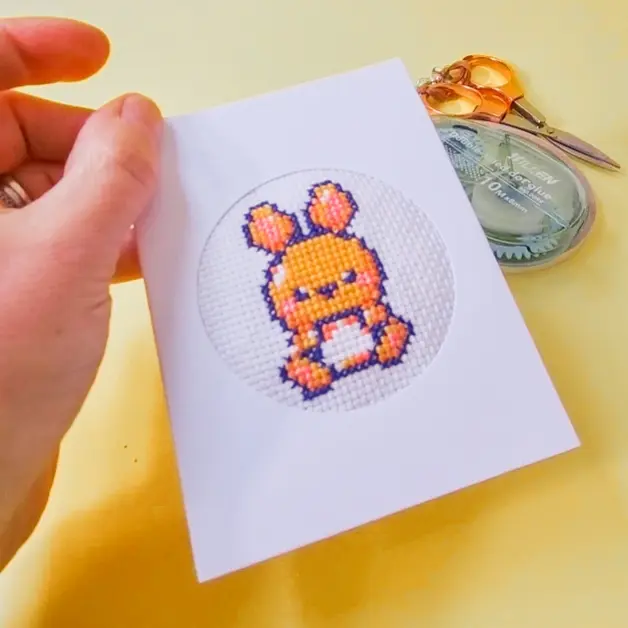
Apply double-sided tape to the back of your cross stitch fabric. Then, carefully position your design in the aperture of the card. Press down firmly to secure it in place.
Step 4: Add padding
To give your design a bit of depth, you can add some padding behind your cross stitch before you secure it to the card.
Step 5: Secure the back
Once your cross stitch is in place, close the back of the card. Make sure all edges are secure.
And there you have it! A beautifully finished cross stitch, ready to be displayed or given as a gift.
Now, if you’re looking for a new cross stitch project, why not check out my Ko-fi store? I have cute patterns available that would look fantastic finished in a padded aperture card.