Love shoes embroidery template (free)

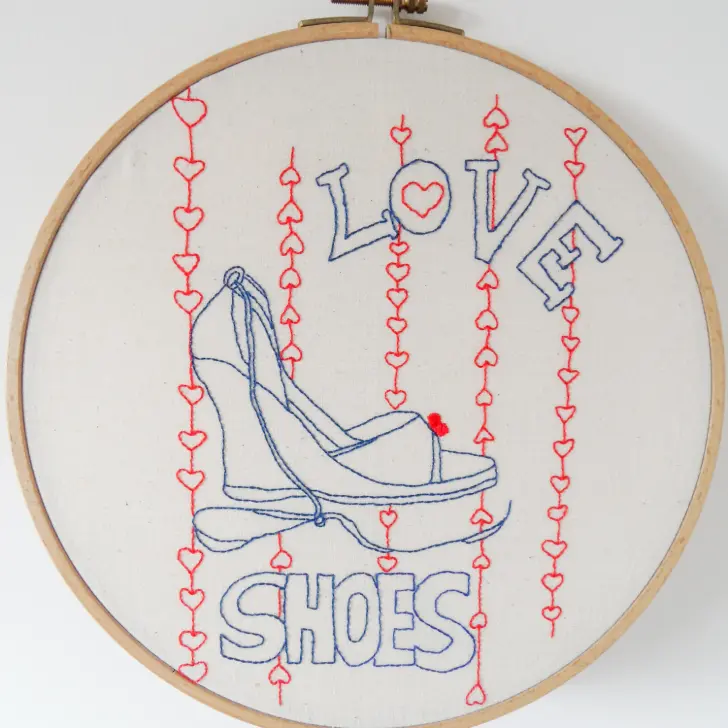
Combine your love of shoes and stitching with this cute ‘love shoes’ embroidery template for free.
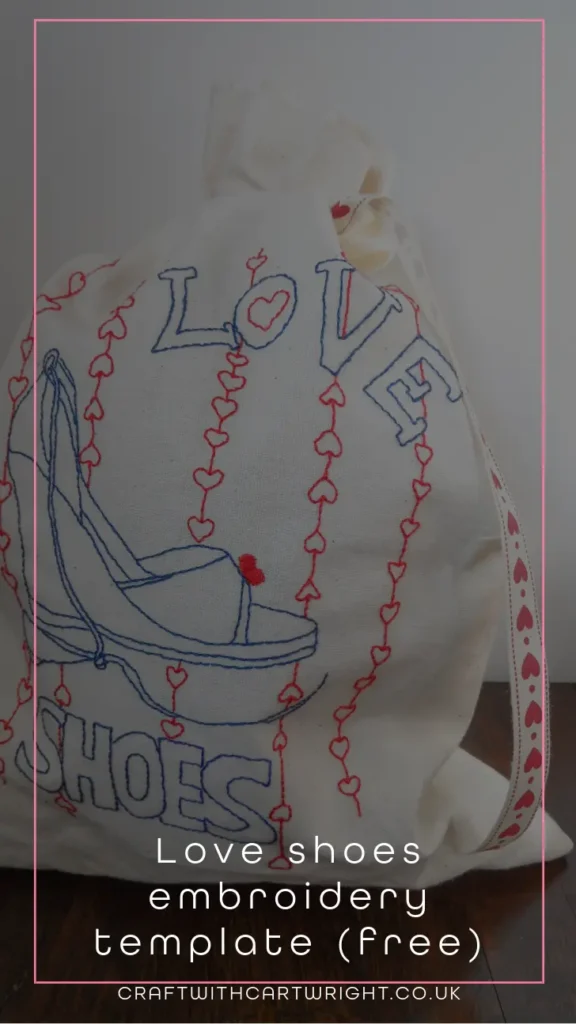
Display it in a hoop or make it in to a shoe bag. I’ve got the instructions for both projects below!

How to do back stitch embroidery
Prep Time:
1 minute
Active Time:
10 minutes
Total Time:
11 minutes
Difficulty:
easy
Materials
- Cotton fabric
- DMC stranded cotton
Tools
- Hand embroidery needle
- Embroidery scissors
- Embroidery hoop
- Transfer pen
Instructions
- Split your thread into two strands, thread the needle and secure at the back of your fabric.
- Come up through the fabric at point a and move along a short distance before going down at point b.
- Move along an equal short distance across the back of the fabric and come up at point c.
- Now return the needle to point b and stitch down.
- Across the back of the fabric move along past point c and an equal distance again to go up at point d and repeat the back stitch to point c.
- Continue until you have fully stitched your desired length.
- Secure the thread at the back of your fabric, either with a knot or by working the needle under some of the stitches and then removing any waste thread. This gives a neat and smoother finish.
Recommended Products
As an Amazon Associate and member of other affiliate programs, I earn from qualifying purchases.


To make the shoe bag
- To make it I just cut two large rectangles of calico.
- Check that your shoes will fit. Size dependant. I only have very small feet.
- Then stitch the design on one rectangle of calico.
- Zig Zag stitch the sides and bottom and turn the top edge and stitch for a neat finish.
- Place the two sides together, right sides facing in.
- Pin together sandwiching a length of ribbon one one edge to make the tie.
- Stitch around the sides and bottom.
- Turn out and there you have it!
Grab the template here