How to make a patch cross stitch greetings card
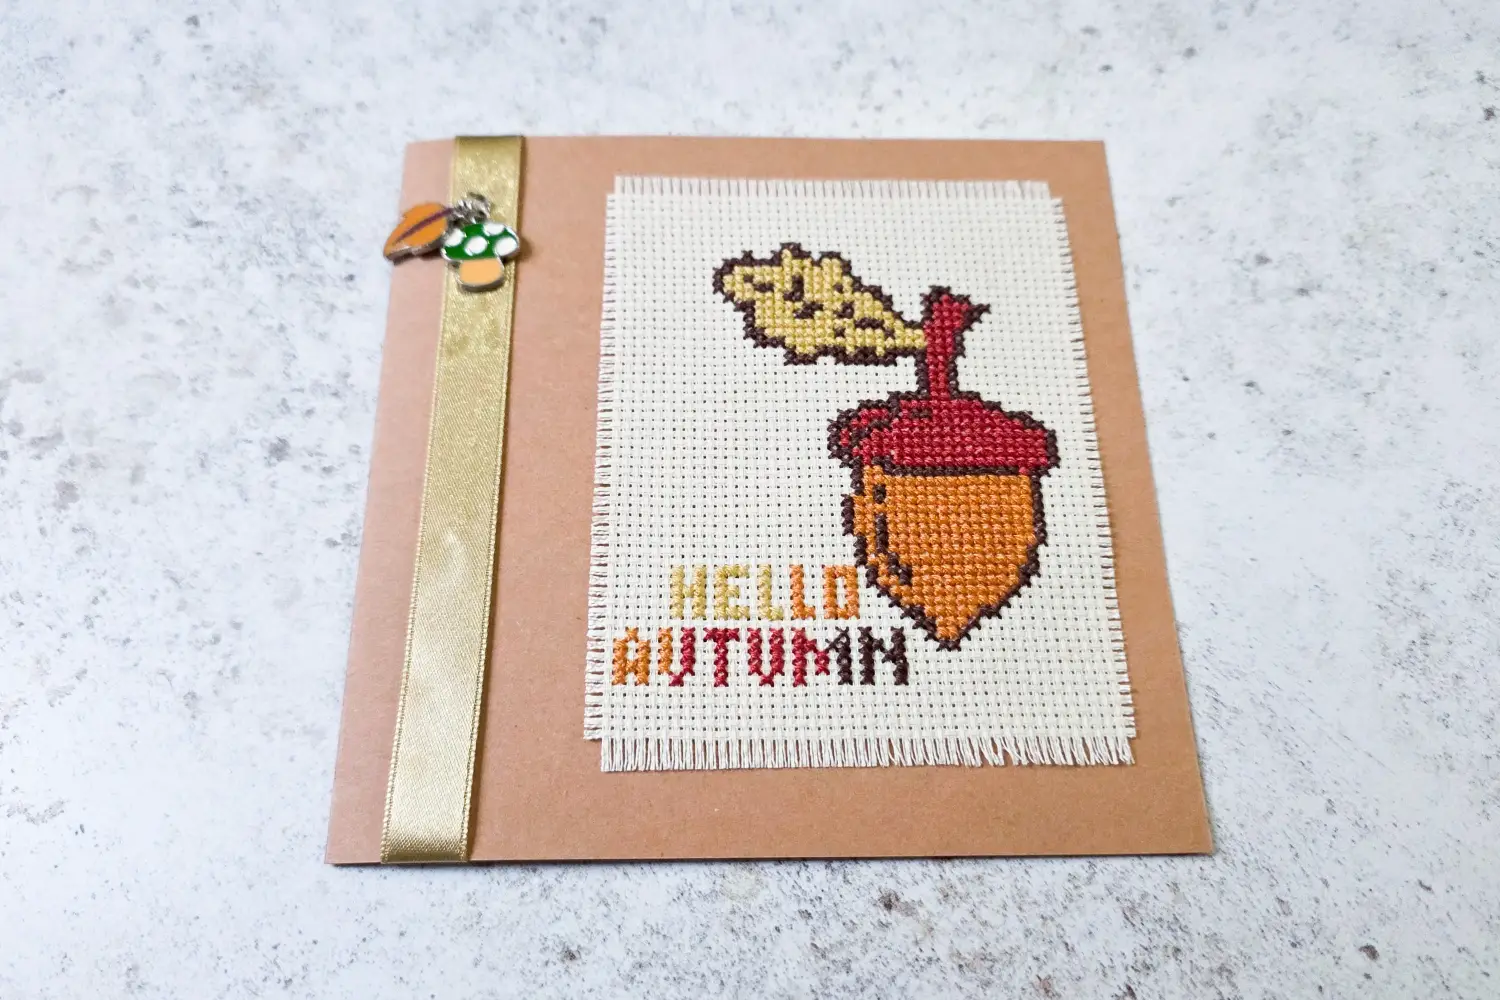
Cross stitch is a wonderful way to personalise your greetings cards. A simple design can be turned into a handmade keepsake, and by fraying the edges of your fabric you can give it a rustic patchwork style. Learn how to make a patch cross stitch greetings card with my Autumn acorn design.

What you will need
- Your stitched autumn acorn design
- Blank greetings card and envelope
- Small sharp scissors
- Ruler
- Double sided tape or strong craft glue
- Needle or pin for fraying
- Optional – ribbon and charms
Preparing your stitched piece
When you have finished stitching the acorn pattern, wash and press your fabric so it lies flat. Using a ruler and scissors, cut out the design leaving a generous border of blank aida or evenweave around it. This extra border is what you will fray to create the patch effect.
Fraying the fabric edges
Take a needle or pin and gently tease out a few threads along each edge of your cut fabric square. Work slowly so the fraying is even on all four sides. You can make the border narrow and delicate or wider and rustic depending on the look you prefer. Stop once you are happy with the frame it creates around your stitching.
Mounting the patch
Place strips of double sided tape or dots of glue on the back of the frayed fabric, keeping the adhesive away from the loose edges. Position it carefully in the centre of your blank card and press down so it is secure. The stitched design will now sit proudly in the middle with a soft fringed border around it.
Adding finishing touches
The frayed fabric patch already gives the card plenty of handmade charm, but you can add a few extras if you like. Try tying a thin ribbon around the fold of the card, adding co-ordinating charms or stamping a short greeting beneath the design.


