Rustic Cross Stitch Display: Make a Faux Bird’s Nest Twig Frame

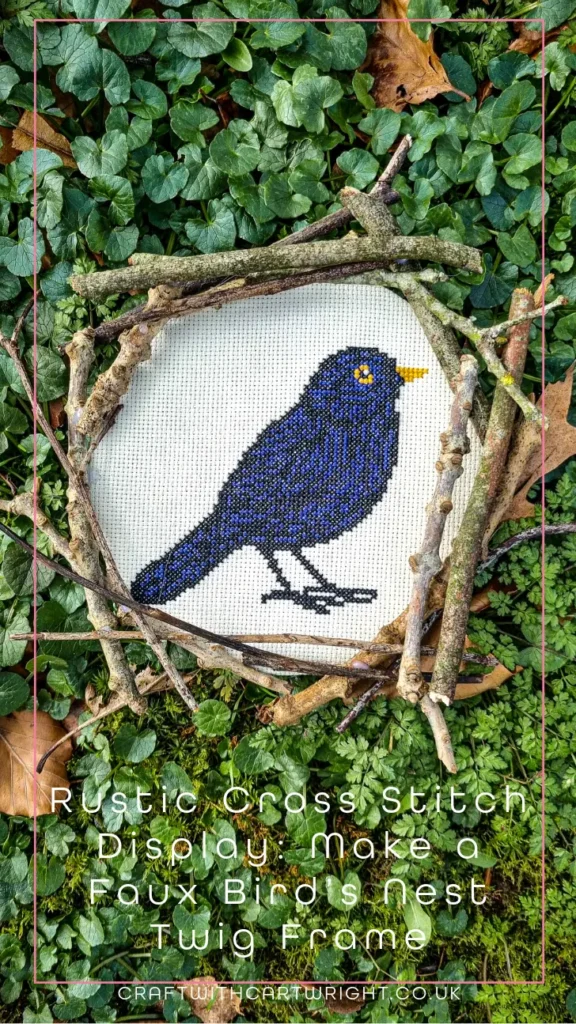
Do you ever get bored of displaying your finished cross stitch in a hoop? Why not create a display that fits the theme of your project. I recently finished a blackbird design and wanted to do just that. I created a new rustic cross stitch display and made a faux bird’s nest twig frame. This is how I did it, so you can too!
You will need:
- Completed cross stitch
- Thick cardboard
- A selection of twigs
- Ribbon or cord for hanging (optional)
- Hot glue gun and glue sticks

How to make the faux birds nest twig frame:
First you need to cut a circle of card a couple of millimetres larger than your cross stitch design. I used the outer hoop that had held my project for the circle.
Once you have your circle of card place it over the back of the design

Using hot glue to hold the fabric in place, fold the fabric over the circle, keeping it taut and pleating it as you go around the circle.
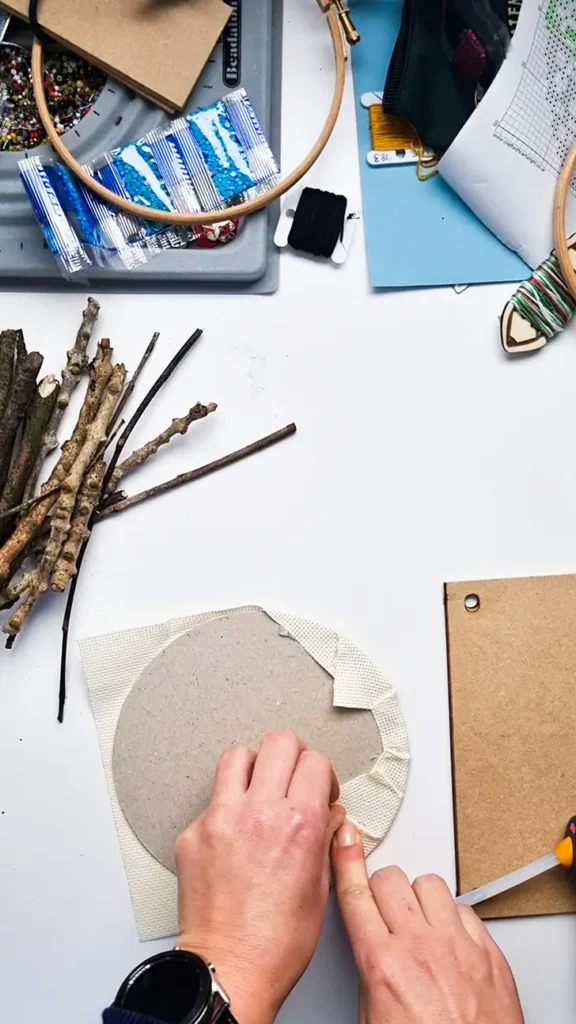
Turn it back so the right side is facing up.
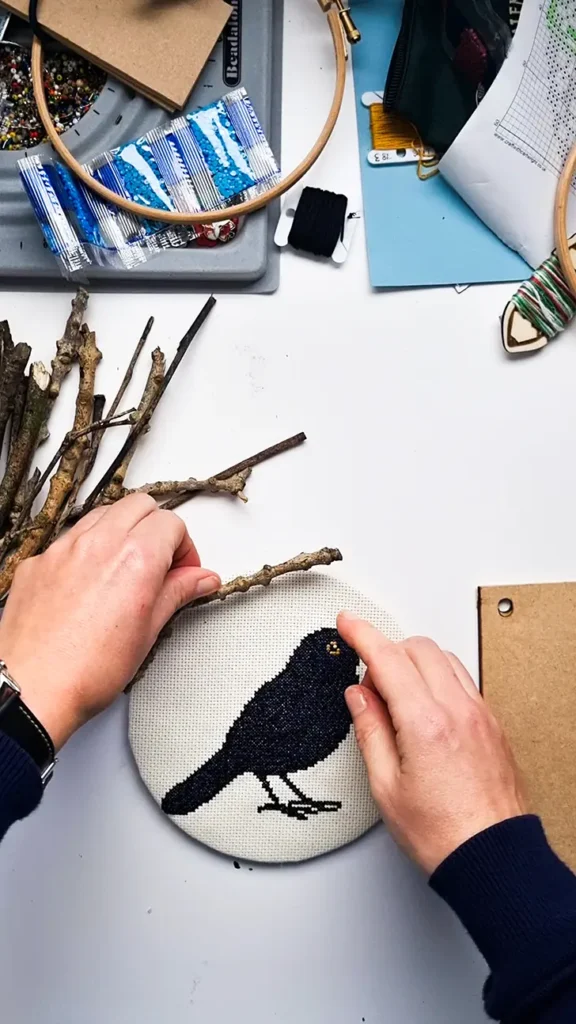
It’s worth playing around with your twigs to find arrangement you like before gluing in place.
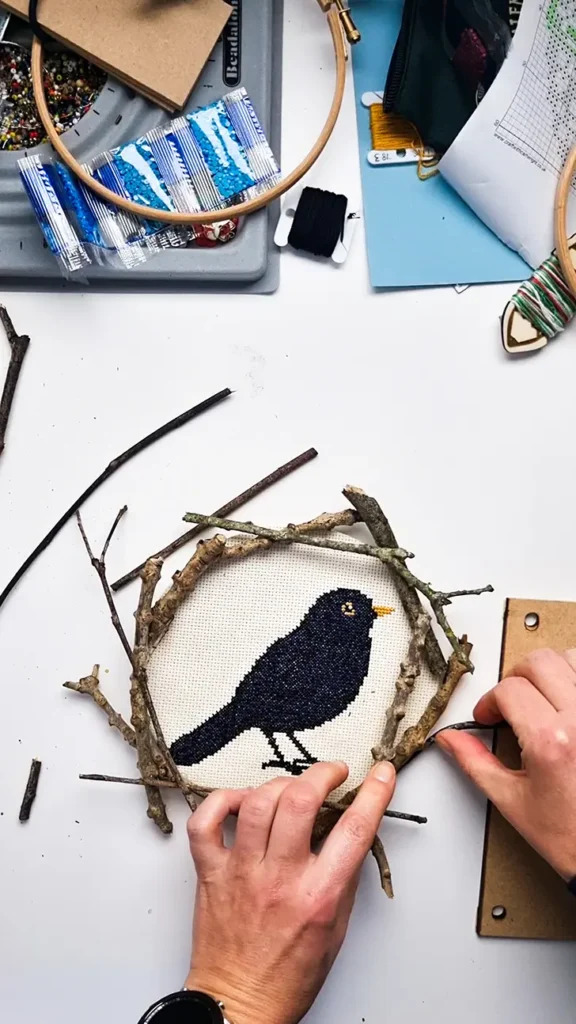
Once you are happy with the placement of the twigs, use hot glue to hold them in place around your design. Remember to glue some down to the fabric and overlap them to strengthen the frame.
Once you are happy with the shape of your birds nest frame, you can display it on a shelf or add a loop of ribbon or cord on the back to allow you to hang it on a wall.

Check out these other designs that would look cute in a faux nest frame: