


Free chubby bird cross stitch pattern

Want a great mini project that has a lot of attitude? You need to stitch my latest design! Grab my free chubby bird cross stitch as a printable pdf chart. Which includes, dimensions, DMC floss list, stitch count and skein estimates. It’s a great starter project for beginners and a quick make for experienced embroiders. Download the chart today.

Pattern dimensions
- Grid Size: 32W x 26H
- Design Area: 2.29″ x 1.86″ (32 x 26 stitches)
How to download and print the pattern
If you haven’t signed up for my exclusive content before, you’ll need to pop your email in but then you’ll have access to not only this great chart but ALL my other exclusive content site wide.
Once downloaded you can either print the pdf, use straight on screen or in the pattern keeper app as many of my pdfs are compatible.

How to stitch the chubby bird cross stitch
If you've never stitched before, then read through these simple instructions to help you stitch the chubby bird cross stitch embroidery pattern
Materials
- 14 count white aida
- DMC embroidery threads -310, 340, 793, 3072, 3341, 3854, 3865, 5200
Tools
- Free chubby bird cross stitch Pattern
- Embroidery needle size 24
- Embroidery hoop
- Embroidery scissors
- Optional - a thimble
Instructions
- Start by printing off your pattern and checking it's dimensions
- Cut the fabric to larger than the pattern dimensions and your hoop size
- Fold the fabric into quarter to identify the centre
- fit in your hoop
- Tighten the hoop to secure the fabric
- Find the centre of your pattern and the centre of your fabric design
- Start stitching from the centre
- Cut a length of embroidery floss no longer than the length of your arm
- Separate it into one strand and keep the remaining five for later
- Double the thread and thread your needle
- Start stitching from the front of your fabric, leaving a loop to thread your needle through on the first stitch to secure. Tug so that it moves to the back.
- Work your stitches all the in same direction, the bottom of the cross should always be the same in every stitch.
- Work in either individual crosses or for longer areas of stitch work the bottom arm of the cross stitch in a row and then stitch back over the row to do the top arm of the cross. Stitch all the white area first.
- To finish, ensure the needle is on the back of the fabric. Thread it through the underside of a few stitches and then snip off the loose end.
- Then stitch the next adjacent colour, followed by the black and the the yellow for feet and beak.
Don’t forget to Pin it for later!
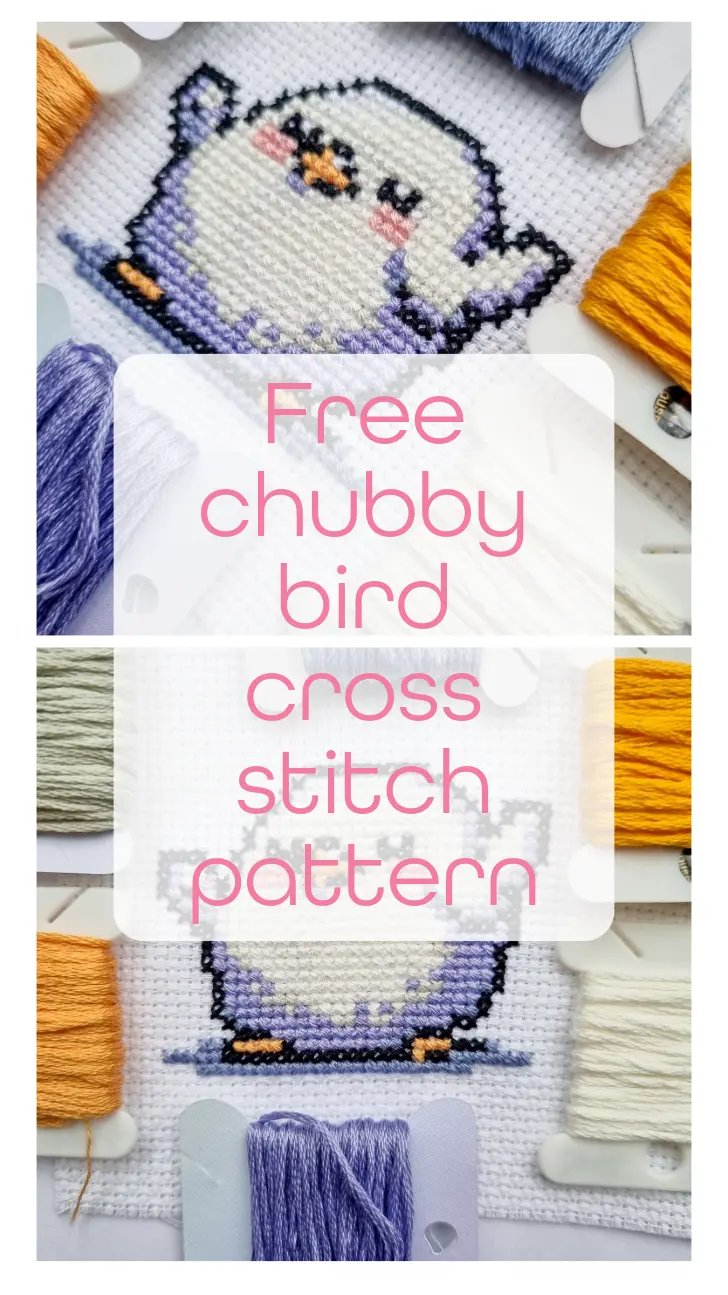



he’s so cute!