DIY fuse bead embroidery frames (+ free template)

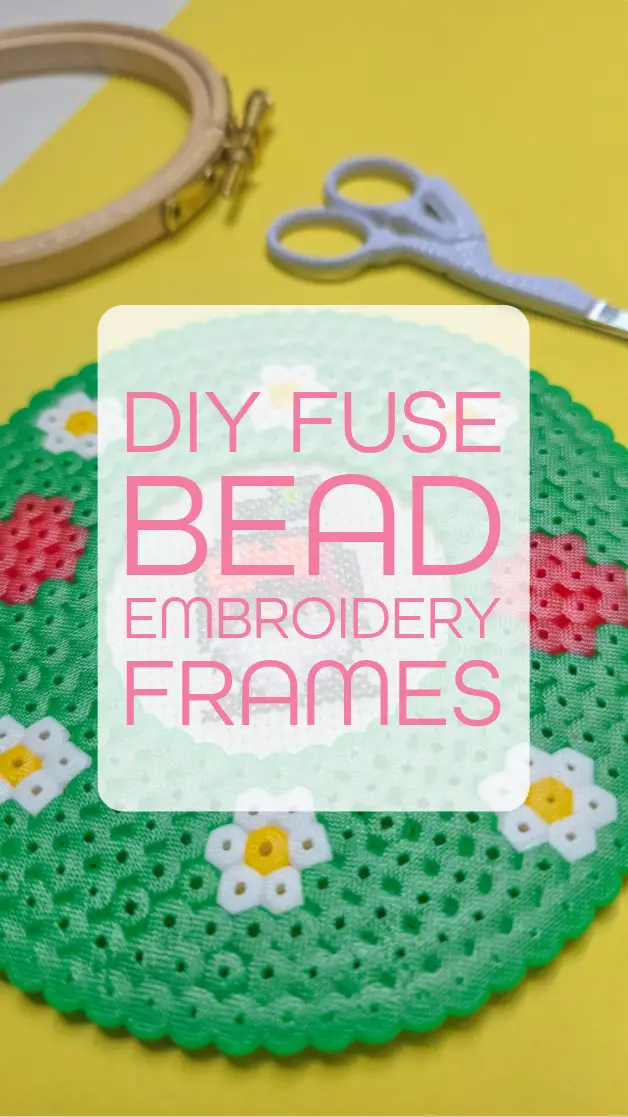
I have been looking for new ways to frame my embroidery and cross stitch projects, as there are only so many hoops you can hang on the wall. This DIY fuse bead frame was the perfect project for framing not only my embroider projects but also small art works.
I have been making it my mission to reduce my stash of craft supplies which have gotten out of control. I love fuse beads and often turn my cross stitch patterns into fuse bead art. But I rarely used the circular board.
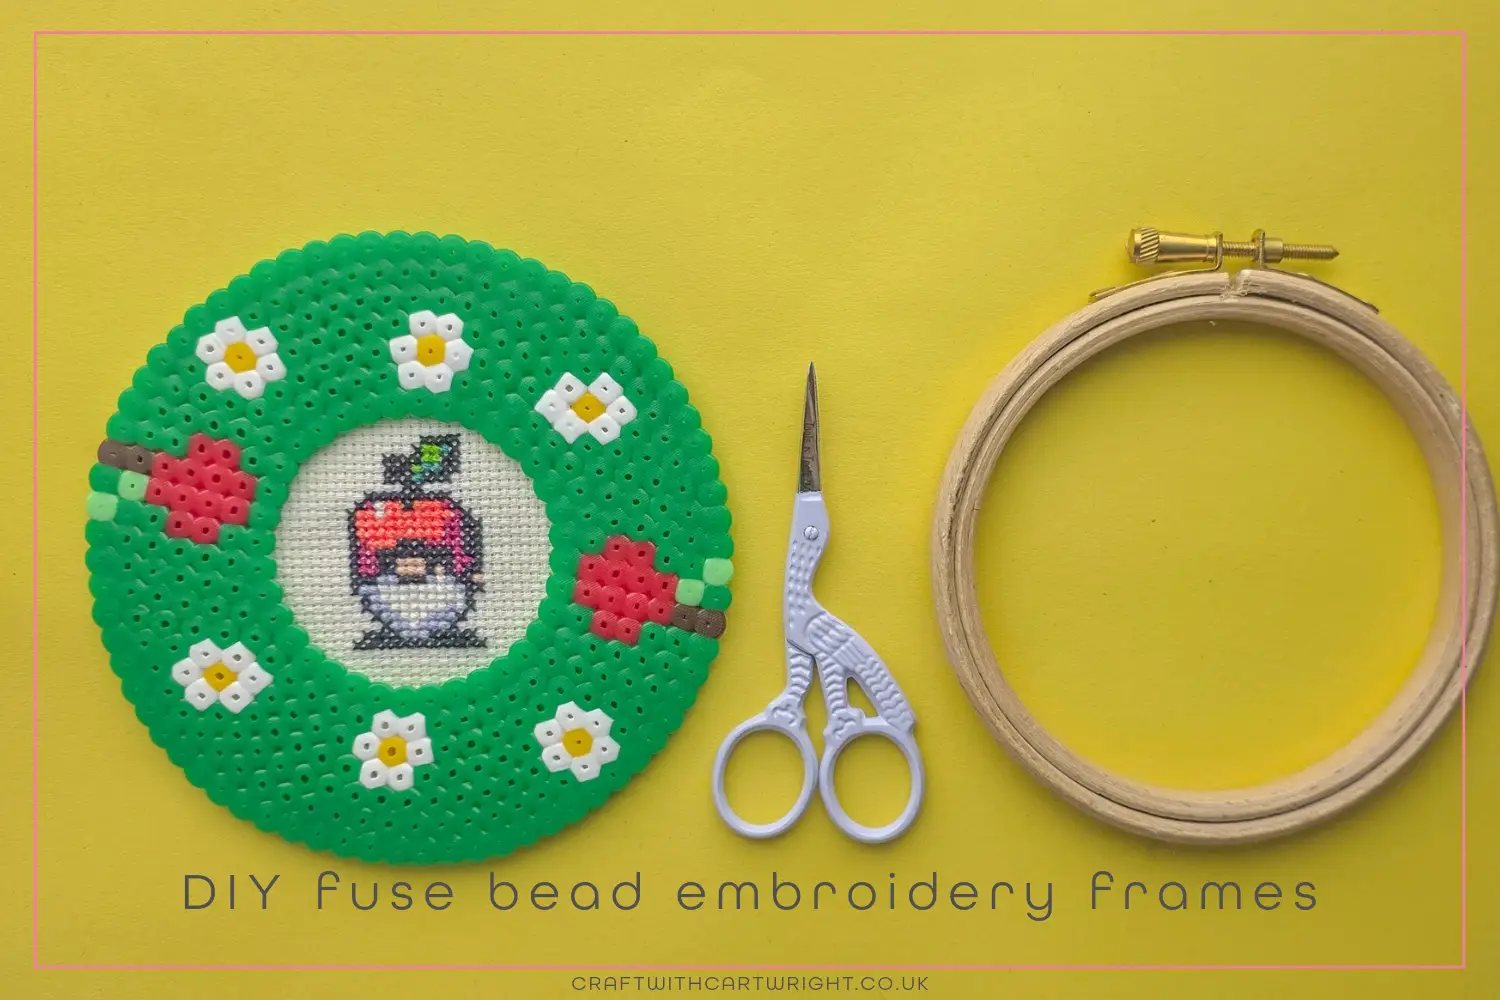
For my first attempt I wanted to make something for my apple gnome cross stitch pattern that I had stitched on a scrap of aida.
I took the measurements and laid out the inner circle of fuse beads making sure they would hole the aida, but not overlap the design.
Then I played around with colours and patterns until I settled on apples and blossom motifs surrounded by green.
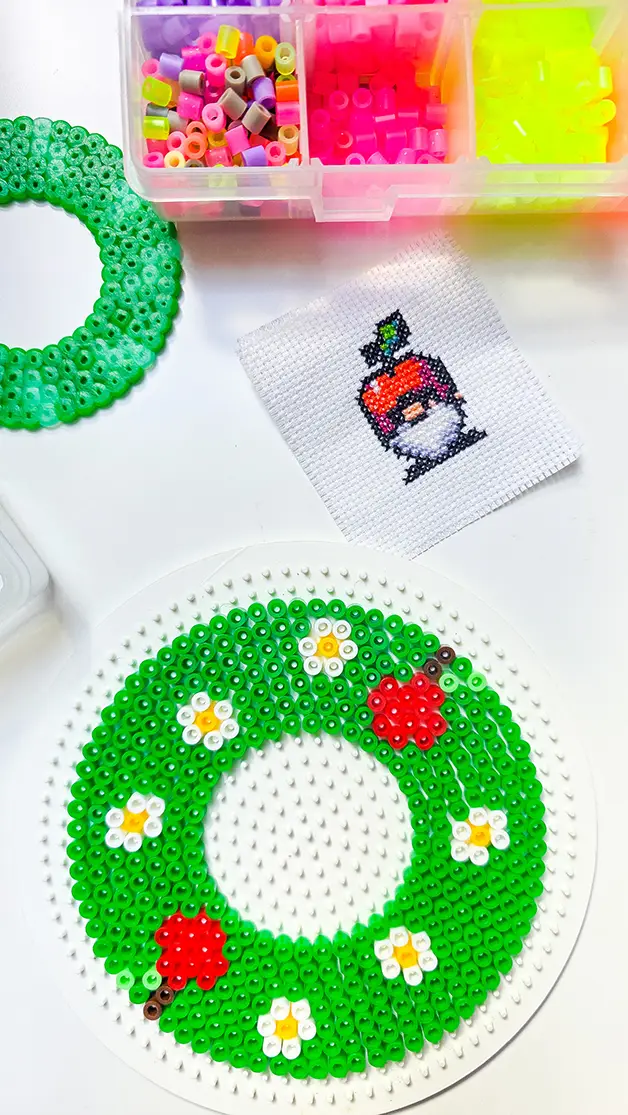
I pressed my fuse beads using my Auto heat press at 300f for 15 seconds before flipping and doing another 15 on the other side. You must make sure you use a Teflon sheet before pressing. If you don’t have a heat press a regular iron is absolutely fine, just make sure to use some parchment paper to protect your iron and turn off the steam setting.
Once I’d pressed the frame, I simply used double sided craft tape to attach the cross stitched gnome to the back of the frame and then hung it on my wall using a command strip.
Want to design your own?
Download this free fuse bead circle template as a printable pdf.