How to make a patchwork cross stitch pincushion

If you’ve ever finished a cross stitch embroidery project and wondered what you could do with it rather than simple frame it. Then this is the post for you! Here’s how to make a patchwork cross stitch pincushion for the perfect addition to your sewing set up.

For this patchwork cross stitch pincushion I used my February gnome pattern, but you can pick any design you’d like. Just remember the design will form the centre of the pincushion, so the larger the design the larger the pincushion.
Want to find a great design to start with? Why not check out my cross stitch pattern library or my selection of 3 inch cross stitch patterns.
Materials and tools needed:
- Completed cross stitch design
- 4 fabrics to compliment your design. (I chose 2 plain fabrics and 2 patterned Love is in the air and spring flowers )
- 1 backing fabric (I used leaves)
- Wadding
- Thread
- Sewing machine
- Scissors
- Hand sewing needle
- Iron
- Pins
- Optional:
- Ribbon
- Button
- rotary cutter, cutting mat and quilting ruler
How to make:
- Select your fabric and place the first fabric right sides together on you cross stitch.
- Pin and stitch along the edge.
- Fold out and iron flat.
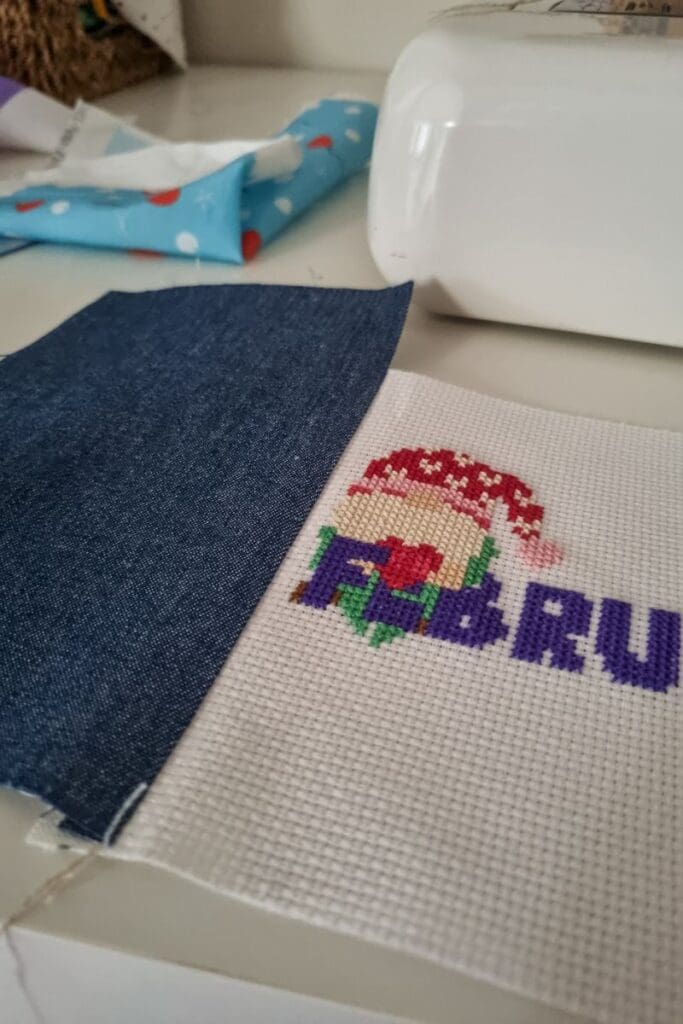
- Add the next fabric right sides together along the top edge of your cross stitch.
- Stitch along the edge.
- Fold out and iron flat.

- Repeat for the remaining two edges.
- Iron flat and trim edges to neaten. You can do this with scissors or a rotary cutter and quilting ruler.

- Cut backing fabric to the same size as your patchwork cross stitch front
- Pin right sides together and stitch with a 1/2 inch seam allowence
- Leave a gap along one edge to turn though.

- Once stitched, trim the corners so as to get a neater finish when turning out
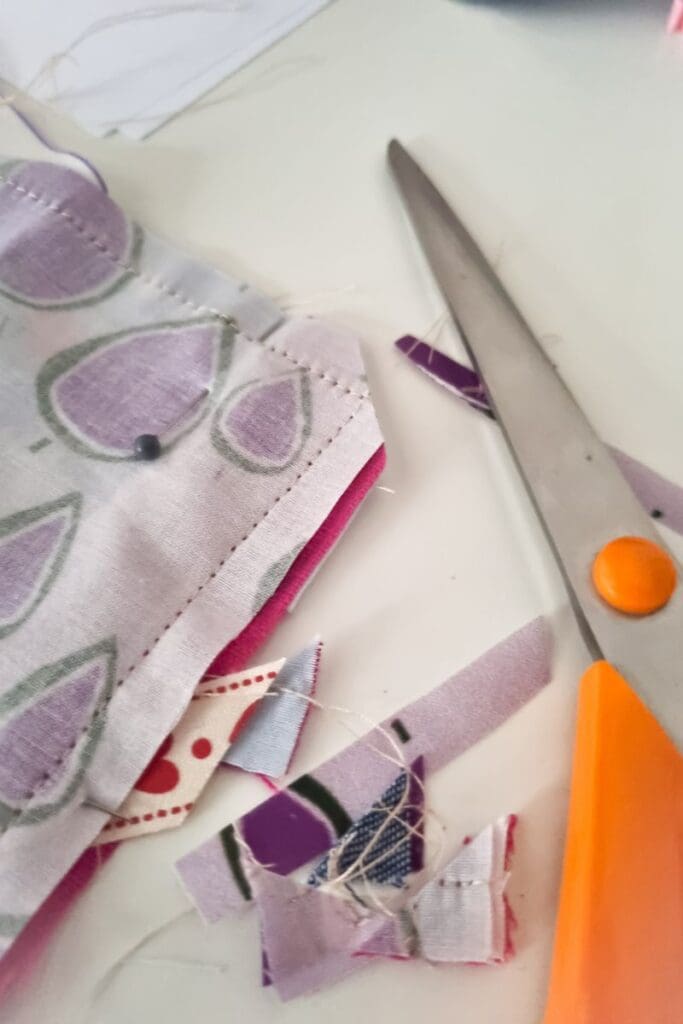
Turn the right side out and add a double layer of wadding to fill it.
Hand stitch the opening closed.
If you want to add the ribbon detail, stitch this over the patchwork on the corner, before pinning on the backing fabric.
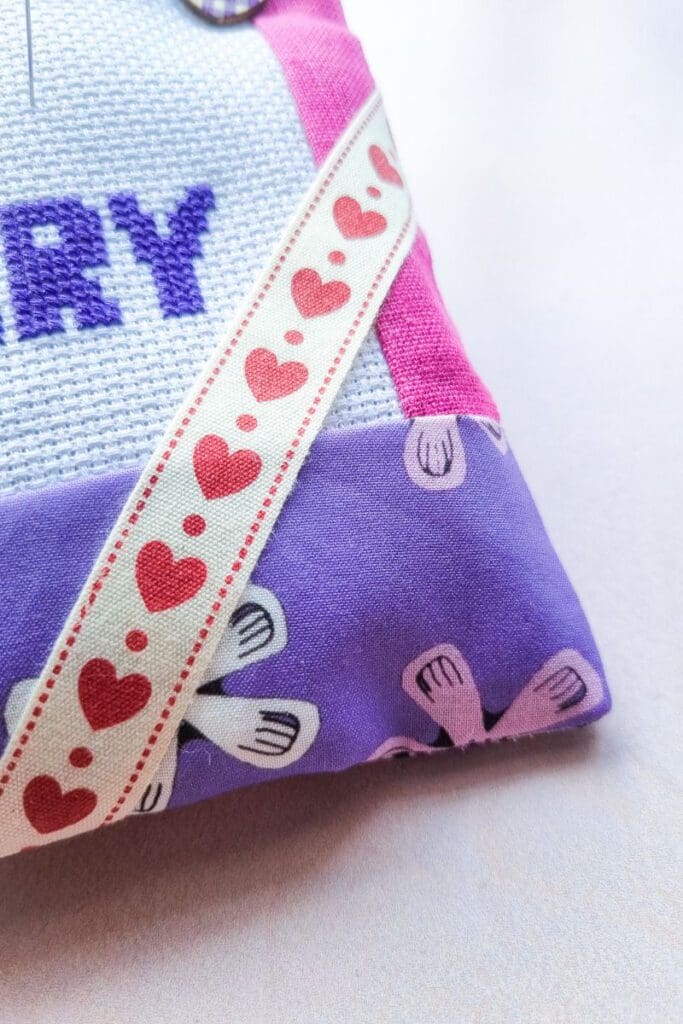
An optional extra embellishment is to add a button in one of the corners and stitch tight to emphasis the quilting filling. I chose a heart wooden button in a complimentary colour for my pincushion.