FREE DIY Layered Mandala SVG cut file

Want to make layered paper and card mandalas? I can guide you through making a DIY Layered Mandala using the xTool M1. Don’t worry if you own a different cutting machine like a Cricut or Silhouette Cameo, this guide is for you too!
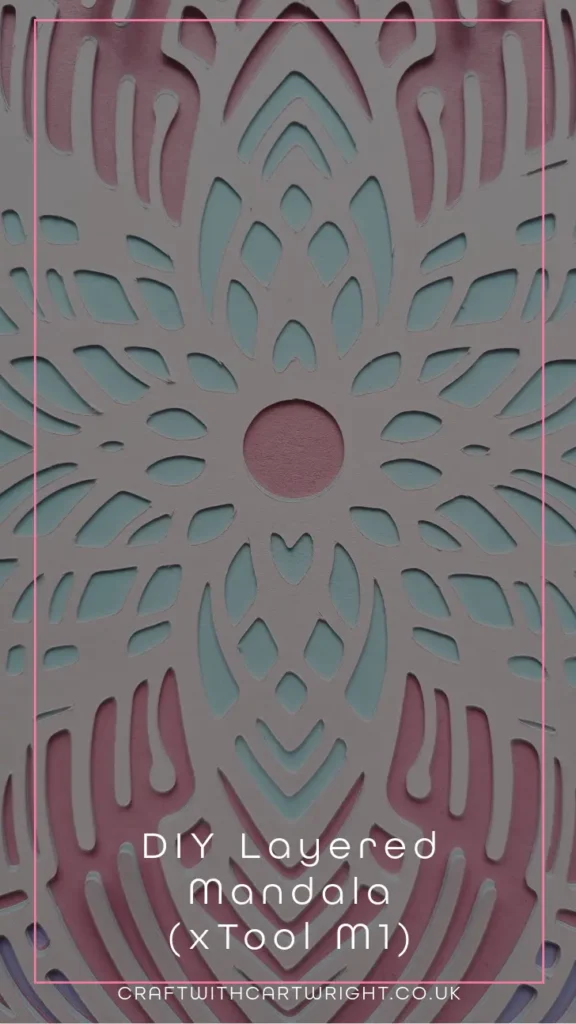
I love the way layered paper and card projects have the ability to give depth and dimension. This process involves cutting out layers of a design and stacking them to create a 3D effect. I love my xTool M1, for these types of projects as it makes the process a breeze.
Step 1: Download the Design
Head to the bottom of this post to download the layered mandala cut file svg.
Step 2: Load Your Design
Once your machine is ready, it’s time to load your design. Import the SVG file into xTool creative space. Adjust the size of the design to fit your project. (make sure if you are changing the size that you apply this to all layers)
Step 3: Cut Your Layers
Now, you’re ready to start cutting! Place your card stock on the cutting mat and load it into your machine. Then, send your design to the machine to start cutting. I used 240 pressure, 80 speed and 1 pass for my card stock.
Repeat this process for each layer of your mandala. I chose lilac, dark pink, light pink and light blue for my layers for a springtime look but you can play around with all sorts of colour combinations.
Step 4: Assemble Your Mandala
After all the layers are cut, it’s time to assemble your mandala. Start with the circle layer on the bottom and stack each layer on top, the more cut away designs closest to the top. Securing them with paper adhesive or if you prefer a shadow box style, use foam double sided dots to give space between each layer.
Download your DIY Layered Mandala template here