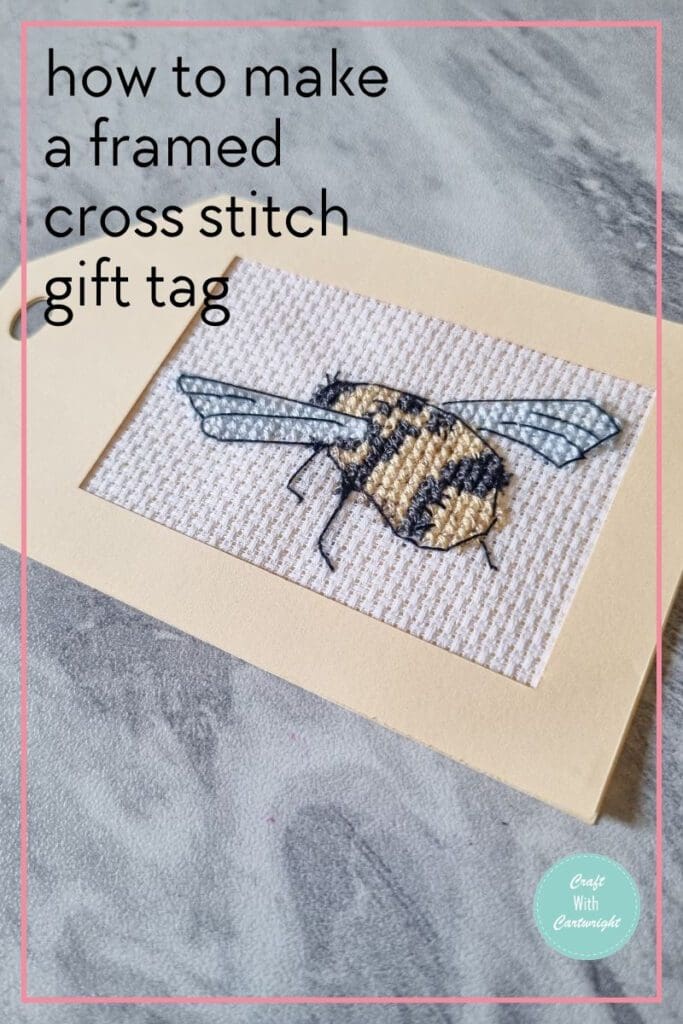
How to make a framed cross stitch gift tag

Sometimes it’s hard to know what to do with all your finished cross stitch projects. If you’re tired of simply hanging them in hoops. Why not try making something else with your mini motifs? Here’s how to make a framed cross stitch gift tag.

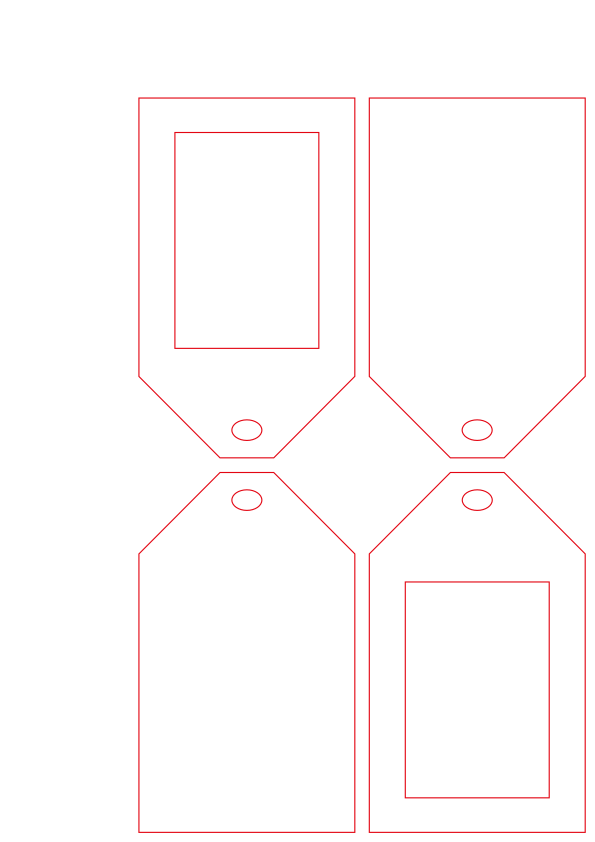
You can download the templates needs to make the tags for free. Whether your hand cutting and want a jpeg, or printing and cutting and prefer a pdf or cutting with your Cricut or laser cutter and desire a svg. They are all included and they are all free to download!
So what’s stopping you, start your extra special gift giving by learning how to make a framed cross stitch gift tag today!
For my example project I’ve used my bee cross stitch pdf pattern which you can purchase from my ko-fi store or Etsy

Materials and tools needed
You will need:
- Your stitched motif
- The frame templates cut out of thin card stock. I chose cream to compliment the colours in the bee
- Double sided tape
- Ribbon
- scissors
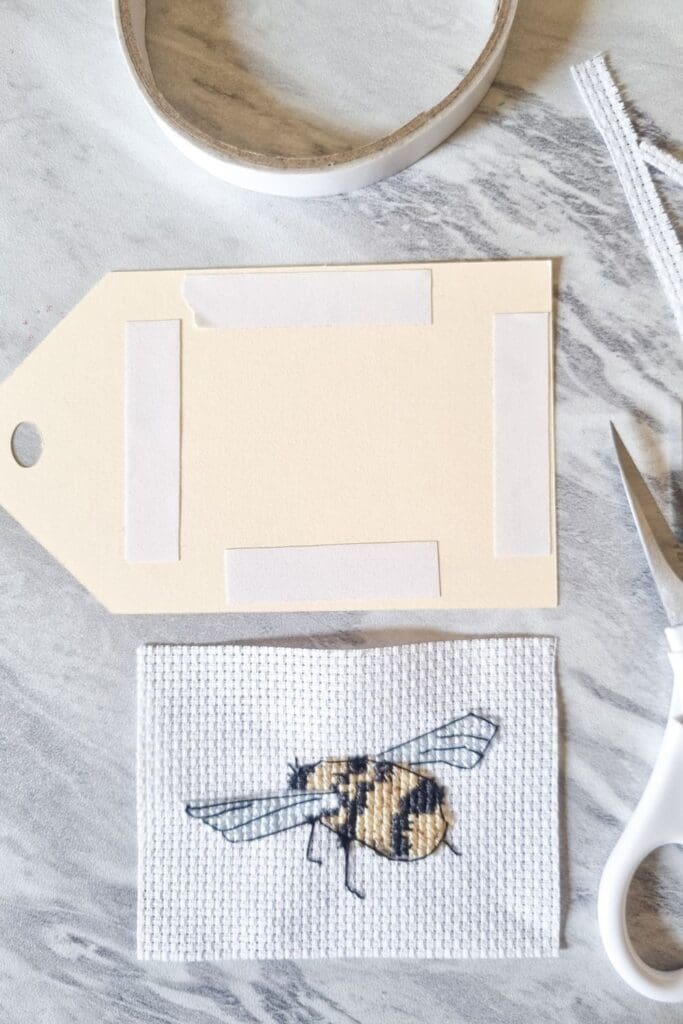
First measure your motif and cut out your frame templates so that they will fit the pattern.
I cut mine using my xTool M1 so I simply uploaded the svg into the design space and resized it to fit.
You will need two templates cut one front section with the window and one back section
Then cut four strips of double sided tape and place them on the back section
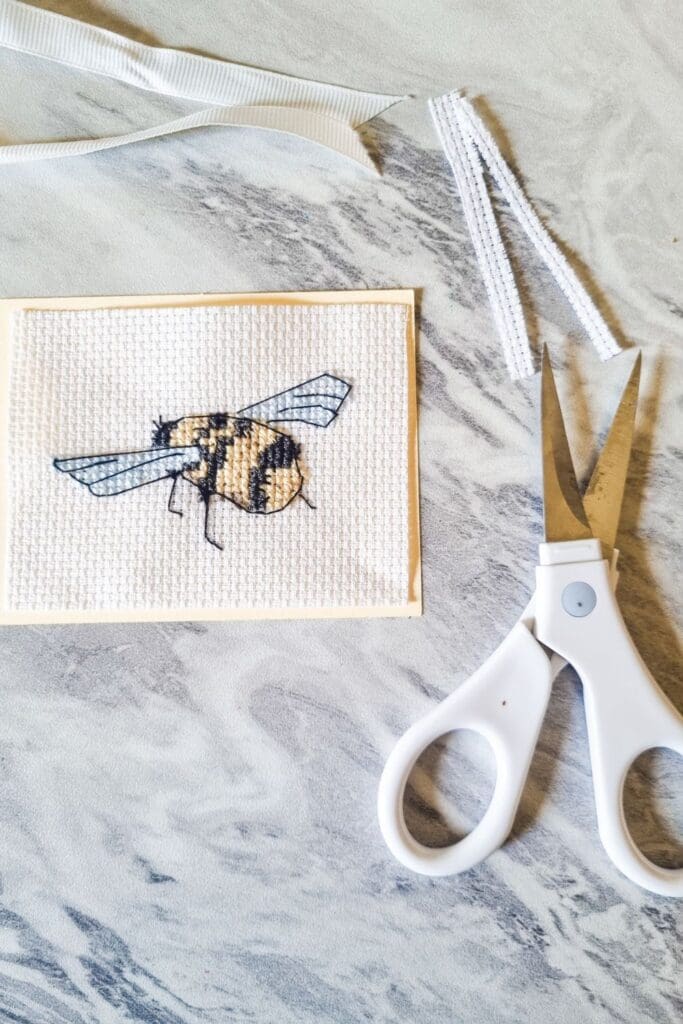
Remove the top covering from the tape and position your cross stitch motif over the top, press down firmly to make sure it is stuck.
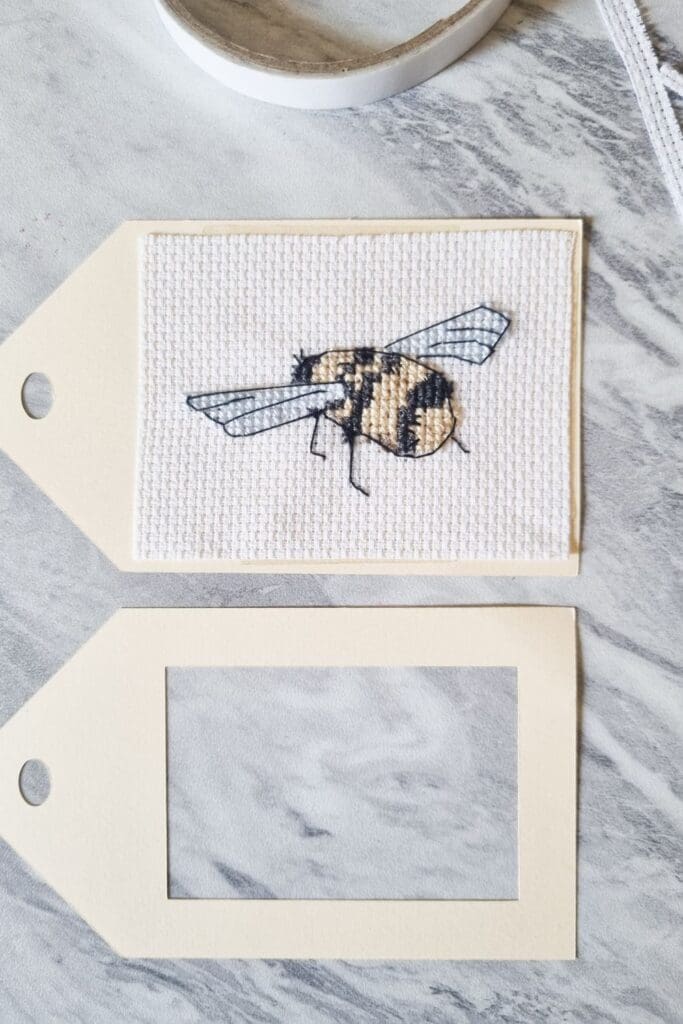
Its a good idea just to check that the window covers your fabric correctly before moving onto the nest step
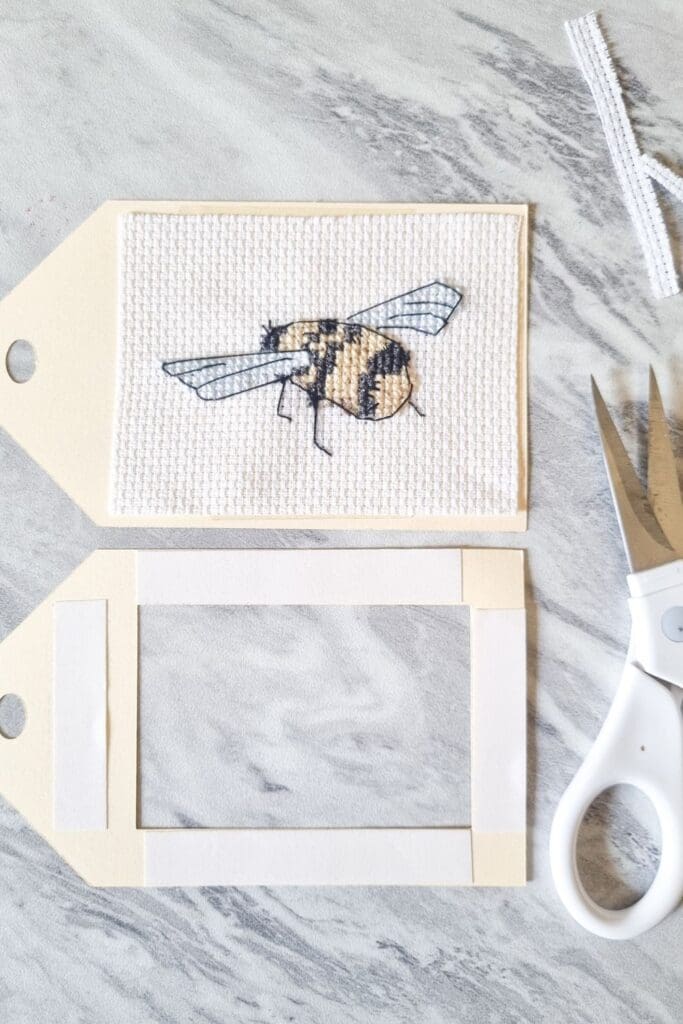
Then repeat with four strips of double sided tape on the top section of the tag
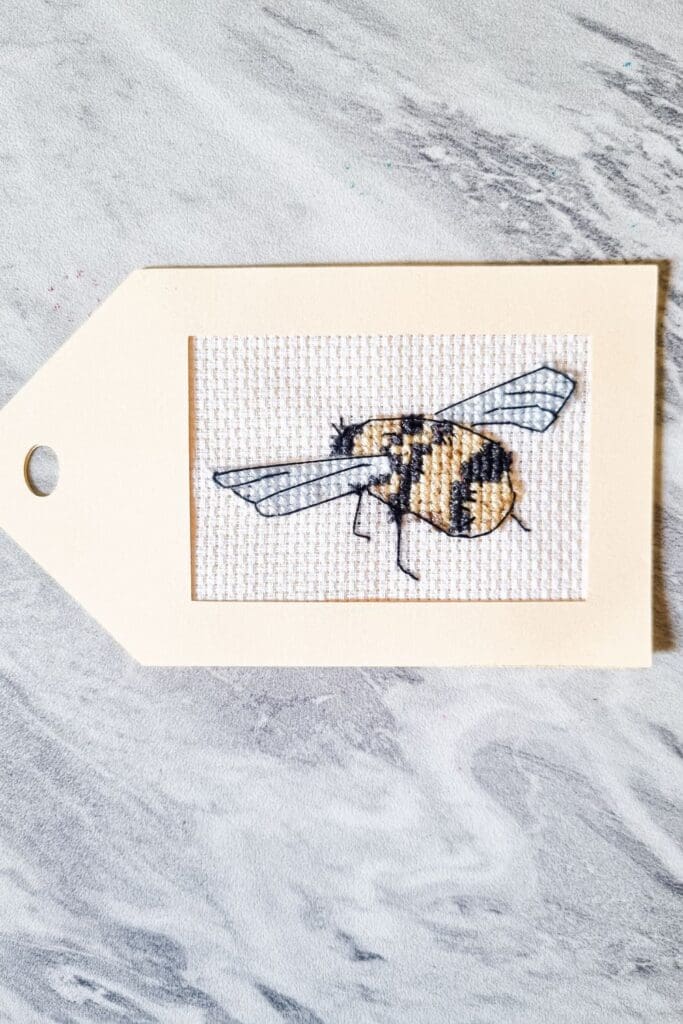
Position and press down firmly once again.

Finally add a length of ribbon, attach it by folding it in half and threading the loop through the hole of the tag. Then push the tails of the ribbon through that loop and tug gently to secure it to the tag.
Download the frame tag files here

Want the printer friendly version so you can keep the tutorial?

how to make a framed cross stitch gift tag
The perfect way to use and display small and mini cross stitch completed projects
Materials
- Your stitched motif
- The frame templates cut out of thin card stock. I chose cream to compliment the colours in the bee
- Double sided tape
- Ribbon
Tools
- scissors or a cutting machine
Instructions
- First measure your motif and cut out your frame templates so that they will fit the pattern. I cut mine using my xTool M1 so I simply uploaded the svg into the design space and resized it to fit. You will need two templates cut one front section with the window and one back section
- Then cut four strips of double sided tape and place them on the back section
- Remove the top covering from the tape and position your cross stitch motif over the top, press down firmly to make sure it is stuck.
- Its a good idea just to check that the window covers your fabric correctly before moving onto the nest step
- Then repeat with four strips of double sided tape on the top section of the tag
- Position and press down firmly once again.
- Finally add a length of ribbon, attach it by folding it in half and threading the loop through the hole of the tag. Then push the tails of the ribbon through that loop and tug gently to secure it to the tag.