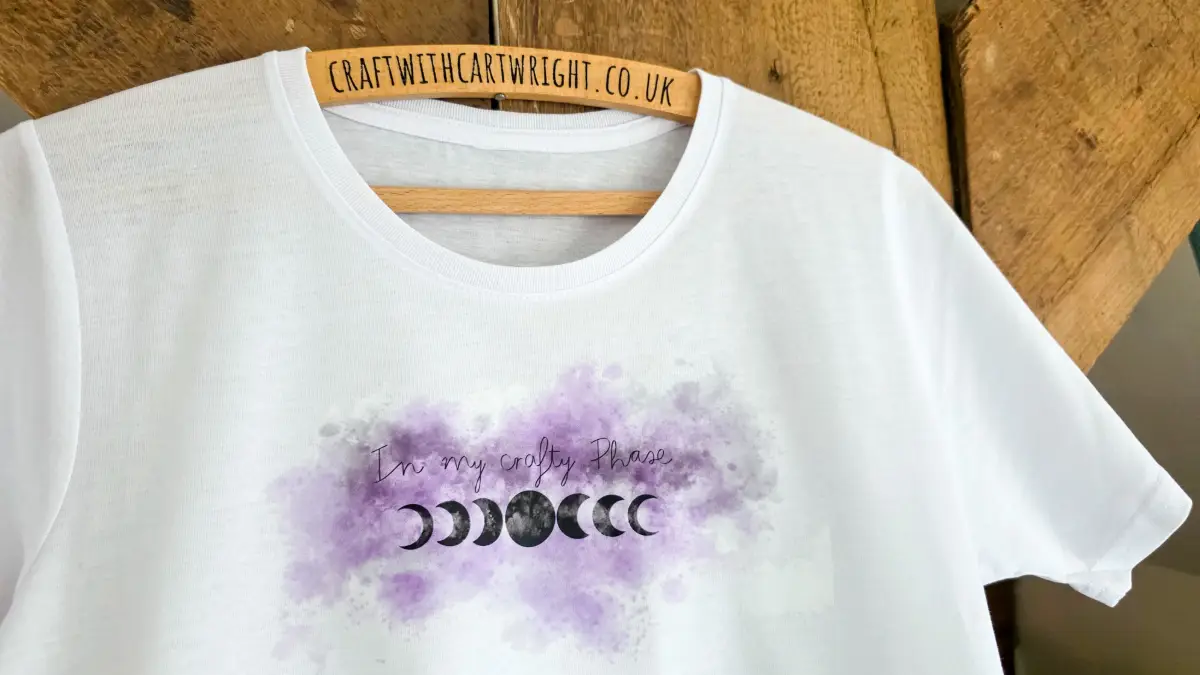
How to use DTF transfers to make a Halloween shirt

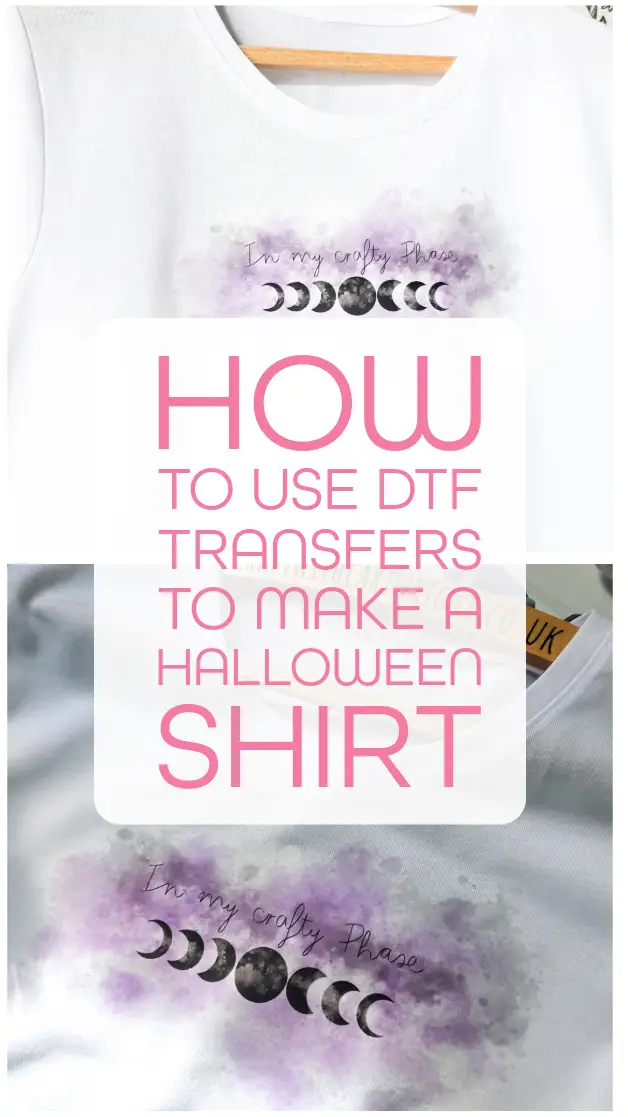
I am always excited to try out new crafting techniques, and this year I couldn’t wait to test dtf transfers. If you like making shirts but don’t like weeding HTV or don’t have a sublimation printer, then DTF may be this thing for you. Let me show you how to use DTF transfers to make a Halloween Shirt. Grab the free ‘In my crafty phase’ PNG file at the bottom of this post.
What are dtf transfers
Dtf (direct to film) is a printing method where your design is printed onto a special film, coated with adhesive powder, cured, and then pressed onto fabric. Unlike htv, there’s no weeding. Unlike sublimation, you’re not limited to polyester or light colours. You simply press the transfer and peel the film once it cools. The result is a smooth, vibrant print that works on cotton, blends AND dark fabrics!
What you need
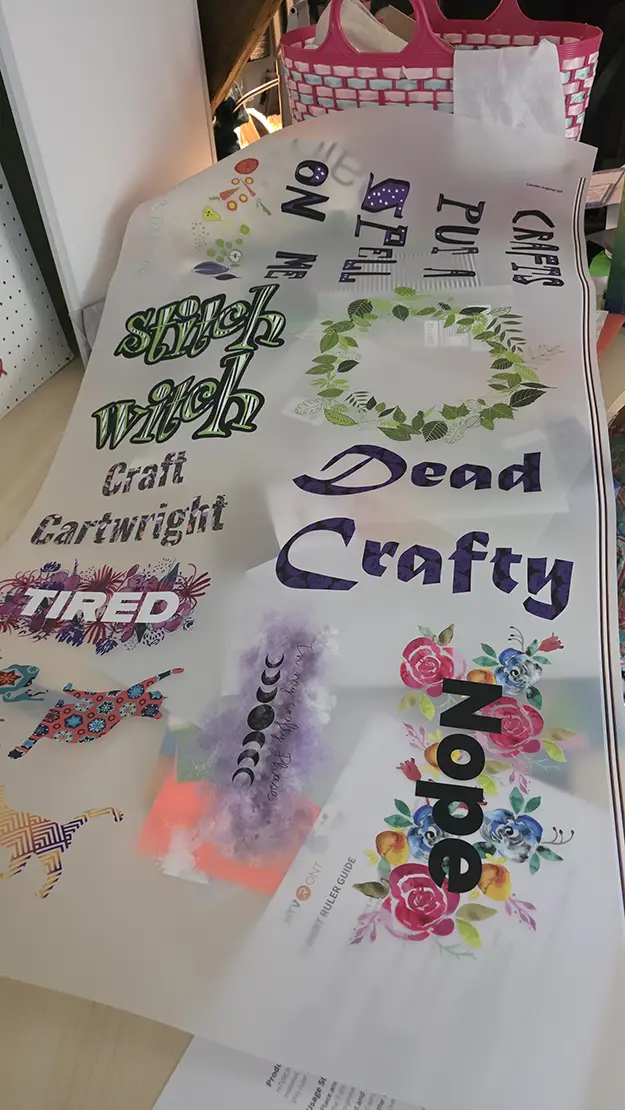
- DTF transfer (I ordered a gang sheet which is a metre long so you can have multiple designs or lots of the same one, from dtftransfer.co.uk)
- a shirt in your chosen size and colour
- a heat press with adjustable pressure (I used the htvront autopress 2)
- Teflon sheet
- lint roller (optional)
Step 1: prepare your shirt
Lay your shirt flat and give it a quick lint roll. Any dust or fibres can affect how well the transfer bonds. Pre‑press the shirt for a few seconds to remove moisture. This helps create a smooth surface for pressing .
Step 2: cut and position your transfer
Cut out the design from your gang sheet. Place it on the shirt, making sure it’s centred. A shirt ruler can help with alignment.
Step 3: press the transfer
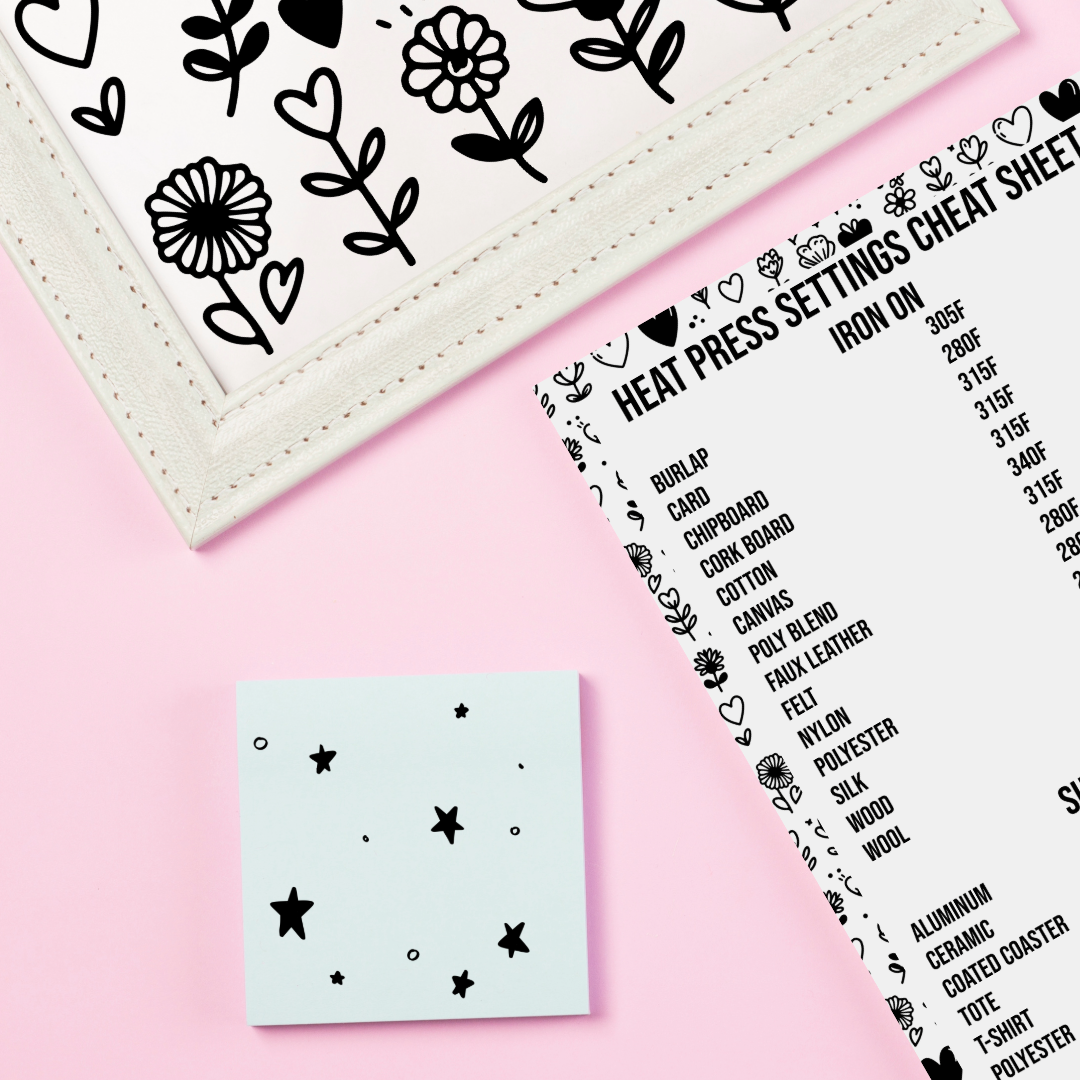
The auto press 2 has a preset for DTF but it’s worth noting that different manufacturers can have different settings. My suppliers’ settings were: For a polyester mix shirt, 135c, light pressure, 10 seconds.
Dtf transfers usually press at around 140 – 155c for 10–20 seconds depending on the supplier’s instructions.
Close the press and let it run its cycle. When it opens, peel the film off. Check with your manufacturer as some dtf transfers are a cold peel, meaning you should wait until the film feels cool before removing it.
Step 4: peel and final press
Peel the film quickly from one corner. If any part hasn’t adhered, place the film back down and press again for a few seconds. Once the film is fully removed, cover the design with parchment paper and give it a quick final press. This helps lock the design into the fibres and gives a smooth finish.
Step 5: enjoy your shirt all year round – not just for Halloween!
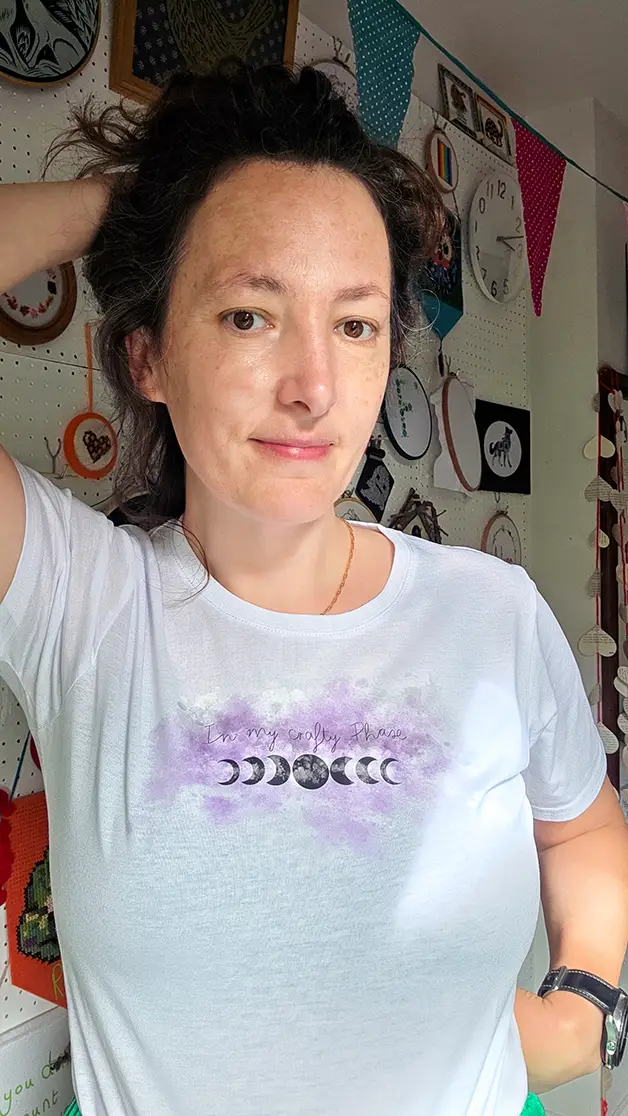
The finished shirt has a soft, flexible print with bright colours and crisp detail. Dtf is ideal for halloween designs because you can include fine lines, gradients and full colour artwork without extra steps. My in my crafty phase design transferred beautifully. The autopress 2 made the whole process feel effortless and you can get $52 off with code Ruth10
Download the free in my crafty phase png
You can use this design not just for DTF but also for sublimation. Try it on mugs, tote, signs and more!