How to do French knots

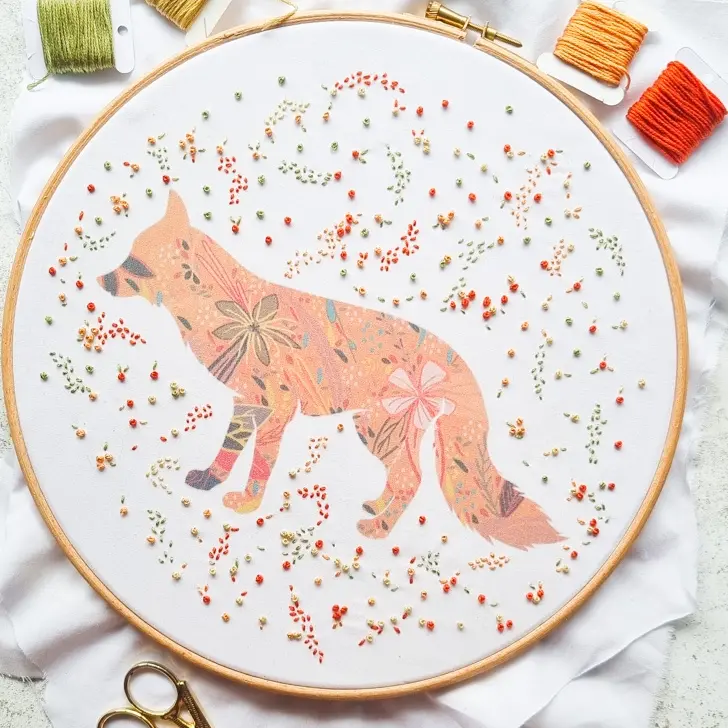
I love French knots and I like to use them with my cross stitch to add extra details and textures. But they are also a great stand alone embroidery stitch and one that is actually easy to master. Check out my how to do French knots tutorial or watch the video, and soon you’ll love them too!
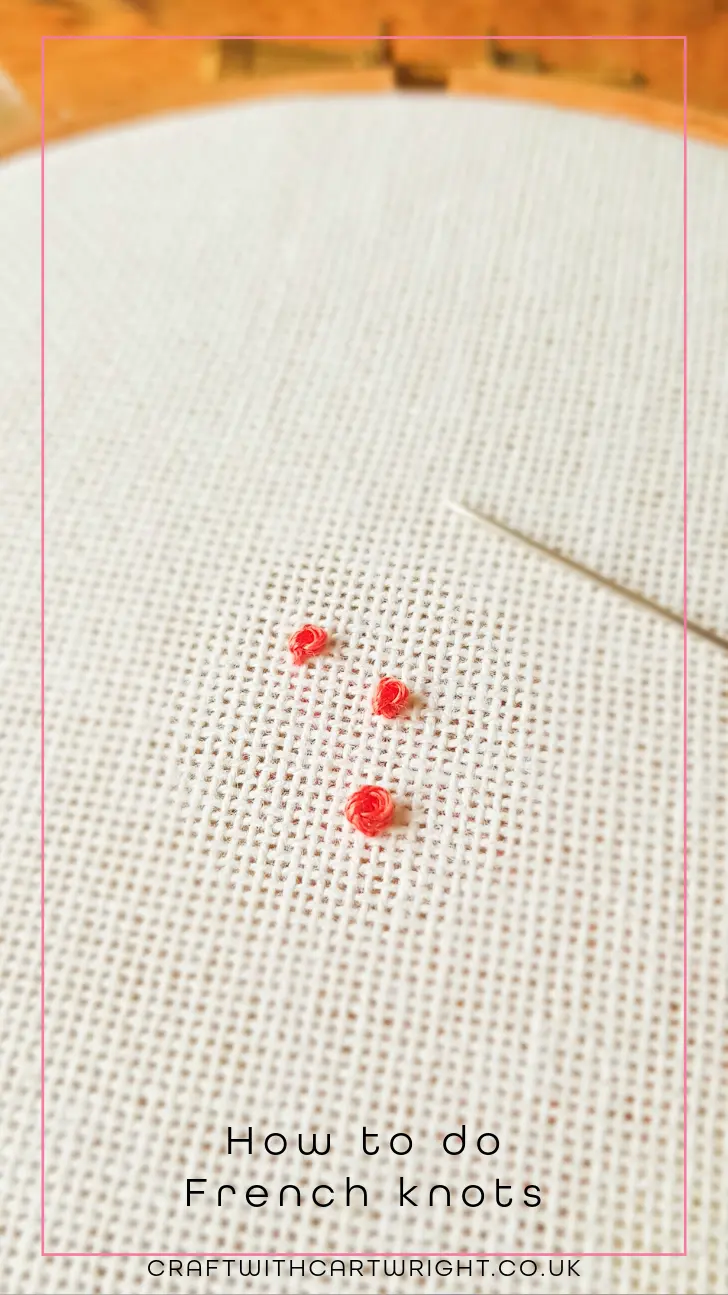
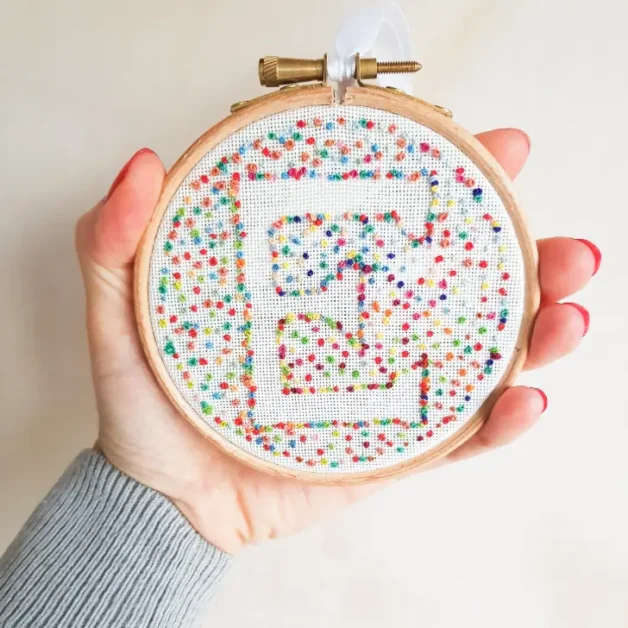
Yield: French Knot embroidery stitch
How to do French knots
Prep Time:
2 minutes
Active Time:
1 minute
Total Time:
3 minutes
Difficulty:
medium
French Knots are great for adding extra detail to cross stitch or for texture to your hand embroidery pieces. Once mastered you'll find them a joy to do.
Materials
- Even weave fabric,
- Embroidery floss
Tools
- Embroidery needle with sharp end
- Embroidery scissors
- Embroidery hoop (optional)
- Thimble (optional)
Instructions
- Split your floss into either two or three strands depending on how chunky you want your French knots to be
- Thread your needle
- Knot the opposite end of your thread
- Bring the needle up from the back of the fabric, where you would like to be
- Wrap your thread around your needle twice
- Insert the needle just to the side of where you came up
- Holding the thread taught pull your needle through, until a knot on the top of your fabric is formed
- Repeat as necessary
- Secure your thread, either by weaving through the back of some of your stitches or by making another small knot
- Snip off the excess thread
Don’t forget to Pin it for later!