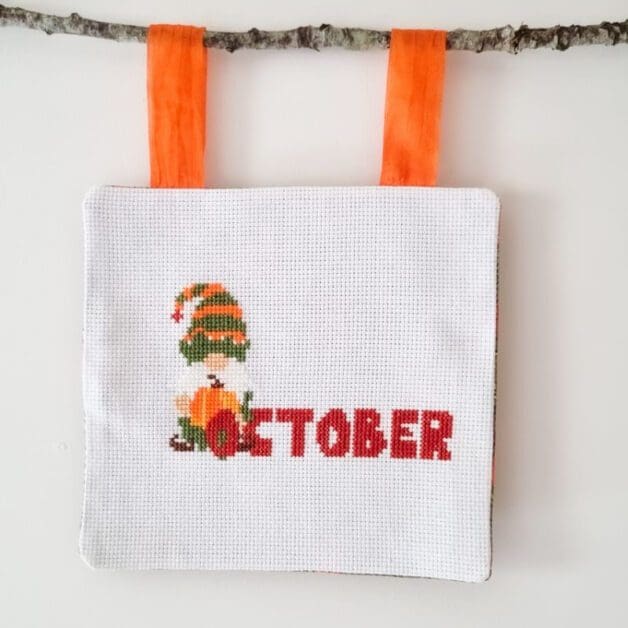
DIY Handcrafted Cross Stitch Wall Hanging for Home Décor

Sometimes you don’t want to finish your cross stitch embroidery in a hoop or a frame. This is a great DIY alternative. Let me show you how to make a handcrafted cross stitch wall hanging for home décor. In this quick and easy step by step tutorial.

For this project I used my stitched October Gnome design. If you’d like to download the free printable pdf pattern you can get it here.
A great project that only requires a simple materials list, including a fabric swatch, needle and thread, a twig and twine!

cross stitch wall hanging
A great diy alternative to showcasing your finished cross stitch projects if you dont want to frame them or display them in a hoop.
Materials
- Completed cross stitch project
- Cotton fabric
- ribbon
- twine
- cotton thread
- twig or dowel
Tools
- Sewing machine
- Fabric scissors
- iron
- Hand sewing needle
- pins
Instructions
Trim your cross stitch project down to the size you require making sure to leave enough room for a 1.5 cm seam allowance. Cut two lengths of ribbon, fold in half and pin the loops facing inward to your design.

Tack the ribbons in place on your sewing machine or by hand

Cut a peice of cotton backing fabric the same size as your cross stitch and pin right sides together. Stitch with a 1.5 cm seam allowance. Leaving a gap to turn the fabric out.

Trim the seams and clip the corners.

Turn out through the gap

Push out the corners gently and pull ribbon loops.

Press, ensuring the opening edge is neat
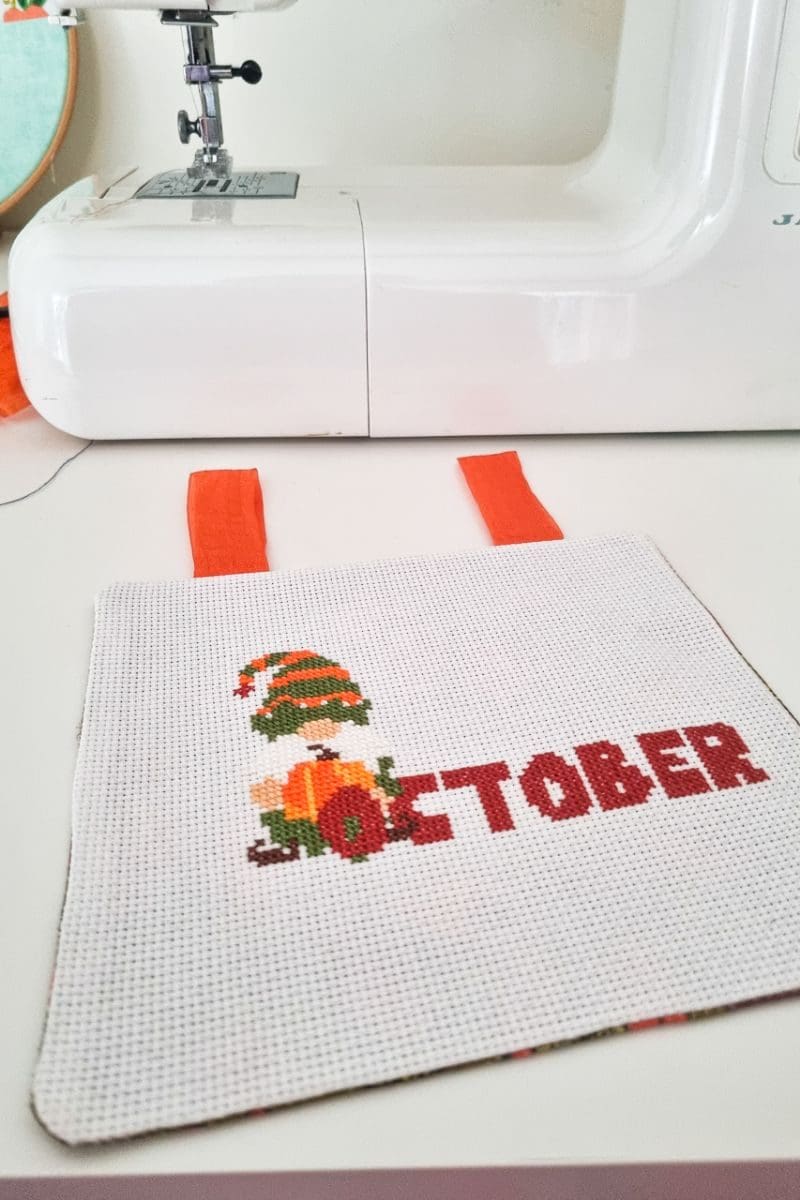
Hand stitch the open edge closed using a slip stitch or ladder stitch.
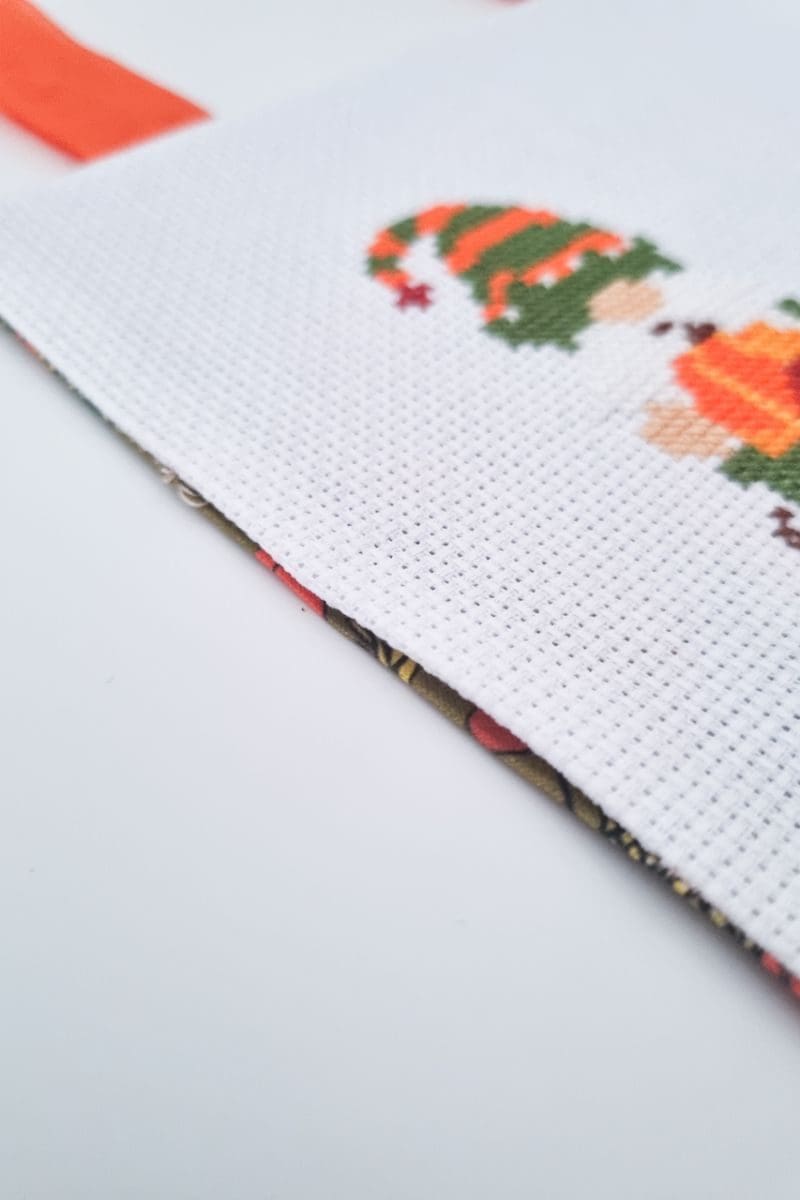
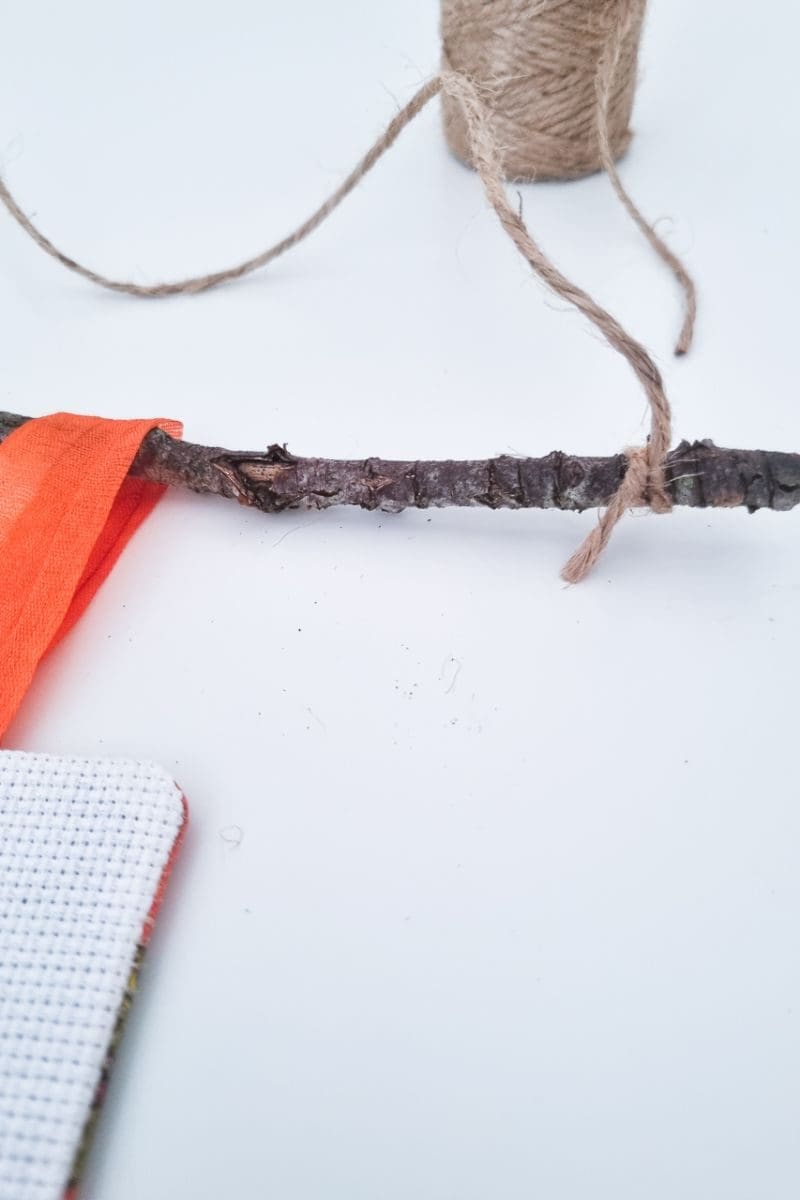
Thread the robbon loops onto a twig or dowel

Add a lengeth of twine to hang it from. Secure to the twig or dowel with a simple knot.

Trim to finish neatly.
Recommended Products
As an Amazon Associate and member of other affiliate programs, I earn from qualifying purchases.