Easy Macramé bracelet tutorial

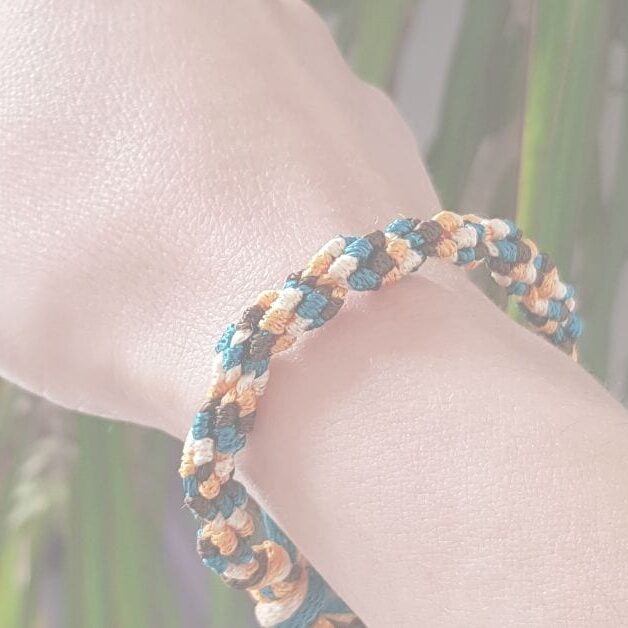
In this step-by-step tutorial, I’ll guide you through the process of making a beautiful macramé bracelet, perfect for beginners.

As someone who grew up in the nineties I’m happy to see the return of friendship bracelets. They can be made of all sorts of materials from embroidery floss to twine. Check out my tutorial for this easy macramé bracelet.
It’s a simple procedure to follow, just a series of knots. The perfect simple diy project to get the kids involved in.
To make my macramé bracelet I used four colours from the Assorted spools – coloured twines pack from Rope Source £3.78


Easy Macramé bracelet tutorial
Prep Time:
2 minutes
Active Time:
30 minutes
Total Time:
32 minutes
Difficulty:
easy
Estimated Cost:
£1.50
Materials
- Four colours twine of your choice
Tools
- Scissors,
- Bulldog clip or tape to secure
Instructions
- Cut four lengths of twine arms length
- Tie a knot about 8cm from the end
- Clip the stands to something to secure
- Separate the stands
- Take the first strand on the left hand side and do a over hand knot on each of the remaining strand.
- Repeat with each colour, making a new row of knots
- Continue until your bracelet is long enough
- Tie all for stand together at the end with a knot
- Use the loose stands to tie onto your wrist
Recommended Products
As an Amazon Associate and member of other affiliate programs, I earn from qualifying purchases.