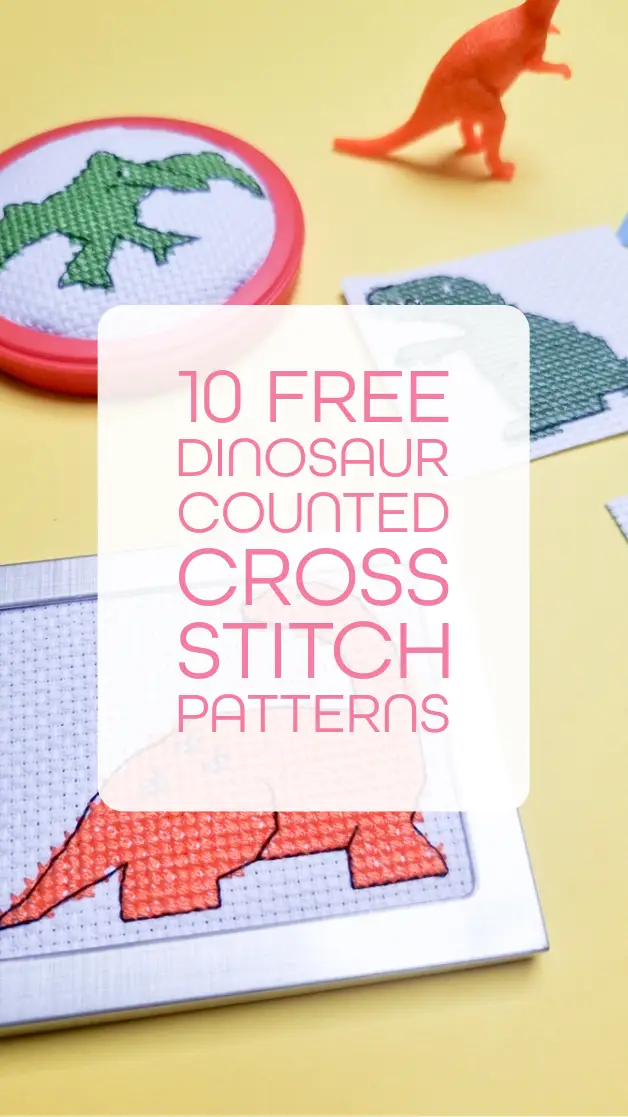
10 Free dinosaur counted Cross Stitch Patterns

Don’t like ad’s or scrolling? Buy the pattern in my ko-fi shop.
Get this set of 10 free mini dinosaur counted cross stitch patterns. Download the printable pdf chart and start sewing these prehistoric embroidery designs today!
The chart comes as an easy to read grid with clear symbols, a full DMC floss list and has both the design and grid dimensions included.
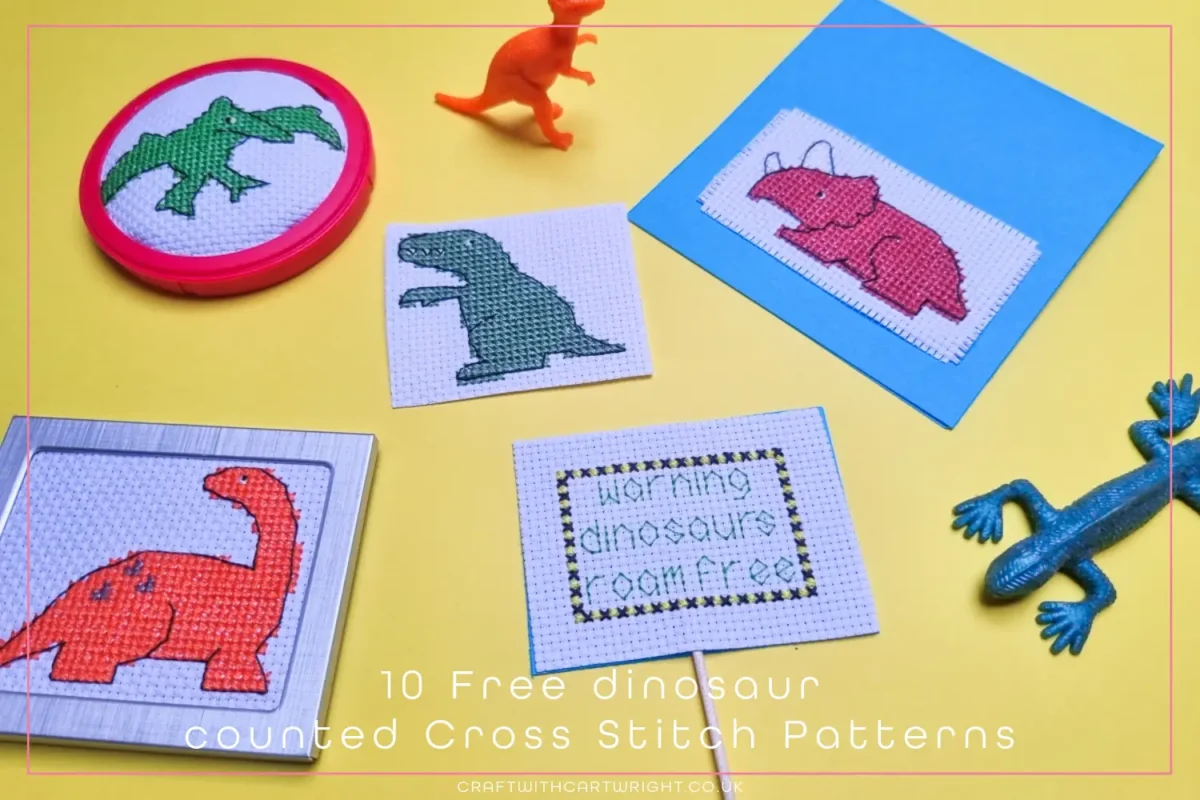
The most popular dinosaurs are included. There’s a t-rex, a diplodocus and stegosaurus. Plus dinosaur foot prints, other cold blooded dinosaurs and a warning sign.
Although this pattern uses backstitch and French knots, beginners should not be put off. Each motif is small and can be tackled as an individual project.
I turned the warning sign into a quick cupcake topper with a section of card the same size as the motif, two strips of double sided tape and a cocktail stick!
Pattern dimensions
For the total chart (not individual motifs)
- Grid Size: 80W x 63H
- Design Area: 5.00″ x 4.07″ (70 x 57 stitches)
- 11 DMC thread colours
Ways to use your motifs
In this post I’ve included pictures of some of the ways you could use the motifs.
- By making cupcake toppers,
- Using them in card making
- Framing in fridge magnet frames
- Even framing them in a canister lid!
Other ways you could use them: Turn them into gift tags, use them for jar labels, make them into key chains, sew them onto clothes.

How to stitch the 10 Free dinosaur counted Cross Stitch Patterns
If you've never stitched before, then read through these simple instructions to help you stitch the 10 Free dinosaur counted Cross Stitch Patterns
Materials
- 14 count white aida
- embroidery threads DMC-310, White, 307, 367, 976, 3830, 975, 947, 3863, 702, 992
Tools
- 10 Free dinosaur counted Cross Stitch Pattern
- Embroidery needle
- Embroidery hoop
- Embroidery scissors
- Optional - a thimble
Instructions
- Start by printing off your pattern and checking it's dimensions.
- Decide if you want to stitch them all together or as individual motifs first.
- Then cut the fabric to larger than the pattern dimensions and your hoop size
- Fold the fabric into quarter to identify the centre
- fit in your hoop
- Tighten the hoop to secure the fabric
- Find the centre of your pattern and the centre of your fabric design
- Start stitching from the centre
- Cut a length of embroidery floss no longer than the length of your arm
- Separate it into one strand and keep the remaining five for later
- Double the thread and thread your needle
- Start stitching from the front of your fabric, leaving a loop to thread your needle through on the first stitch to secure. Tug so that it moves to the back.
- Work your stitches all the in same direction, the bottom of the cross should always be the same in every stitch.
- Work in either individual crosses or for longer areas of stitch work the bottom arm of the cross stitch in a row and then stitch back over the row to do the top arm of the cross.
- To finish, ensure the needle is on the back of the fabric. Thread it through the underside of a few stitches and then snip off the loose end.
- Once you have stitched all the cross stitches, go around the design with one stand of black for the backstitches and finally finish the eyes with French Knots.
Download your 10 Free dinosaur motifs here