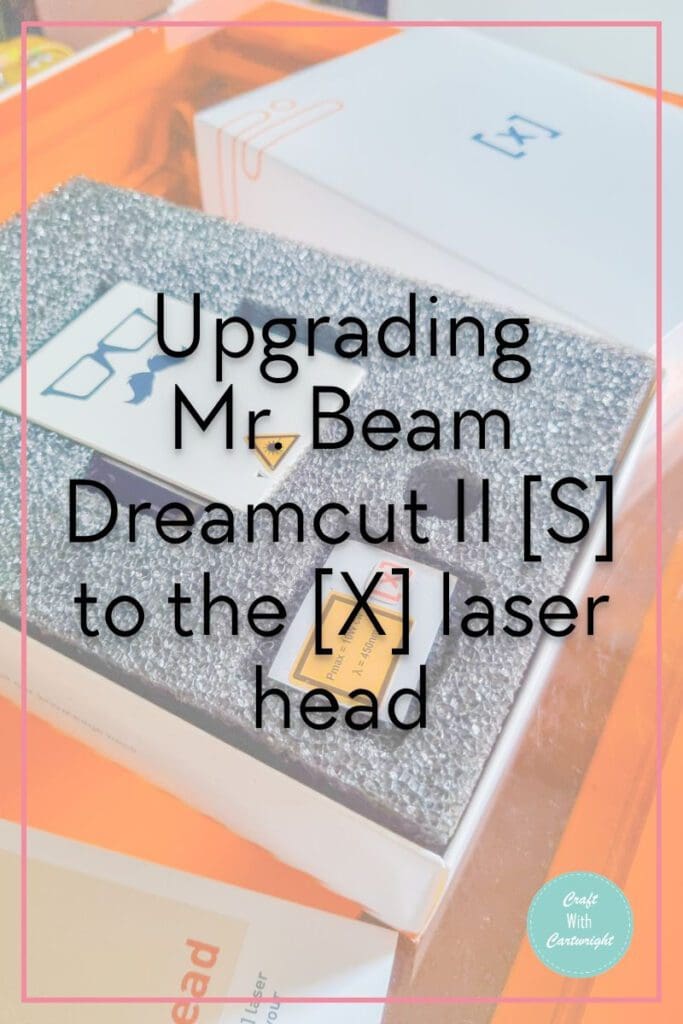
Upgrading Mr. Beam Dreamcut II [S] to the [X] laser head

In my world of laser cutting I am always on the lookout for ways to cut faster, with more precision and a wider range of materials. As a dedicated creator and enthusiast of laser technology, I recently embarked on an exciting journey to elevate my Mr. Beam Dreamcut II [S] by upgrading it with the [X] laser Head as Mr Beam sent me the new one to try out!
I’ll take you through the process of this upgrade and share the benefits it has already brought to my creative projects.

Why Upgrade to the X Head?
I love my Mr. Beam Dreamcut [S]. It was my first laser cutter and I have used it for so many projects over the last 12 months. But technology never stops evolving and I love to try the latest developments. The new [X] Head represents the latest innovation from Mr. Beam, and it offers double the watts meaning you can cut with more power and more speed that make it a worthwhile upgrade.

Key Upgrades with the X Head:
- Speed and Efficiency: With the new X Head, my Dreamcut has become significantly faster. Projects are completed in less time, boosting productivity.
- Versatility: The X Head can tackle a wide range of materials, including 8 mm wood and white acrylic. This flexibility broadens the horizons for creative projects.
- Ease of Use: A simple software update and a switch of the head and the extra power was at my fingertips within an hour.
The Upgrade Process:
The process of upgrading my Dreamcut S to the X was surprisingly straightforward. Mr. Beam provides detailed instructions in the box and further online support, making the transition hassle-free. Here’s a brief overview of what it entailed:
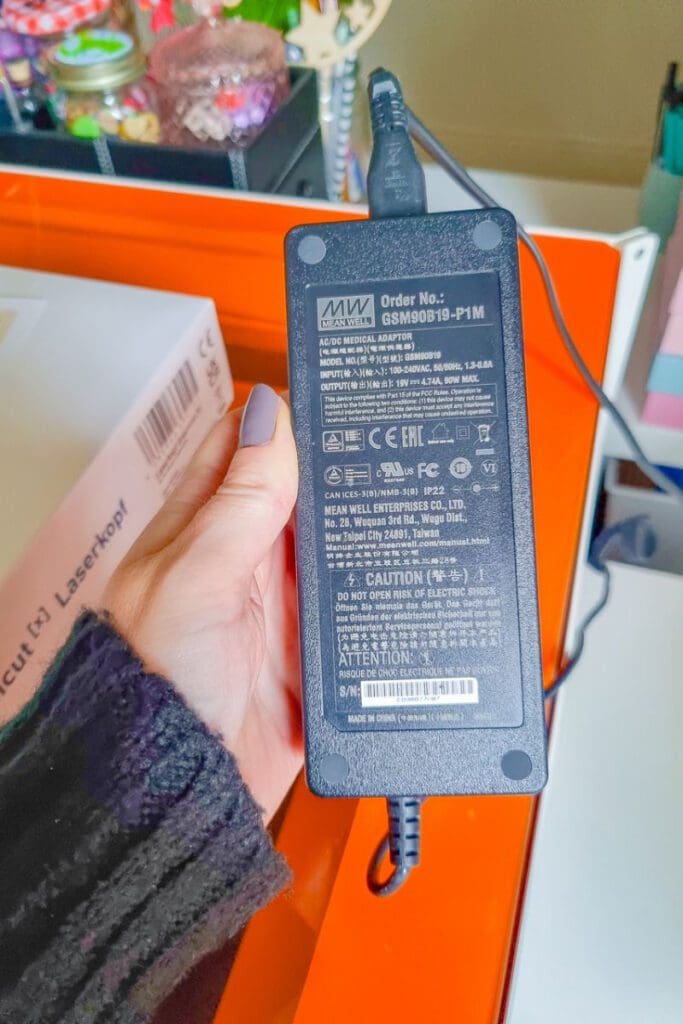
Checking the power supply: You need to have the 90w power supply for the X. Check before you purchase. If you don’t have it, it’s a simple add on in your shopping basket.
Software Updates: I updated the machine’s software to ensure it was fully compatible with the NE X Head. You can do this online or offline with a usb.

Installation: Mr. Beam provides a step-by-step installation guide, and I was able to successfully switch out the s head and install the X Head on my machine. The process took a few minutes, and I appreciated the the option to read the guidance online as well.
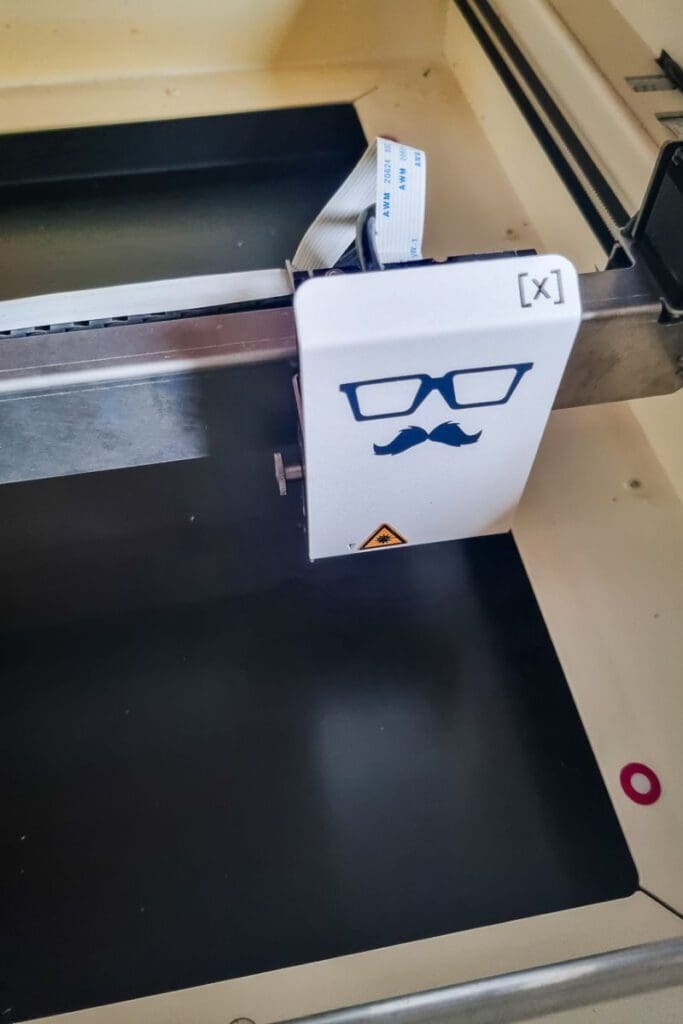
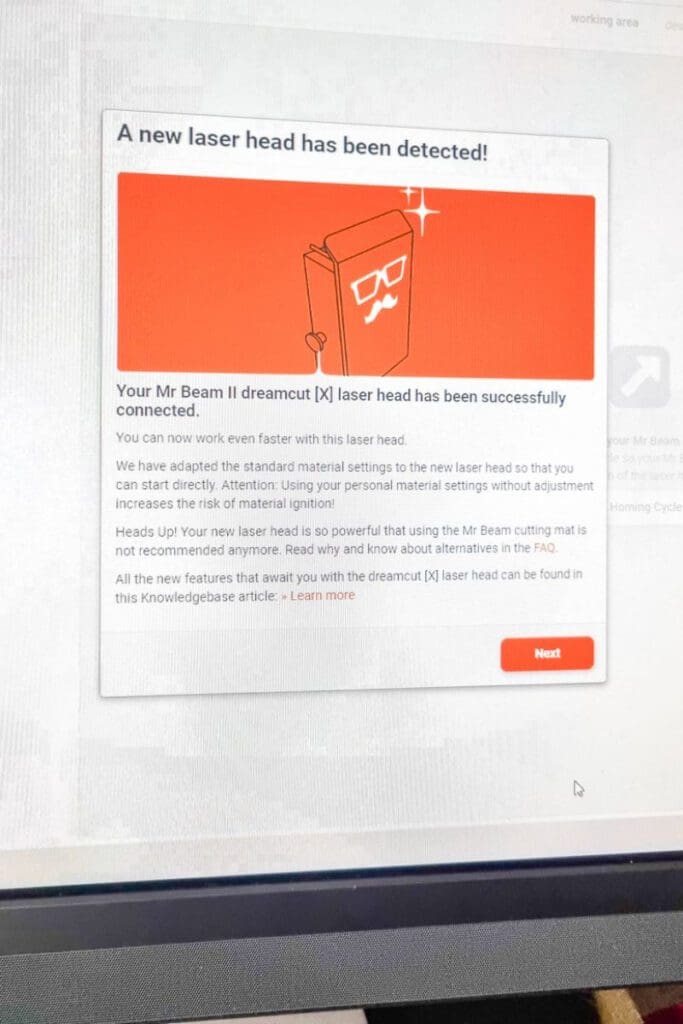
Testing: After installation, the new head was detected by the machine. And I carried out few test cuts and engravings ensured that everything was functioning correctly.
Benefits and drawbacks:
Since upgrading the laser head, my creative projects have taken a leap forward. Here are some ways I’ve benefited:
Faster Production: I can complete projects in less time, making my work more efficient and productive.
Diverse Materials: The X Head’s material compatibility has expanded my horizons, allowing me to work on a wider range of materials.
Filter use: The only drawback to upgrading mr beam dreamcut x laser head is more cutting equals more material filling up the air filter quicker. Meaning you’ll get through pre-filters faster than you did before. But don’t panic, I’ve read on the site they are already working on a new generation air filter to match the throughput.