How to quickly frame cross stitch in a hoop

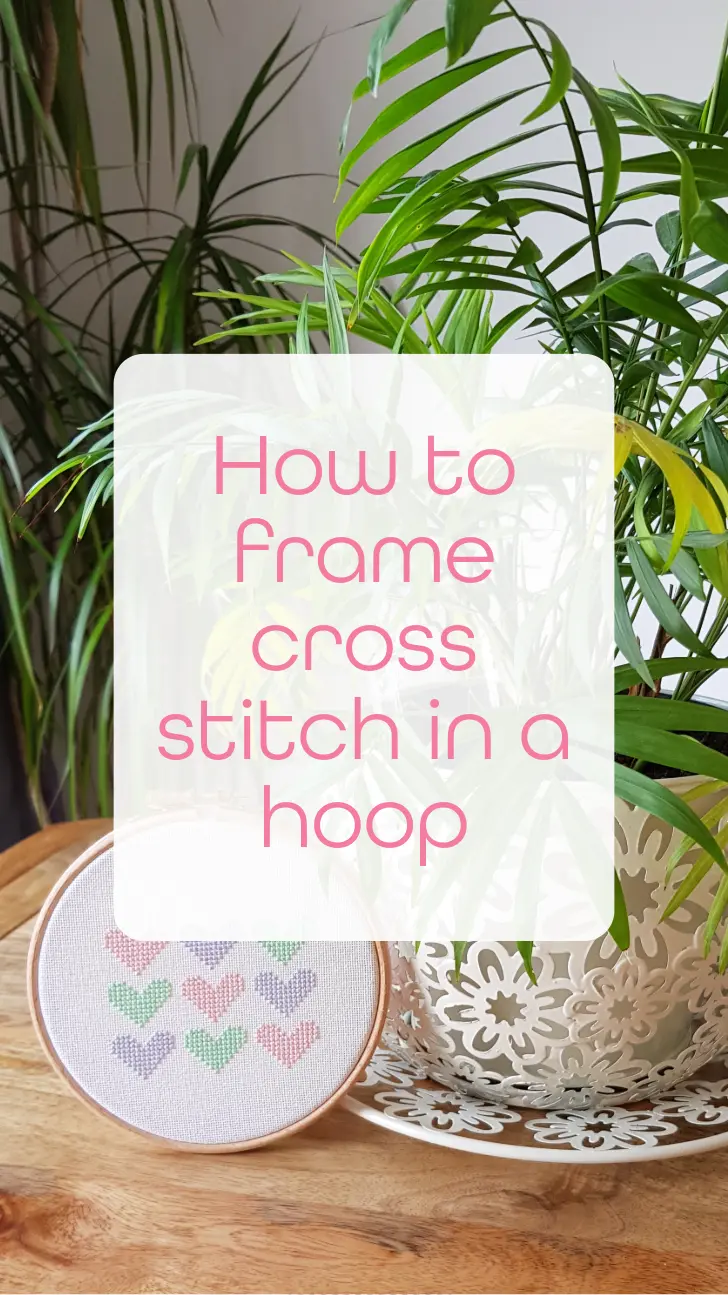
I am always looking for simple, quick and easy tutorials for how to finish my embroidery. So I made one! Here’s how to frame your cross stitch in a hoop with step by step instructions and video.
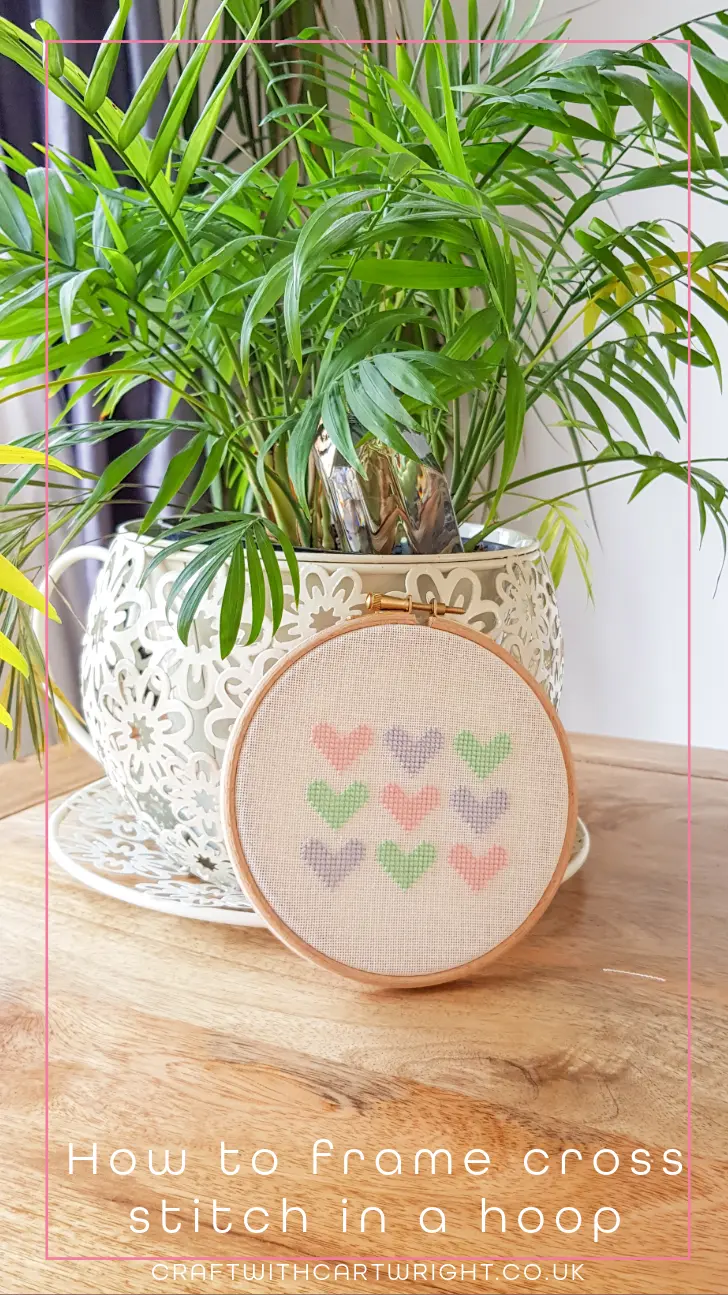
For this tutorial on framing and finishing cross stitch embroidery.
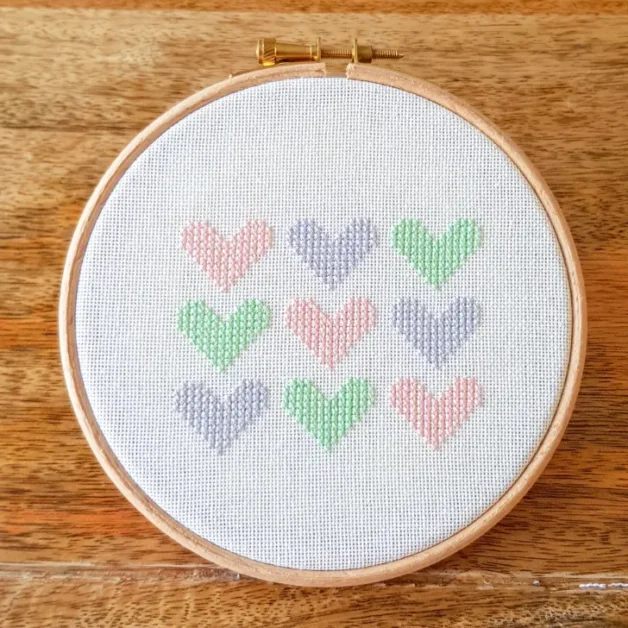
I’ve used my hearts sampler pattern which can be found alongside lots of other free patterns in the library.


Yield: Hoop framed cross stitch
How to frame embroidery in a hoop
Prep Time:
2 minutes
Active Time:
5 minutes
Additional Time:
10 minutes
Total Time:
17 minutes
Difficulty:
easy
Quick and easy way to finish your cross stitch project in a wooden hoop.
Materials
- Cross stitch project
- Cotton sewing thread
- Glue
- Scrapbook paper
- Wooden embroidery hoop
Tools
- Paper scissors
- Pencil
- Fabric scissors
- Needle
- Heavy book and tin cans
Instructions
- First measure the size of the hoop you want to frame your cross stitch in.
- Draw around the outside of the hoop on the back of your scrapbook paper.
- Cut out the circle and keep for later.
- Trim the cross stitch project to a 3 cm wider than your hoop
- Place in your hoop and tighten
- Thread your needle with a double length of cotton thread and secure
- Stitch a running stitch roughly 1 cm from the edge of your fabric
- Draw the running stitch to gather the fabric and secure the thread.
- Glue around the scrapbook paper circle and press in place on the back of your hoop.
- Place a heavy book and some tin cans on top to weigh it down whilst it dries.
- Enjoy your framed cross stitch!