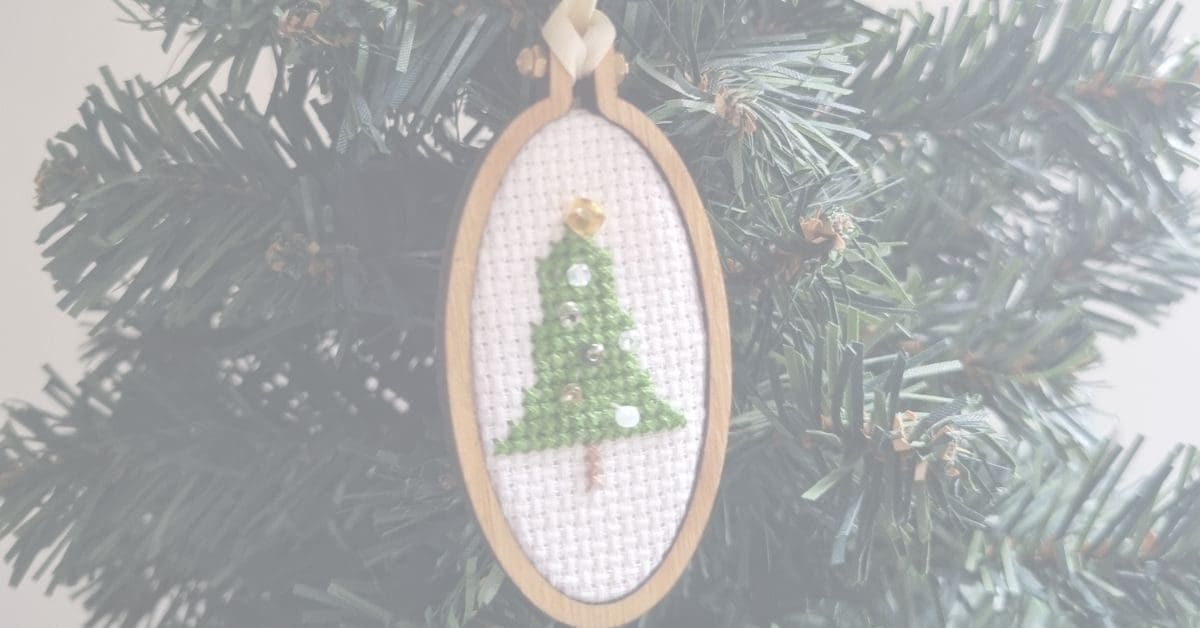
DIY mini embroidery hoop Christmas ornament

I love finding new ways to use all of my cross stitch patterns. Christmas is a great time to stitch for and I loved creating this DIY mini embroidery hoop Christmas ornament. So quick and easy with this simple tutorial.


DIY mini embroidery hoop Christmas ornament
Prep Time:
20 minutes
Active Time:
10 minutes
Total Time:
30 minutes
Difficulty:
easy
Materials
- Cross stitch pattern sewn, beads, ribbon (optional - glue)
Tools
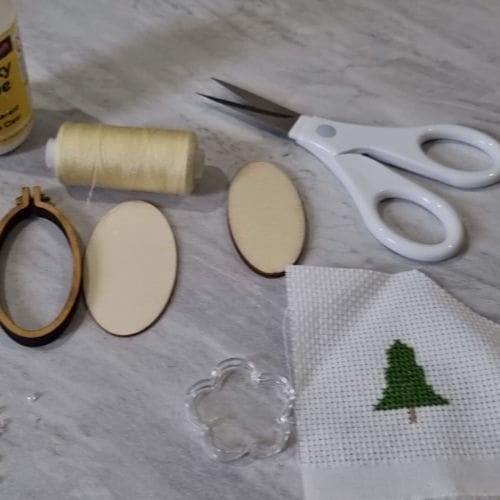
- Scissors, needle, thread, mini embroidery hoop,
Instructions
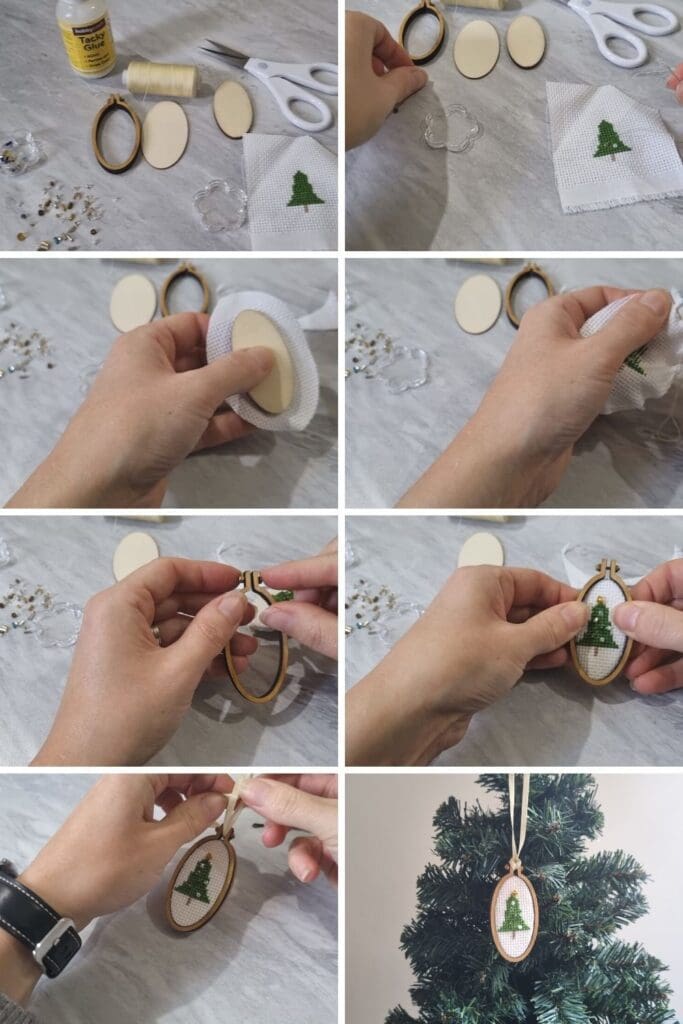
- Gather your materials.
- Stitch on any extra decorations, like beads.

- Measure your fabric against the back plate of the hoop and trim to size.
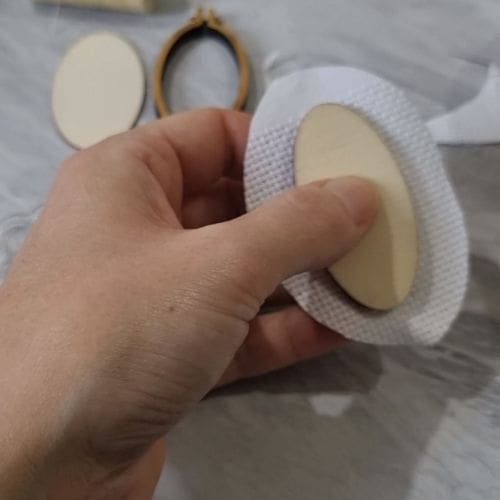
- Use a running stitch to gather the fabric around the back plate and draw tight. Secure with a knot.

- Loosen the nut on the mini embroidery hoop
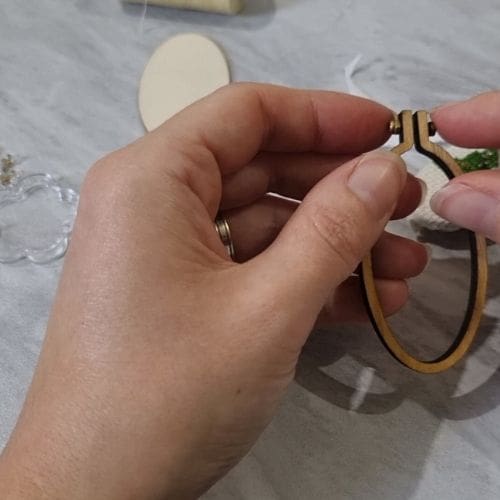
- Push the outer hoop over the fabric. If your embroidery hoop comes with an additional larger back plate, use glue to secure over the back and hide the raw edges of the fabric.

- Add a ribbon through the gap at the top of the hoop and hang on your tree.

Recommended Products
As an Amazon Associate and member of other affiliate programs, I earn from qualifying purchases.

I bought the mini embroidery hoops from Amazon.

Shop Christmas cross stitch patterns






Liked my DIY mini embroidery hoop Christmas ornament?
You’ll love
Mini Christmas Bauble cross stitch (free)
Grab your own copy of this mini Christmas Bauble cross stitch pattern for free here. Download the printable PDF chart and get stitching in time for Christmas. Perfect for cards, tags and Tree ornaments.
6 Christmas trees cross stitch (free)
The Christmas tree for me is the best decoration a house can have at this time of the year. A touch of nature and luxury all rolled into one. Plus if you have a real tree, it smells great too! This year I am celebrating the tree in all it’s different shapes, with this set of 6 Christmas trees cross …

15 Christmas Gifts for crafters
Have you started your Christmas shopping? It’s not to late to find the perfect gift for the crafty person in your life. (Or get yourself a treat) I’ve rounded up my top 15 Christmas Gifts for crafters from Etsy to make your shopping easier this year. Plus don’t miss the great giveaway at the bottom of the post.