How to make floss bobbins with your cutting machine

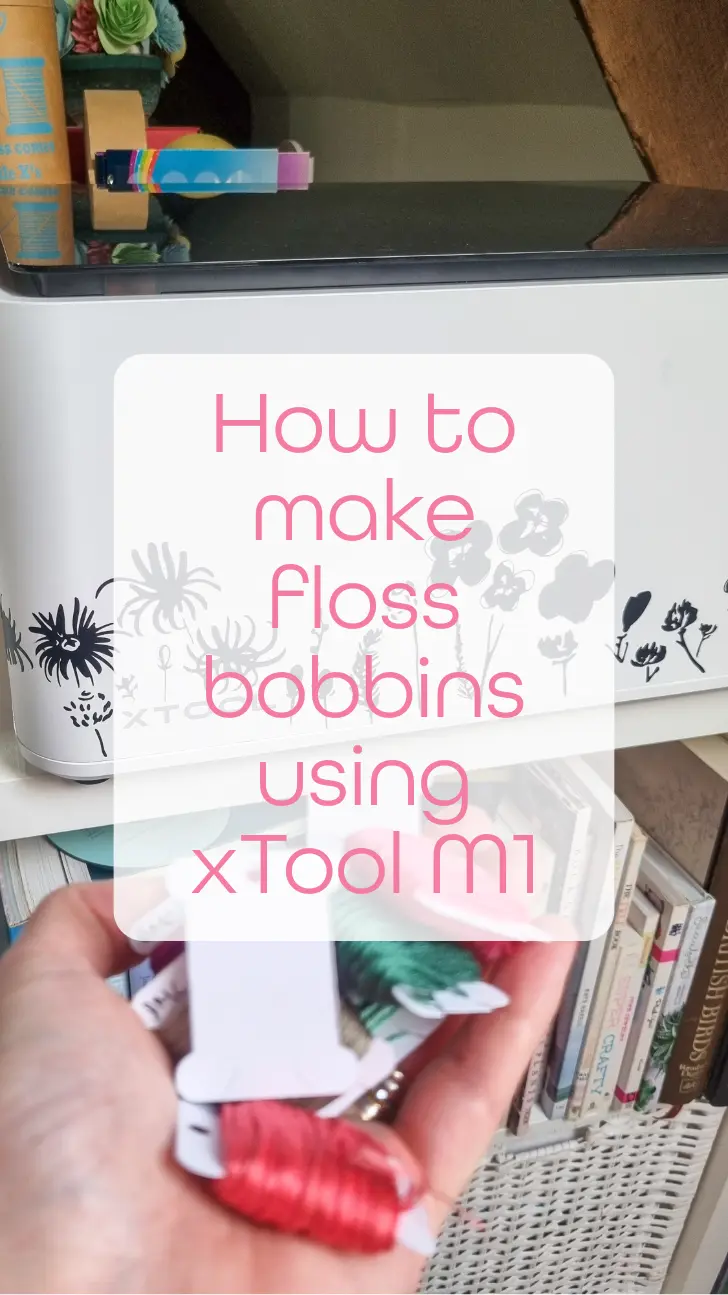
As a crafter and serial embroiderer I get through a lot of bobbins. This year I’ve vowed to not buy any more stuff but use the supplies I already have. So when in need of more floss bobbins, I turned to my cutting machine rather than Amazon or my local craft store. It’s super simple and you can create you very own custom ones with you choice of card stock. Here’s how to make floss bobbins using a digital cutting machine.
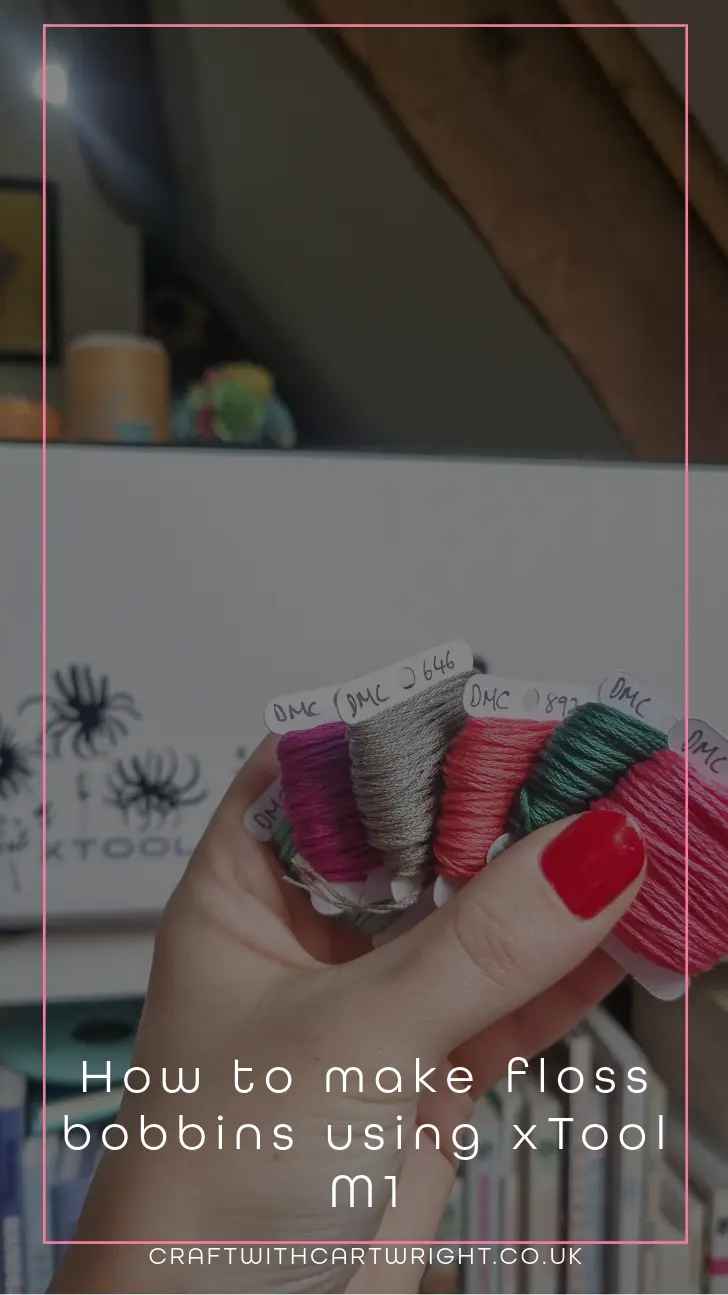
This will work with Cricut, Silhouette, xtool, Loklik and laser cutting machines as well.
How do you make a floss bobbin?
I love my xTool M1 for working across so many crafts that I love. In particular combining it with embroidery and cross stitch. To whip up a new batch of floss bobbins when I get new thread supplies it super simple.
First you will need to download the svg file, which is free at the bottom of this post.
Then upload it to the xTool creative space.
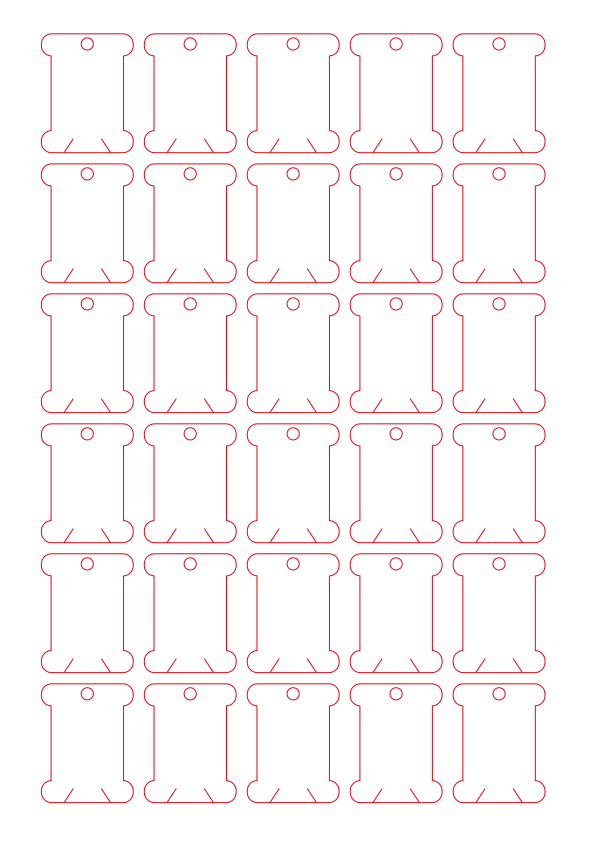
There is no need to resize as this is set up to be cut from a a4 piece of cardstock. You will get 30 bobbins from an a4 sheet.

The settings for cutting from cardstock are:
- Cut pressure 234
- Speed 80
- Pass 2
I used a light grip mat

Once cut you just need to weed the bobbins. I find this easier to do with the mat still in the machine, but you may prefer to take the mat out.
Pull the outer off cut away and lift each bobbin with you weeding tool or scraper. Try not the damage the edges of the card.

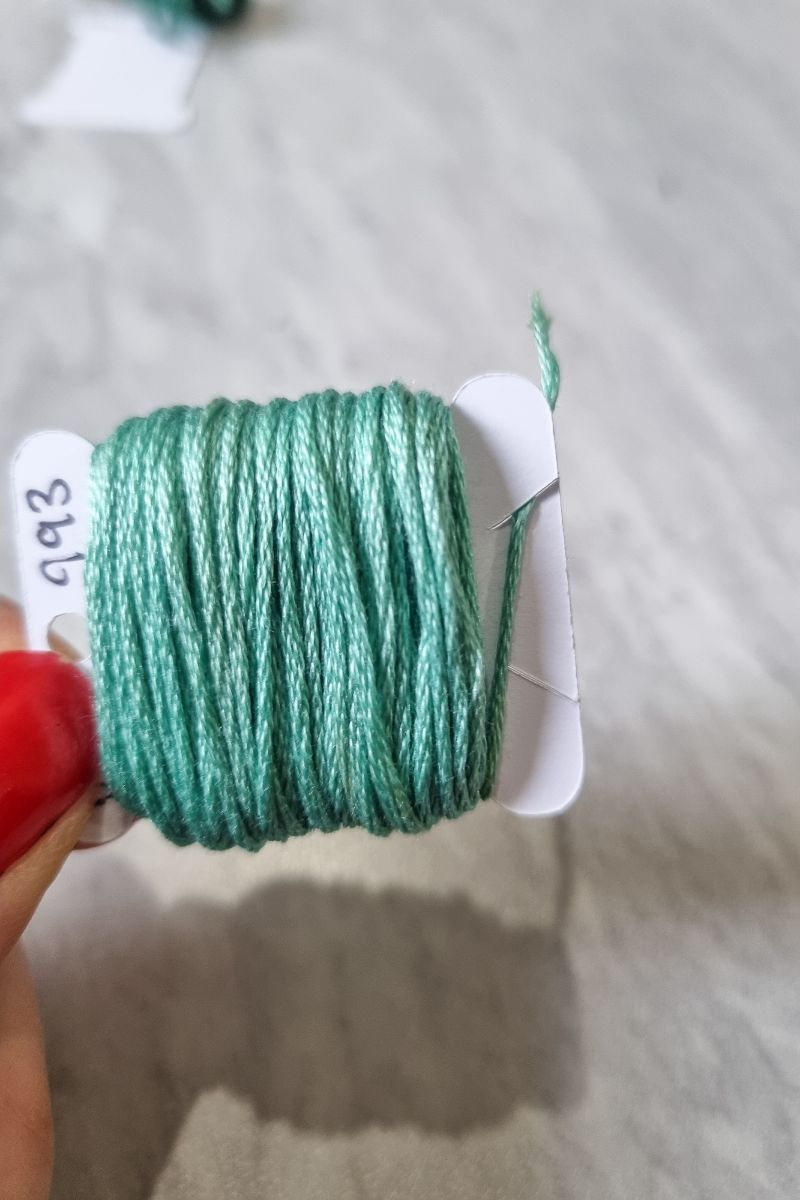
Then you have a whole bunch of bobbins, complete with a hole so they can be added to a ring and cuts at the bottom to secure your floss.

FAQ’s
How do you transfer floss to a bobbin
The easiest way to transfer floss to a bobbin is by hand, but you can buy a bobbin winder if you have many bobbins to fill
How to wrap thread / string around a floss bobbin

Remove the paper wrapper from you floss. Transfer the make and floss colour to your bobbin. I like to use a sharpie for this.

Then open the floss into a circle shape, take the end of the floss that is in the centre of the circle and place that on your bobbin.

Hold it with you thumb and then wrap the floss around and around the bobbin, ensuring you do this evenly over the entire bobbin middle.

When you get to the end, tuck the loose thread into one of the slits at the bottom of the bobbin.
Don’t have a digital cutting machine?
Try this instead: You can also download a printable pdf version of the bobbin template to download, print and cut by hand. You will also need a hole punch if you want to use your bobbins on a ring.