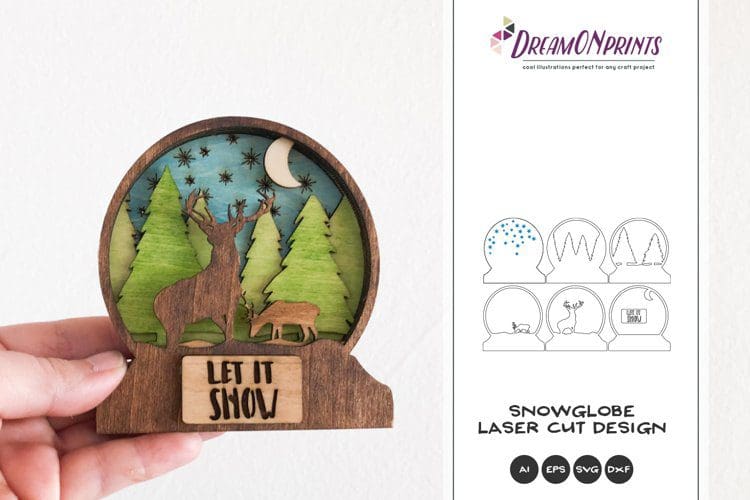
DIY wooden snow globe ornament

Let me show you how to create your own DIY wooden snow globe for your favourite winter-lover.

This wooden snow globe ornament is a fun and easy craft to make. The best part? It can be made in under an hour and decorated anyway you like.
I used this laser cut file from dream on prints at design bundles to create my snow globe ornament. Currently in their free designs section, so grab it now and save for later.

DIY wooden snow globe ornament
Materials
- Birchwood ply 1.5mm thickness
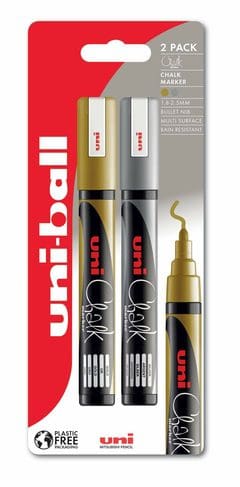
- chalk pens
Tools
- Laser cutter or cricut machine
- Hot glue gun
Instructions
- First head to deam on prints at design bundles and download the Christmas Snow Globe Laser Cut Design.
- Extract the zip file and upload the svg to your laser cutter.
- Load in your birch wood ply and adjust the design to fit
- Cut out your layered design. Remember black lines are cut lines and the blue lines are for engraving.
- Once cut out you can add colour to the sections. You could use wood stain, but for a quick and fairly small project like this, I'd recommend chalk pens.
- Once you've added all the colour you want, assesemble your design gluing each section on top of the pervious one.
- Top tip - layer them first to check you've got the correct order before gluing them together.
Recommended Products
As an Amazon Associate and member of other affiliate programs, I earn from qualifying purchases.