How do you copy a cross stitch pattern? A beginner’s guide to counted cross stitch

If you’re new to cross stitch and wondering how to copy a pattern, you’re in the right place. Whether you’ve found a beautiful design online, in a magazine, or created your own, copying a counted cross stitch pattern is easier than you might think and it’s the first step to bringing your stitching project to life.
In this guide, I’ll walk you through the essentials of transferring a counted cross stitch pattern onto fabric, without using pre-printed or stamped designs.

What is counted cross stitch?
Counted cross stitch is a method where you follow a charted pattern and count stitches on blank fabric, usually Aida or even weave. Unlike stamped cross stitch, the design isn’t printed on the fabric, so accuracy and preparation are key.
What you’ll need
Before you begin copying your pattern, gather these essentials:
- A printed or digital cross stitch chart
- Blank Aida or even weave fabric
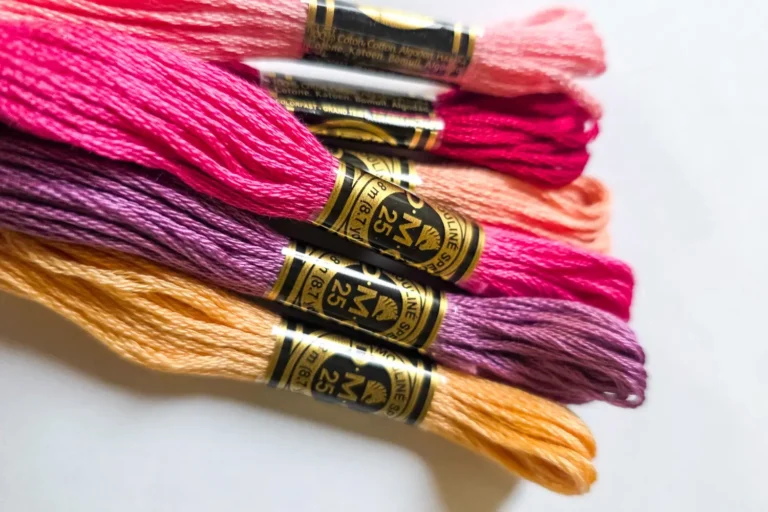
- Embroidery floss colour-coded to your pattern
- Embroidery hoop or frame
- Needles, size 24 or 26 for Aida
- Highlighter or pencil for marking your progress
- Optional: Graph paper for custom designs
Step-by-step: How to copy a counted cross stitch pattern

Understand the pattern grid
Most cross stitch patterns are laid out on a grid, with each square representing one stitch. Symbols or colours indicate which thread to use.
Tip: If your pattern is digital, consider printing it out so you can mark off stitches as you go.
Prepare your fabric
Cut your fabric to size, leaving at least two inches of margin on each side.
Find the centre of your fabric by folding it in half both ways.
Locate the centre of your pattern. This is usually marked with arrows or a bold line.
Start stitching from the centre
Begin stitching from the centre of the fabric and pattern. This ensures your design is properly aligned and fits within the fabric boundaries.
Count carefully
Use the grid to count stitches from the centre outward. Double-check your placement before stitching, especially when changing colours or moving to a new section.
Mark your progress
Use a highlighter or pencil to mark completed stitches on your pattern. This helps prevent mistakes and keeps you motivated as you see your progress.
Copying a pattern for future use
If you want to duplicate a pattern for personal use, such as making a second version or adapting colours, here’s how:
- Photocopy or scan the original chart for personal use only
- Use graph paper to redraw or tweak designs
- Create a digital version using free cross stitch software like Stitch Fiddle or PCStitch
If you’re looking for beginner-friendly patterns, tutorials, or free design files, make sure you check out my pattern library.