

Mastering Vinyl Layering with M1 xTool: A Step-by-Step Guide

Vinyl layering is an essential skill for any vinyl craft enthusiast, allowing you to create stunning, multi-coloured designs with ease. I’ll walk you through the process of layering vinyl decals using your M1 xTool machine. Whether you’re a beginner or an experienced crafter, mastering this technique will open up a world of creative possibilities

Step 1: Selecting Your Design
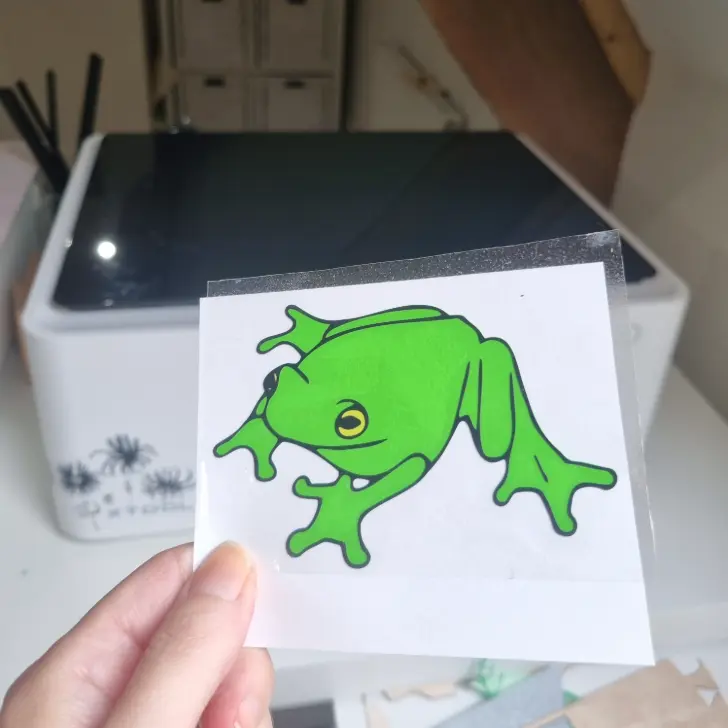
Start by choosing the design you want to create. Keep in mind that intricate designs with multiple layers may require more time and patience. For this tutorial I used my layered frog design, which you can download for free at the bottom of the post

Step 2: Prepare Your Materials
Gather your materials, including different colours of adhesive vinyl, transfer tape, a weeding tool, and your M1 xTool cutting machine. Make sure your work surface is clean and free from any debris.
Step 3: Design Setup
Upload your chosen design into xTool creative Space or create your own. You can browse my free svg library for layered designs. Adjust the size and layout as needed to fit your project.
Step 4: Cutting Your Vinyl
Load the colours of vinyl onto your xTool cutting mat and place it into your machine. Use the camera in xTool creative Space to line up each layer of your design with the vinyl before cutting

Step 5: Weeding
Carefully weed away the excess vinyl from each layer using a weeding tool. Take your time to ensure clean edges and precise details.
Step 6: Transfer Tape
Cut a piece of transfer tape slightly larger than your design. Peel off the backing and carefully place it over the first layer of vinyl, smoothing out any air bubbles.
Step 7: Layering
Peel off the backing from the first layer of vinyl, leaving the design on the transfer tape. Align it carefully over the base layer of your project and press down firmly to adhere.
Step 8: Repeat and Build
Continue this process for each additional layer, using transfer tape to align and apply each piece accurately. Take your time to ensure each layer is properly positioned before moving on to the next.
Step 9: Final Touches
Once all layers are applied to your project, gently peel away the transfer tape, leaving behind your layered vinyl decal. Use a scraper tool to smooth out any air bubbles and ensure strong adhesion.
Step 10: Enjoy Your Creation
Admire your finished masterpiece! Whether you’re decorating a mug, wall art, or a car window, your layered vinyl decal is sure to impress.
Layering vinyl with your M1 xTool opens up endless possibilities for creative expression. With a little practice and patience, you’ll soon be layering intricate designs like a pro. So gather your materials, fire up your M1, and let your imagination run wild!
Download the layered frog svg here


