How to transfer an embroidery design (5 ways)

Embroidery is an art form that allows you to express your creativity through intricate stitching and designs. However, before you can start stitching, you need to transfer your design onto the fabric. There are several methods you can use to transfer an embroidery design, each with its own unique benefits.
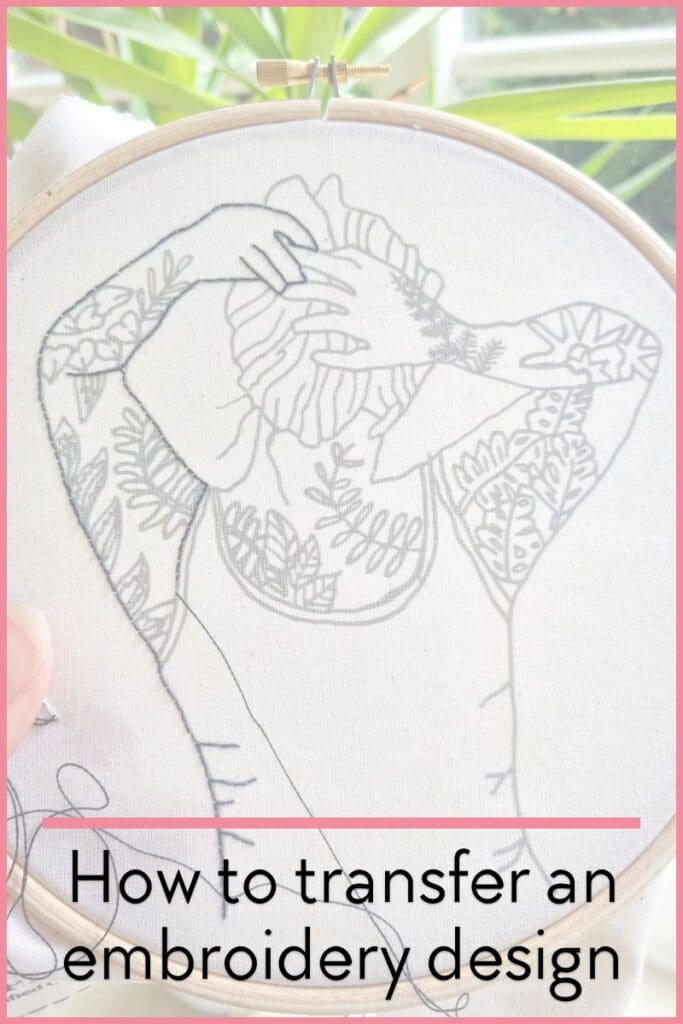
These are five creative ways to transfer your embroidery design onto fabric.
Cricut Draw Tool:
If you own a Cricut cutting machine, you can take advantage of its draw tool feature to transfer your embroidery design onto fabric. Simply upload your design to the Cricut Design Space, place your fabric on a mat, and let the machine draw the design directly onto the fabric using a washable fabric pen. Once the design is drawn, you can easily stitch over the lines.
For a tutorial on how this works, read my post How to create Cricut maker embroidery
Laser Engraving:
Laser engraving offers a precise and permanent way to transfer your embroidery design onto fabric. Using a laser engraving machine, you can etch your design onto the fabric surface, creating an outline that you can follow with your stitches. This method works particularly well for intricate designs and is especially useful for fabrics like leather and denim.
See how I made my own stamped cross stitch fabric using this technique here.

Transfer Pens and Tracing:
Transfer pens, also known as transfer markers, allow you to trace your design directly onto the fabric. Simply place your design underneath the fabric, trace over it with the transfer pen, and the design will transfer onto the fabric. This method is quick and easy, making it ideal for simple designs or when you’re in a hurry to start stitching. You can make it easier to trace if you hold it up to a window or use a light box underneath to illuminate it.

Carbon Paper:
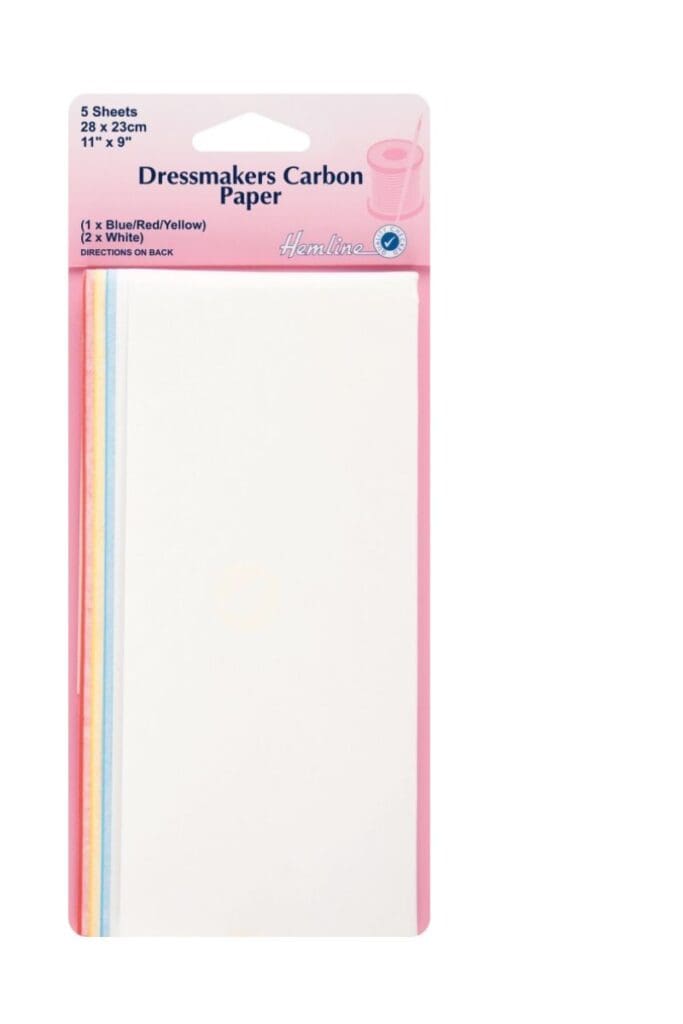
Carbon paper is another traditional method for transferring embroidery designs onto fabric. Place the carbon paper, carbon side down, on top of your fabric, followed by your design. Trace over the design with a pencil or stylus, and the carbon paper will transfer the design onto the fabric. This method works well for both simple and complex designs and is easily accessible at most craft stores.
Printable Wash or Tear Away Stabilizer:
Printable wash or tear away stabilizer is a convenient option for transferring embroidery designs, especially if you’re working with delicate or stretchy fabrics. Simply print your design onto the stabilizer using a regular inkjet printer, then place the stabilizer onto your fabric and stitch through it. Once you’re done stitching, you can easily wash away or tear away the stabilizer, leaving behind your beautiful embroidery design.
So those are my five creative ways to transfer an embroidery design onto fabric, each offering its own advantages depending on your preferences and the complexity of your design. Whether you choose to use a Cricut machine, laser engraving, transfer pens, carbon paper, or printable stabilizer, experimenting with different methods can add an extra layer of creativity to your embroidery projects. So why not test them out and find your favourite.