HTV Ready-to-Press Designs: Create Custom T-Shirts

Creating custom t-shirts using HTV ready-to-press designs is such a fun craft and great for all occasions. If you’ve never worked with HTV before and own a machine like a Cricut, you’re in the right place!

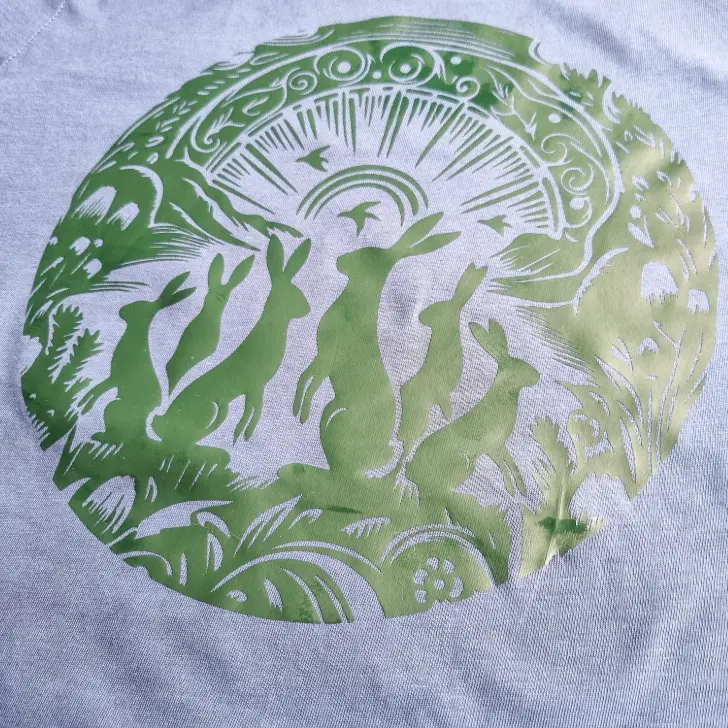
HTV, or Heat Transfer Vinyl, is a fantastic material that allows us to add unique designs to our clothing. And today, I’ll show you how to use a specific HTV design to create a custom t-shirt using my free Spring Hares SVG.
Step 1: Choose Your Design
First things first, you need to select your design. On Craft With Cartwright, you’ll find a wide selection of SVG designs perfect for using with HTV. For this project, we’ll use the free Spring Hares SVG. To access this exclusive content, simply sign up at the bottom of this post.
Step 2: Prepare Your HTV
Once you’ve downloaded the Spring Hares SVG, it’s time to prepare your HTV. Load the design into your Cricut machine and let it do its magic. Remember to mirror your design before cutting!
Step 3: Press Your Design
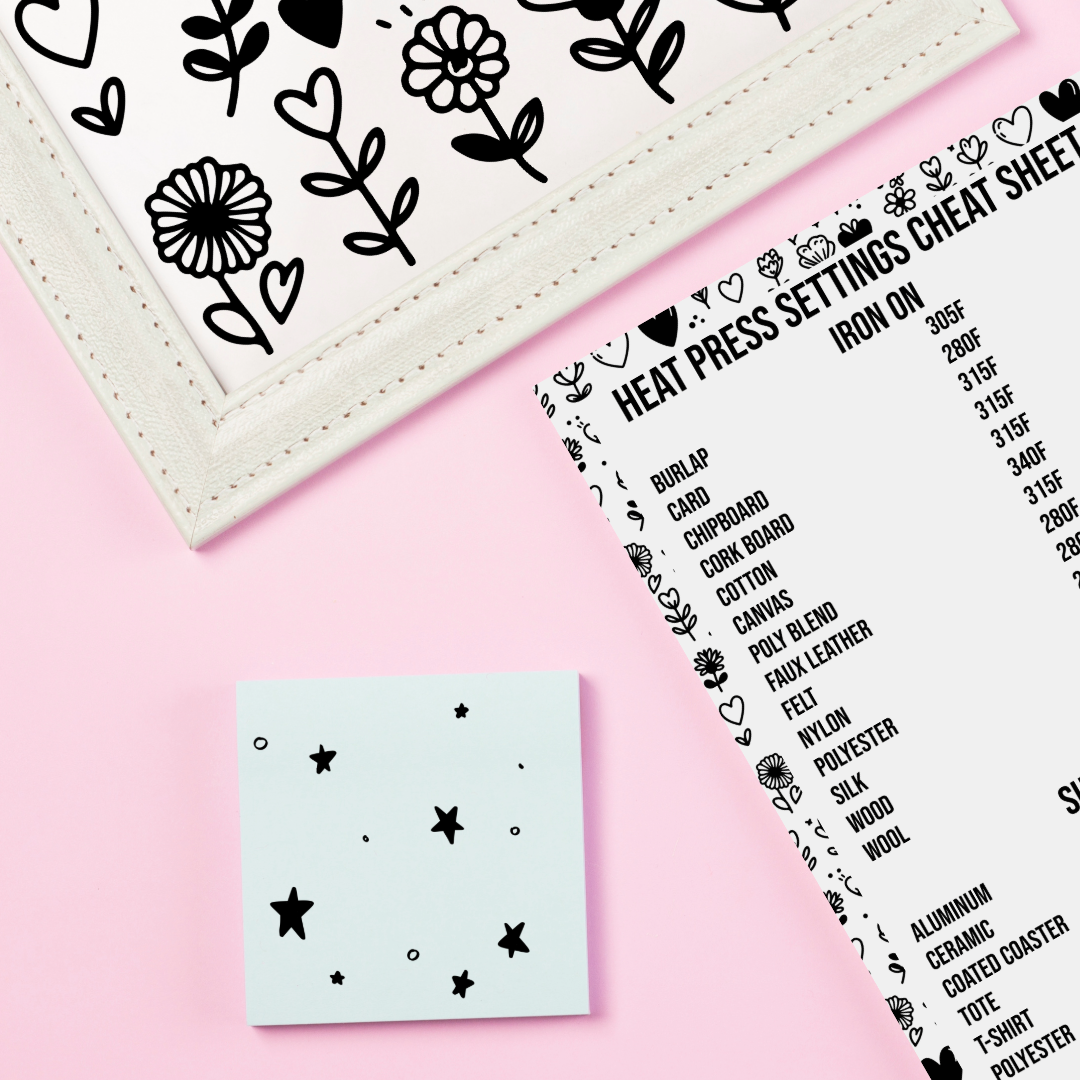
After weeding your design, position it on your t-shirt and press it using your heat press or iron. Make sure to apply even pressure and follow the recommended temperature and time settings for your HTV.
Step 4: Reveal Your Custom T-Shirt
Once cooled, peel off the carrier sheet to reveal your custom t-shirt! You’ve now transformed a plain t-shirt into a unique piece of wearable art.
Craft With Cartwright offers a plethora of SVG designs that are perfect for HTV projects. Whether you’re making a gift, crafting for holidays, or simply crafting for fun, these designs will surely add a personal touch to your creations.
Free download