


How to Make a Hair Tie Tutu: A Fun and Simple DIY Project!

This no-sew DIY project is quick, budget-friendly, and perfect for kids, costumes, or just for fun. Using basic materials tulle and a hair tie, you can whip up a cute, colourful tutu for your hair, in no time.
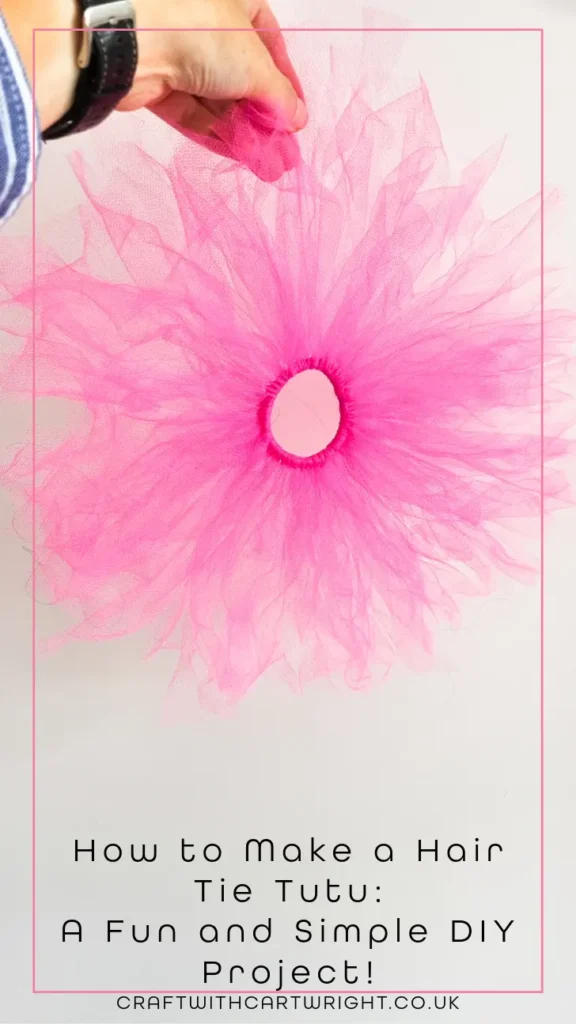
Materials You’ll Need:
- Tulle (choose your favorite colors!)
- Elastic hair ties (the kind you’d usually use for ponytails)
- Scissors
Step-by-Step Instructions:
1. Cut the Tulle
Cut your tulle into strips. Depending on how full you want the tutu, you can vary the width and length of each strip. I cut 50 strips 1” x 4” for my hair tie.
2. Attach the Tulle to the Hair Tie
Take one strip of tulle, fold it in half, and place the folded end behind the hair tie. Pull the loose ends through the loop, securing it around the hair tie. Tighten, and repeat this step all around the hair tie until it is covered with your tulle strips.
3. Add Layers for Fullness
If you want your tutu to be extra full, you can add more layers of tulle by repeating the process with additional hair ties stacked over the first.
4. Adjust and Fluff
Once you’ve filled your hair tie with tulle, go around and fluff up the layers. Adjust the strips to make the tutu look as full as you want.

Optional:
- Multi colours: You can use more than one colour of tulle for a rainbow / multi coloured hair decoration
- Glitter or Decorative Elements: For a more festive tutu, consider adding beads or attaching sequins.


Should it be 50 1″x4″? you have 40″ that seems like too much
thanks for spotting my typo