How to make a padded cross stitch ornament

This Kawaii rooster ornament I made for my Easter tree, but this tutorial and step by step guide on how to make a padded cross stitch ornament can be used no matter the occasion. Cross stitch ornaments, look fabulous at Valentines, Thanksgiving, Christmas and also make great birthday and wedding gifts.

Materials:
You will need
- Finished cross stitch project. I recommend you don’t make it too big. Why not browse my collection of 3 inch patterns as a great starting point.
- Cotton Backing fabric
- Iron on interfacing
- Iron
- Ribbon or cord for hanging loop
- Sewing thread
- Hand sewing needle or sewing machine
- Pins
- scissors
- Wadding
Here’s how to make a padded cross stitch ornament:
- Using an iron apply the interfacing to the back of your stitched project

- Trim the design down, leaving a 2cm boarder around the design

- Cut your backing fabric to the same shape
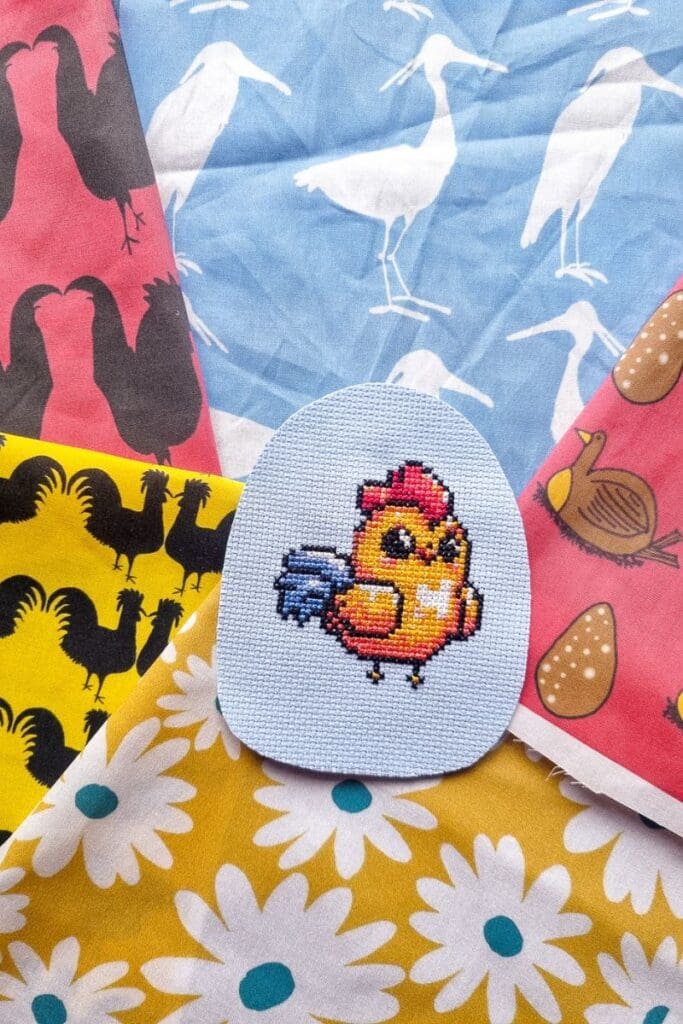
- Cut a length of ribbon or cord long enough to make a hanging loop.

- Place the hanging loop, facing downwards over the right side of your design.
- Place the backing fabric right side down, over the stitched fabric and the hanging loop
- Pin in place
- Stitch a 1cm seam allowance around the shape, leaving a gap to turn it out.
- Press the seam open and snip any curves
- Turn the right side out
- Stuff with wadding, do not over fill as this will push at your seams.

- Slip stitch the gap closed.
- Display for everyone to enjoy!