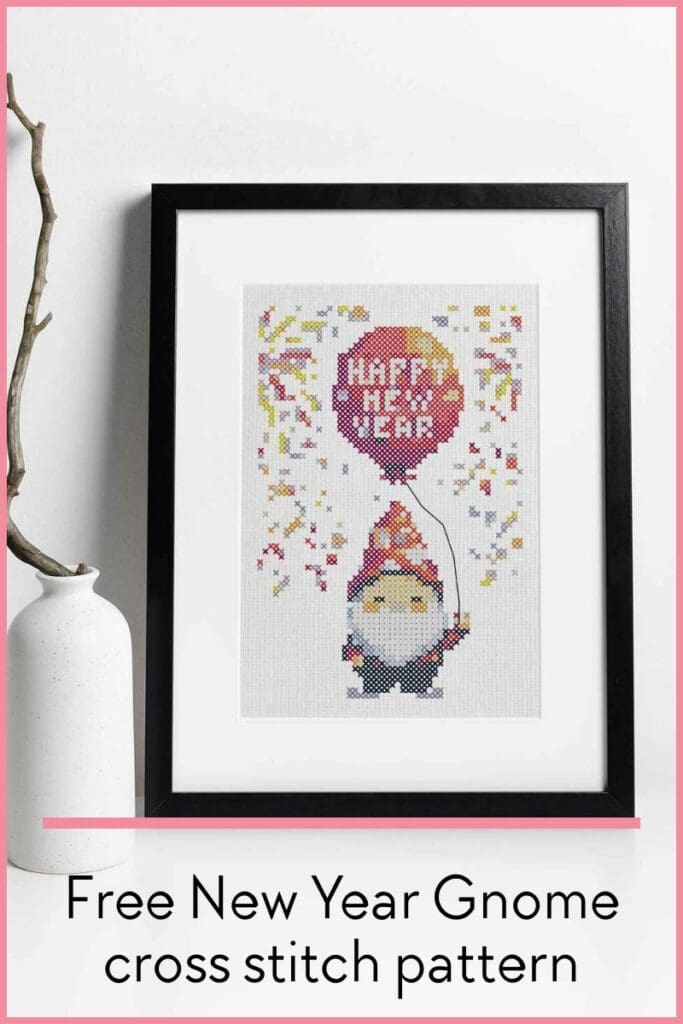
Free New Year Gnome cross stitch pattern

As we say goodbye to the old year and welcome in the new, there’s no better time to embark on a a new cross stitch project. Grab the free new year gnome cross stitch pattern here. Download the printable pdf chart at the bottom of this post.
Materials Needed:
Before you begin, make sure you have the following materials at hand:
- 14 count Aida fabric
- Embroidery hoop
- Cross stitch needle – size 24
- DMC Embroidery floss
- Embroidery Scissors
- Pattern printout (download link provided below)
Pattern dimensions
- Grid Size: 50W x 74H
- Design Area: 3.57″ x 5.29″ (50 x 74 stitches)
Stitchers gallery

Instructions:
- Start by securing the Aida fabric in the embroidery hoop, ensuring it’s stretched evenly for a smooth stitching surface.
- Thread your cross stitch needle with a single strand of the first colour of embroidery floss, doubled to secure with the loop method.
- Consult the pattern and start from the centre, following the grid and symbols to create the charming gnome design.
- Utilise a basic cross stitch for the main body of the gnome and finish the string with backstitch.
- Feel free to get creative with different colour combinations, making the gnome uniquely yours.
- Upon completing the stitching, carefully remove the Aida fabric from the hoop and trim any excess material.
Tips:
- Take breaks to prevent eye strain, especially during extended stitching sessions.
- Keep your embroidery floss neatly organised for a more efficient stitching process.
- Feel free to enhance your creation with beads or sequins for an extra touch of magic.
Displaying Your Finished Gnome:
Once your cross stitch masterpiece is finished, consider displaying it in a decorative hoop or framing it for an elegant touch. If you’d like to make something different with it, check out my 35 Alternatives to framing cross stitch
Download your free new year gnome cross stitch pattern here