Crafts | Downloads | Easter | Embroidery
DIY Colourful Easter Egg Banner with HTV and Embroidery

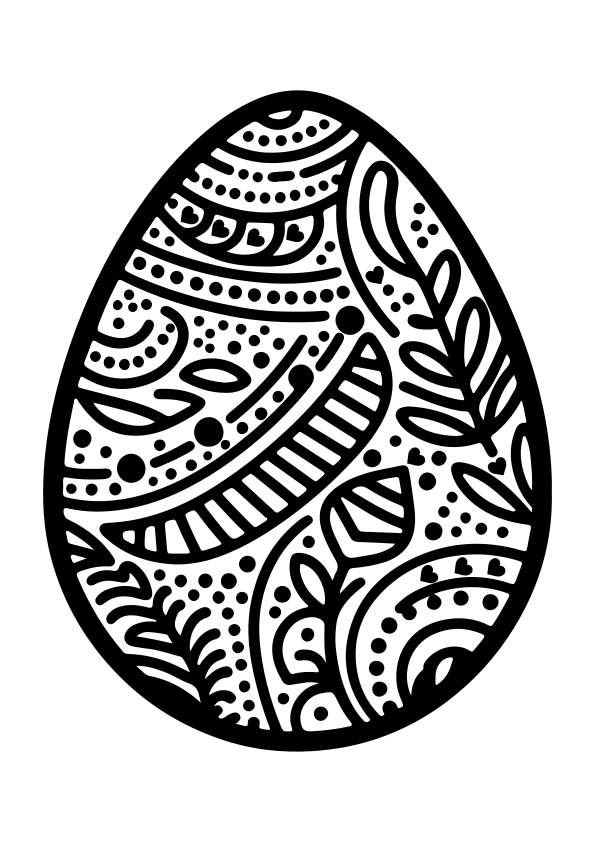
I love to combine different crafts and play with technology and hand crafted elements. This diy colourful Easter egg banner does just that, using both HTV and embroidery. Download the free svg cut file and try making one today.

Whether you’re an experienced crafter or just starting out, this project is a great way to add a handmade touch to your seasonal décor.
What You’ll Need
- Plain fabric banner
- Green HTV
- Iron or heat press
- Cutting machine (Loklik, Cricut, or Silhouette)
- Embroidery thread in assorted colours
- Embroidery needle
- Scissors
- Twine or cord for hanging
- Free Easter Egg SVG
You can download the Easter egg SVG file I used for free here
How to Make Your Easter Egg Banner
- Cut Your Design from HTV
Upload the Easter egg SVG to your cutting machine software. Cut the base shape from green HTV. (Remember to mirror your design before cutting!) - Weed the design by removing the excess heat transfer vinyl, leaving only the design on the carrier sheet.
- Apply the HTV
Use an iron or heat press to transfer the HTV design onto the centre of your banner. - Add Embroidery Details
Once your HTV has cooled, add hand-stitched details to enhance the design. I stitched using satin stitch, French knots, lazy daisy and chain stitch, in the gaps and sometimes over the htv. Play around with your placement and stitches to create texture and contrast. It’s like colouring in with thread!
You can keep it minimal or fill the whole thing in, it’s up to you.