
DIY Colouring Tote Bag: Stained Glass Sunrise Design with Cricut
Creating custom tote bags can be a fun and rewarding DIY project, especially with a Cricut or similar cutting machine. One of my favourite designs to make is a stained glass window effect, which can be coloured in with fabric pens. I’ll guide you through the process of making a beautiful stained glass sunrise design tote bag using my free SVG cut file. This project is perfect for both beginners and seasoned crafters, and it adds a personal touch to any plain tote bag.

Materials Needed
To start, gather the following materials:
- Plain tote bag
- Cricut or similar cutting machine
- Black heat transfer vinyl (HTV)
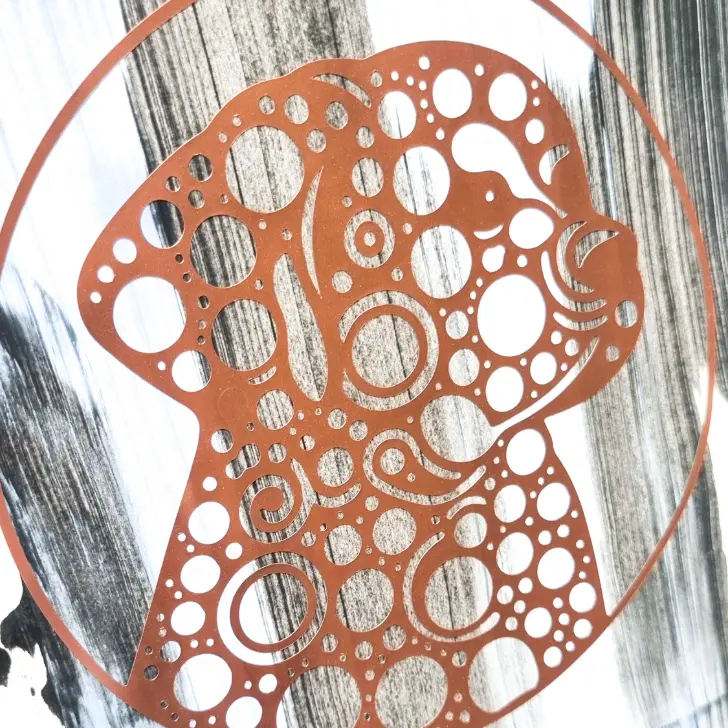
- Free sunrise stained glass window SVG cut file
- Fabric pens
- Weeding tool
- Heat press or iron
- Cutting mat
Step 1: Download the Free SVG Template
First, download the free sunrise stained glass window SVG cut file. This template is designed specifically for this project and will help create the intricate lines needed for the stained glass effect. Once you have the file, upload it to your cutting machine software.
Step 2: Prepare the SVG File in Cricut Design Space
Open Cricut Design Space (or your machine’s equivalent software) and upload the SVG file. Resize the design to fit your tote bag. A typical tote bag can handle a design that’s about 10-12 inches wide, but measure your bag to be sure.
Step 3: Cut the Design
Place the black HTV on your cutting mat with the shiny side down. Load the mat into your Cricut machine. Make sure to select “mirror” in the design space software, as this will ensure that the design is properly oriented when applied to the tote bag. Set the material to HTV, and let the Cricut work its magic.
Step 4: Weed the Design
After cutting, carefully weed out the excess vinyl using a weeding tool. This step requires some patience, as the stained glass design has intricate lines and details. Make sure all the pieces that should be removed are taken out, leaving the outline of the sunrise and stained glass sections intact.
Step 5: Apply the HTV to the Tote Bag
Preheat your heat press or iron to the temperature recommended for HTV. Place the tote bag on a flat surface and preheat it for a few seconds to remove any moisture. Position the weeded design on the tote bag with the shiny side up. Apply heat and pressure according to the HTV instructions. If using an iron, press firmly and evenly across the design for about 30 seconds. Allow the design to cool slightly, then carefully peel off the carrier sheet.
Step 6: Color in the Design
Once the HTV is securely attached and the carrier sheet is removed, it’s time to add some color! Use fabric pens to color in the different sections of the stained glass design. The black HTV outlines will help guide your coloring, creating a beautiful stained glass effect. Choose vibrant colors for a sunrise that truly stands out.
Final Touches
Let the fabric pens dry completely according to the manufacturer’s instructions. After the ink is dry, you may want to set the colors with heat if recommended by the fabric pen manufacturer. This will ensure that your design stays vibrant and doesn’t wash out over time.
Share Your Creation
Creating a stained glass window design tote bag is a fantastic way to personalise a plain tote. Not only is it practical, but it’s also a unique piece of art that you can proudly use or gift. Share your creations with me on social media, just tag @craftcarwright so I spot them.
Download the FREE SVG here


