


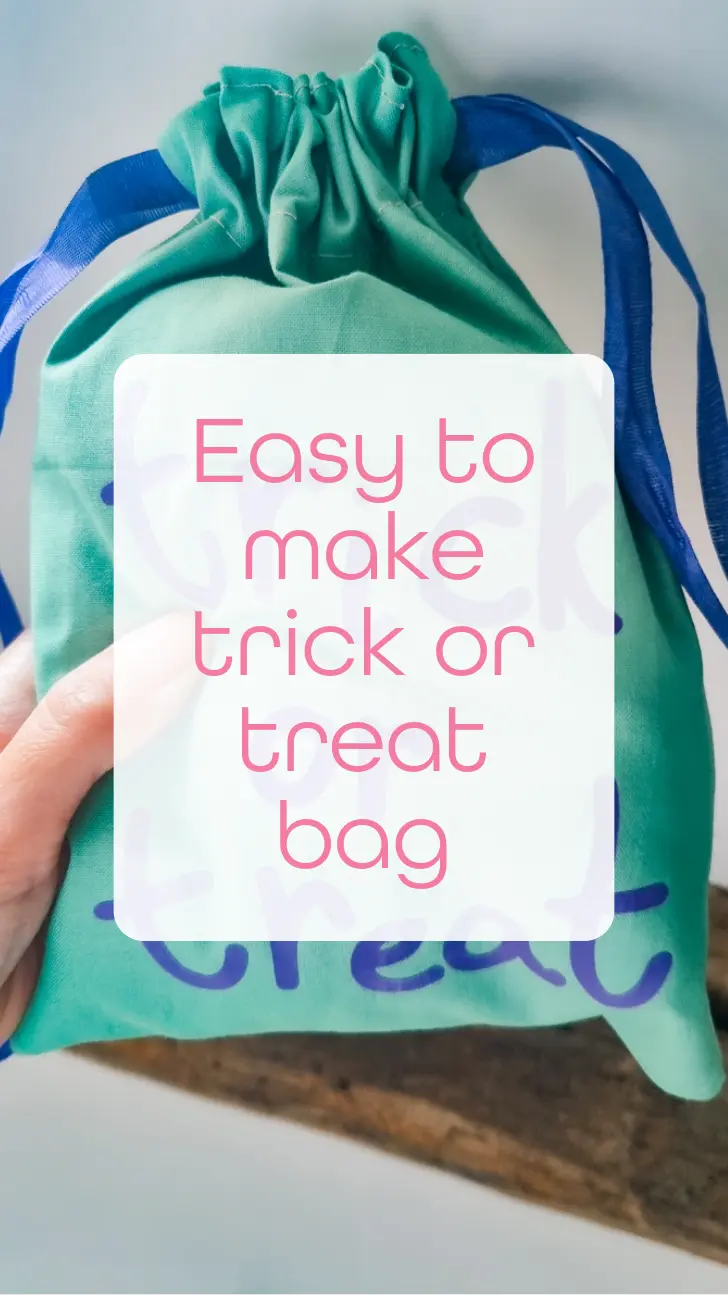
Easy to make trick or treat bag

Get into the Halloween spirit with this fun and functional trick-or-treat bag that combines cross-stitching, HTV design, and sewing skills. Perfect for carrying all those sweets, this project is simple enough for beginners and adds a personal touch to your Halloween festivities.

Materials Needed:
- Fabric: Two pieces of sturdy cotton fabric
- Ribbon or cord: Two pieces, each 30 inches long.
- Iron-on Vinyl (HTV): ‘Trick or Treat’ design (download at the bottom of this post).
- Halloween Gnome Cross Stitch Patch: stitched yourself (pattern here).
- Sewing Machine (or needle and thread for hand sewing).
- Iron & Heat Press.
- Pins or Fabric Clips.
- Scissors or Rotary Cutter.
- Safety pin
Step-by-Step Instructions:
Step 1: Attach the Halloween Gnome Cross Stitch Patch
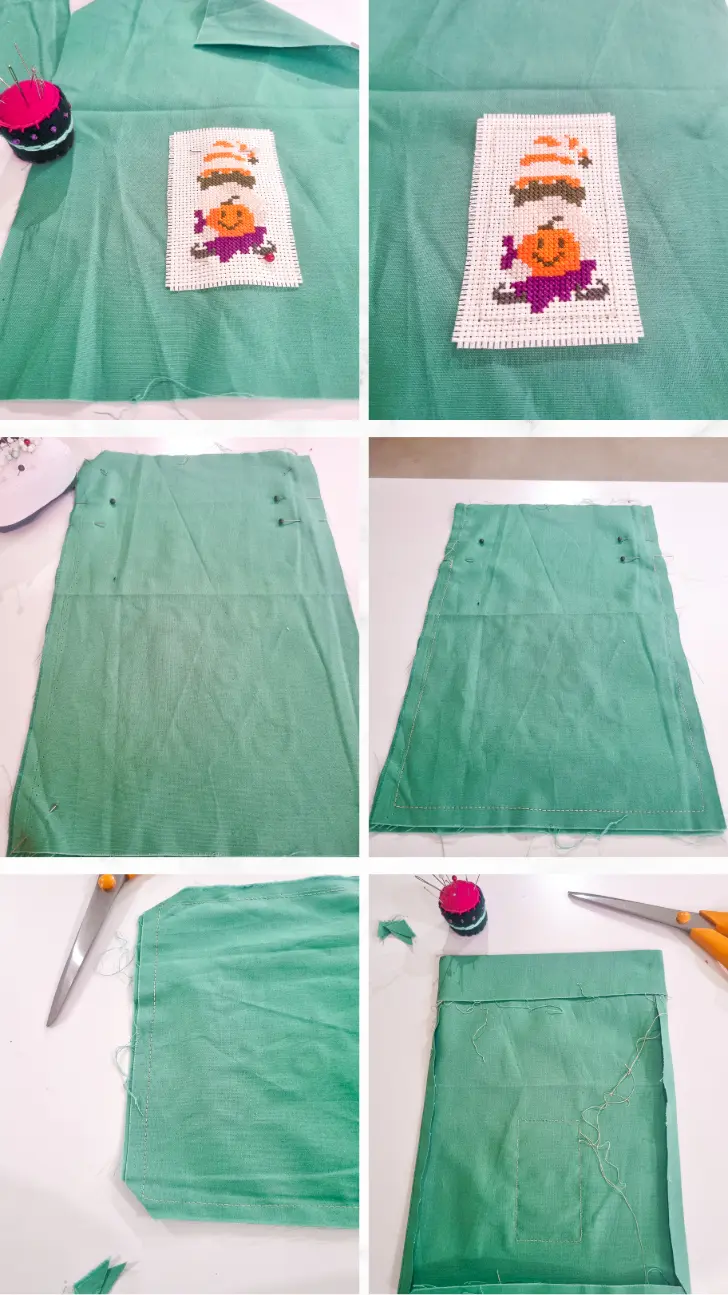
- Cut the Fabric: Cut two pieces of fabric, each measuring 9 inches wide by 12 inches tall.
- Create or Prepare the Patch: stitch your gnome design on a separate piece of Aida fabric.
- Attach the Patch: Position the patch on one side of the bag, about 3 inches from the bottom. Secure it in place using pins.
- Sew the Patch: Use a straight stitch just in from the edges of the cross-stitch piece to attach it securely to the bag. Ensure that the patch is lying flat with no puckering.
Step 2: Create the Drawstring Bag
- Mark the drawstring: place pins where you would like the drawstring to be positioned. Roughly two inches from the top. Leave a gap the width of your ribbon and mark.
- Sew the Sides: Place the two pieces of fabric right sides together. Sew along both long sides leaving the gap where the pins show the drawstring placement and the bottom, using a 1/2-inch seam allowance. Leave the top edge open.
- Cut the corners: Trim the corners off the bottom edge, press the seams.
- Create the Drawstring Channel: Fold the top edge of the bag down 1/4 inch and press with an iron. Then fold it down again to overlap the gap on each side, pin it in place, and sew around, leaving space to thread the cord through.
- Add the Drawstring: Use a safety pin or large eyed needle to thread the ribbon through the channel on both sides of the bag. Knot the ends to prevent fraying.

Step 3: Apply the ‘Trick or Treat’ HTV Design
- download the Design: Use the provided ‘Trick or Treat’ SVG file (free download at bottom of post).
- Cut the Design: Load the design onto your cutting machine (e.g., Cricut or Silhouette) and cut it out on Heat Transfer Vinyl (HTV). Ensure to mirror the design before cutting.
- Weed the Vinyl: Remove any excess vinyl around the design using a weeding tool, leaving only the desired design on the clear backing.
- Place on the Bag: Position the HTV design on the opposite side of the cross-stitch patch, centered on the fabric.
- Heat Press: Use a heat press or iron to transfer the design. Follow the HTV manufacturer’s instructions for temperature and press time. Usually, this is around 320°F (160°C) for 10-15 seconds. Apply firm pressure and peel off the backing when cool.
Step 4: Finishing the Bag
- Double-Check the Bag: Make sure the bag’s seams are secure and trim any loose threads.
- Pull the Drawstrings: Test the drawstring closure to ensure smooth operation.
Your Halloween Trick or Treat Bag is Complete!
Fill it up with sweets, candies, or other treats, and show off your handmade bag while trick-or-treating. This is a great project for kids and adults alike to get creative with their Halloween crafting.
Download the free svg here

Halloween crafter quiz
Want to find out what type of Halloween crafter you are? Take the fun interactive quiz.


