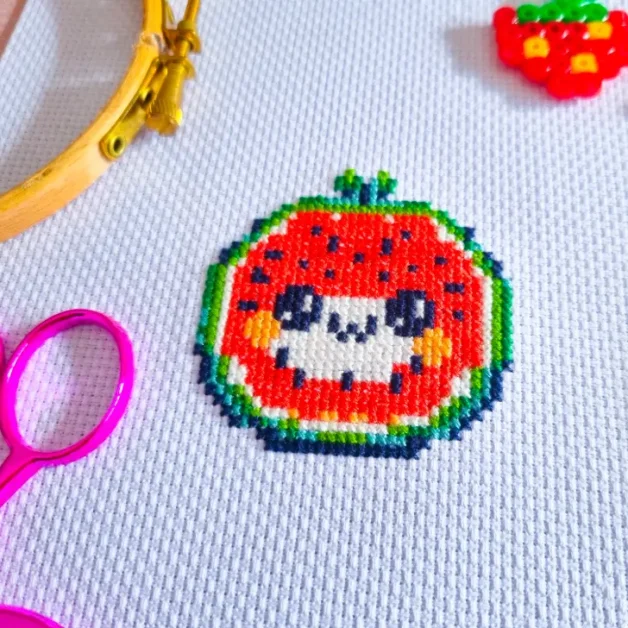
Free Watermelon slice cross stitch pattern

The perfect design to stitch for summer. Download this super cute and free Watermelon slice cross stitch pattern here!

Pattern dimensions
- Grid Size: 33W x 32H
- Design Area: 2.36″ x 2.29″ (33 x 32 stitches)
How to download and print the pattern
Once downloaded you can either print the pdf, use straight on screen or in the pattern keeper app as many of my pdfs are compatible.
Yield: Cross stitch
How to stitch the Watermelon slice cross stitch pattern
Prep Time:
5 minutes
Active Time:
3 hours
Total Time:
3 hours 5 minutes
If you've never stitched before, then read through these simple instructions to help you stitch the watermelon slice cross stitch embroidery pattern
Materials
- 14 count white aida
- DMC embroidery threads
Tools
- Pattern
- Embroidery needle
- Embroidery hoop
- Embroidery scissors
- Optional - a thimble
Instructions
- Start by printing off your pattern and checking it's dimensions
- Cut the fabric to larger than the pattern dimensions and your hoop size
- Fold the fabric into quarter to identify the centre
- fit in your hoop
- Tighten the hoop to secure the fabric
- Find the centre of your pattern and the centre of your fabric design
- Start stitching from the centre
- Cut a length of embroidery floss no longer than the length of your arm
- Separate it into one strand and keep the remaining five for later
- Double the thread and thread your needle
- Start stitching from the front of your fabric, leaving a loop to thread your needle through on the first stitch to secure. Tug so that it moves to the back.
- Work your stitches all the in same direction, the bottom of the cross should always be the same in every stitch.
- Work in either individual crosses or for longer areas of stitch work the bottom arm of the cross stitch in a row and then stitch back over the row to do the top arm of the cross.
- To finish, ensure the needle is on the back of the fabric. Thread it through the underside of a few stitches and then snip off the loose end.