
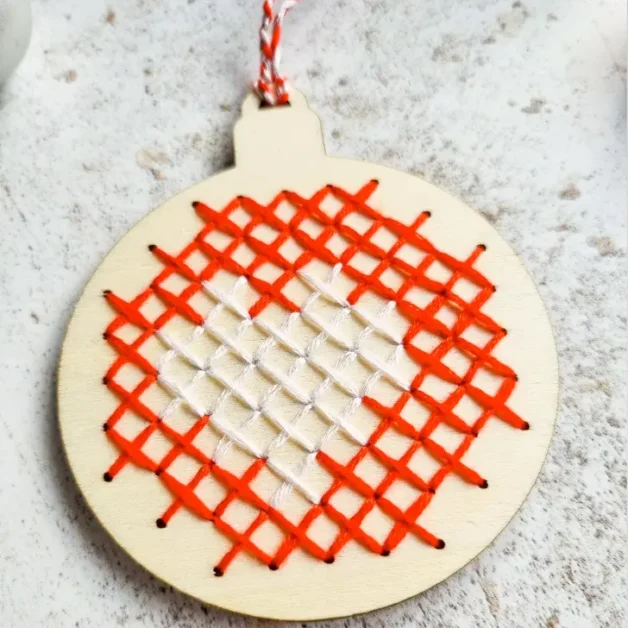
A Step-by-Step Guide to Digitizing Cross Stitch Patterns
Want to understand how to create cross stitch patterns on your computer or just want to access new ones? Here’s a step-by-step guide to digitizing cross stitch patterns.

When I first started teaching myself to cross stitch. Digital patterns did not exist and if I wanted to look at a wide range of charts. I had to go to the library, order books or buy the latest cross stitch magazines. Then in the early 2000 I started to want to design my own with newly emerging software this became not only a possibility but a reality.
What is digitization and how does it help with cross stitch?

Previously if you wanted to make a cross stitch pattern, you would first draw your design* and then using gridded paper transpose that into a pixelated format. Usually involving tracing paper and lots of colouring pencils. A very long and laboured way of creating charts.
(*If you do want to draw your own, you can use my printable cross stitch paper)
Now it can be as easy as finding the image you want, perhaps a photograph or a personal drawing. Scanning it and importing it to a programme that will automatically pixelate it and create a full floss list.
Steps to digitize a cross stitch pattern. From prepping the design to final conversion
There are drawbacks to just picking any old image though. First you need to think about what size you’d like the final project to be. Is your image really complex? If it is and you only want to stitch a small design, you’ll lose detail.
Does it have lots of colours in it? Too many colours and you’ll go bankrupt buying 50 different skeins of floss.
So it’s worth being selective in your choice, choose something roughly the same size as your final project idea and with a more limited colour pallet.

The two programmes I am most familiar with are KG chart – a free download that I no longer use, but it a great beginner friendly programme and PC stitch – which I paid for and updates regularly via the internet.

I also have WinStitch which I purchased recently, but haven’t yet got to grips with.

Both of these programmes have an import function, where you can upload your scanned in image.
You can then adjust the final size, crop it, choose how many colours you’d like to use and it will convert the chart into a design with full count stitches.

If you then want to delete parts or change colours you can simply use the the eraser and colour picker to adjust the pattern. If you want backstitch you can also add that it over the top of the cross stitch design.
Once your happy with the chart simply save it or print it off to get stitching straight away.

The ultimate list of programs to get Digitizing your cross stitch patterns
Best software for creating digital patterns for free

Free online cross stitch pattern maker

Create cross stitch chart pattern

PatternsForYou.com
Free Cross Stitch Pattern Maker is a tiny online app for making cross stitch patterns in a few clicks Free Patterns, Cross Stitch, Beading, Loom, Bricks, Peyote, Right Angle Weave, Crossstitch, Beadwork, fre, Cross Stitching, Crossstitching, stich, stiching, paterns, pcstitch

Stitchboard.com
Free Pattern Wizard, create your own beading, crochet, cross stitch, and knitting patterns

KG Chart
Best paid for cross stitch design programmes
DP Software
Premier Cross Stitch Software
PCStitch is advanced, but it's perfect for any cross-stitcher. If you're looking to extend your crafting creativity, we invite you to take a look at the ultimate design software available today.


Hi Ruth
I am a keen cross stitch designer and I have been doing it for a number of years. I would like to sell my work but not sure how to go about it, as I am not pc minded, is this the only way. I would be grateful of any ideas in getting started. With thanks Ruth
Is it the designs or finished items you’d want to sell? If you didn’t want to sell online, you could sell printed patterns at craft fairs etc or you can sell your designs to magazines. They normally put out requests 6 months in advance with a outline of what theme they are looking for, you submit ideas and if yours are picked you are paid for the rights for that design. If you want to sell stitched work, craft fairs etc are good offline places to sell. But make sure you price yourself fairly, don’t underpay yourself. If you wanted to sell patterns online, etsy is very easy to set up but it is a busy platform so it can be hard to get your work seen. I hope this helps.