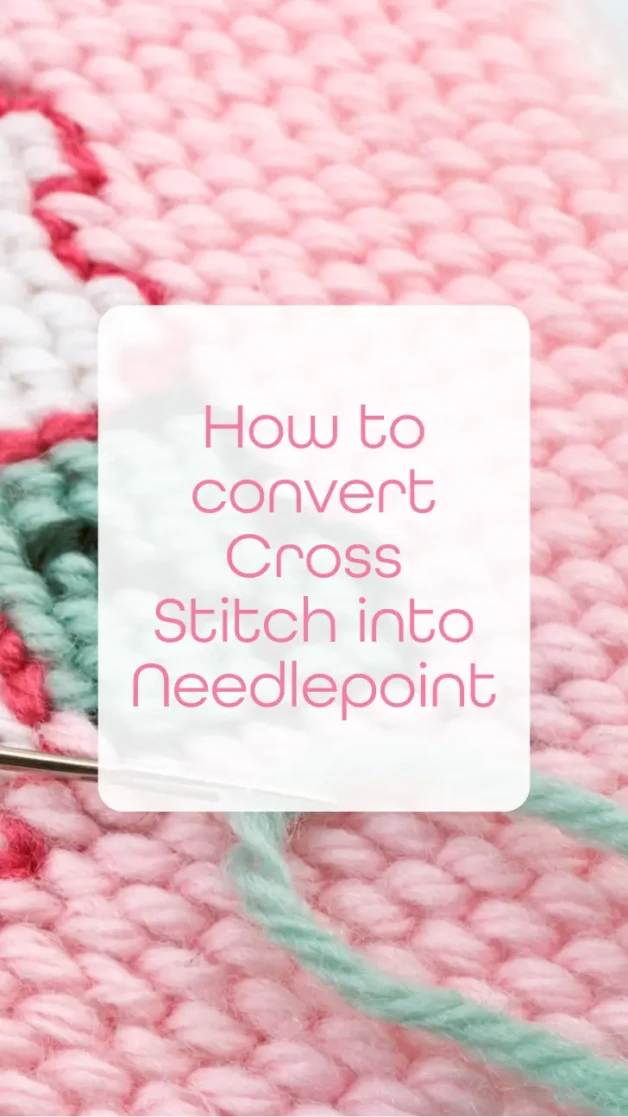
How to convert Cross Stitch into Needlepoint
Cross stitch and needlepoint are two popular forms of embroidery that I have taught for over 17 years. Did you know you can convert a cross stitch pattern into a needlepoint design? Let’s explore how.
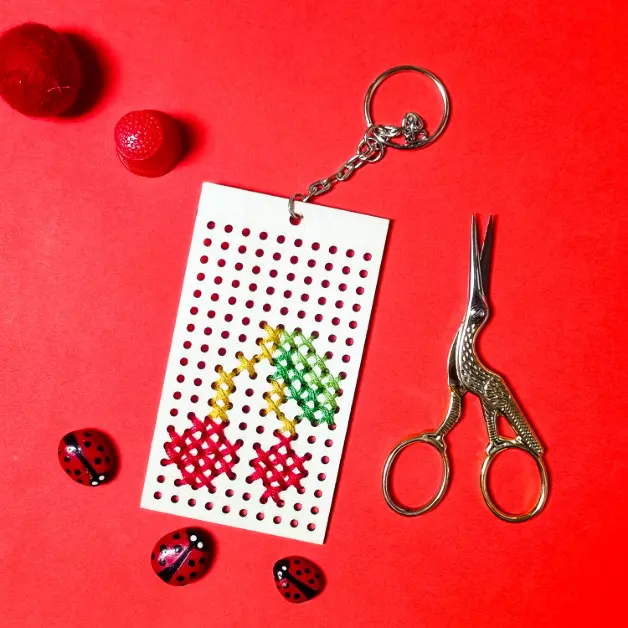
Check out my great range of patterns in my shop here.

Understanding the Basics
Before we dive in, it’s essential to understand the difference between cross stitch and needlepoint. Cross stitch is a form of counted thread embroidery that uses X-shaped stitches, while needlepoint uses a variety of stitches, but primarily the tent stitch, worked on stiff open-weave canvas.
What is Tent Stitch?
Tent stitch is a small, diagonal stitch that crosses over the intersection of one horizontal (weft) and one vertical (warp) thread of needlepoint canvas forming a slant. It’s simple to do: bring the needle up through the canvas at 1, down at 2, up at 3, and so on.
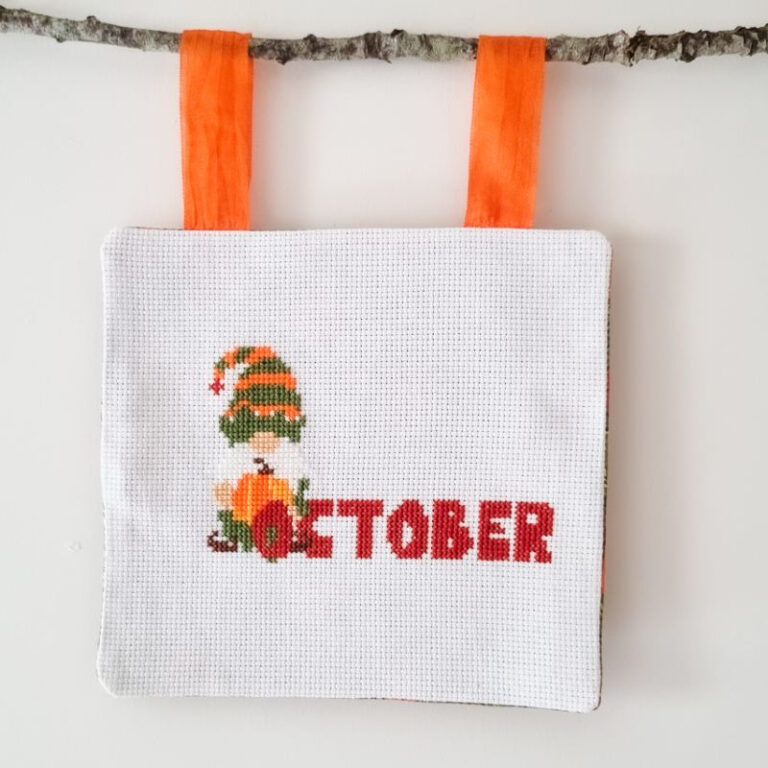
Step 1: Choose Your Pattern
The first step is to select a cross stitch pattern. If you’re looking for inspiration, check out my extensive cross stitch pattern library. Choose designs that use only full count stitches, and if possible are full coverage. (meaning all of the fabric is covered by the design)
Step 2: Prepare Your Canvas
Next, prepare your needlepoint canvas. Remember, needlepoint canvas has a different gauge (number of holes per inch) than cross stitch fabric. You’ll need to work out the completed pattern size accordingly, before stitching.
For example if the pattern is Grid Size: 76W x 28H
It would be:
- 5.29″ x 1.86″ on 14 count aida
- 4.22” x 1.55” on 18 count canvas.
Step 3: Convert the Pattern
Now comes the exciting part – converting the pattern. Each cross stitch ‘X’ corresponds to one tent stitch in needlepoint. Simply follow the cross stitch pattern, replacing each ‘X’ with a tent stitch on your canvas.
Step 4: Choose Your Threads
Choose your threads. While cross stitch typically uses cotton floss, needlepoint offers a wider range of materials, including wool, silk, and novelty fibers. Experiment with different textures to add depth to your design.
Step 5: Start Stitching
With your converted pattern and chosen threads, you’re ready to start stitching. Follow your pattern, working the tent stitches until your design comes to life. If you didn’t use a full coverage pattern, you’ll also need to fill in the background to the design.
Step 6: Finishing Touches
Once you’ve completed the stitching, it’s time for the finishing touches. You can turn your finished piece into a variety of items, such as pillows, wall hangings, or even bookmarks.
Converting a cross stitch into a needlepoint is a fantastic way to breathe new life into your embroidery projects. It allows you to experiment with different materials and stitches, adding a new dimension to your crafting experience. So why not give it a try? Pick a pattern from my cross stitch library and embark on your needlepoint journey today!
Looking for patterns?
Explore even more creative designs in my Ko-Fi shop! Discover a treasure trove of unique patterns, printable’s and pdf’s that will inspire your next project. Visit my shop now to unlock endless creative possibilities.


I’d like to convert needlepoint into a cross stitch pattern. Do I reverse this process?
yes, that would work. Bear in mind the count for sizing your project