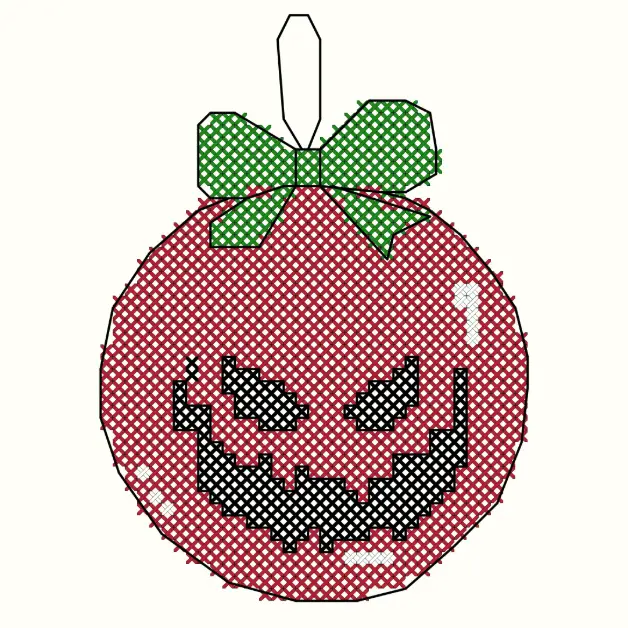
How to make a cross stitch pattern in excel
When I first started designing cross stitch patterns, I used graph paper. Then I wanted to my laptop but didn’t want to commit to buying a programme straight away. So I tried using excel. It was free and easy. Spreadsheets are quick way to start designing. Let me show you how I make a cross stitch pattern in excel.

First steps – preparing the canvas
The first thing you’ll notice when you open excel or any other spreadsheet software is that the cells are formatted to be rectangular. For our cross stitch canvas we need them to be square as most cross stitch is embroidered on even weave fabrics such as aida.

To turn your spreadsheet in a set of squares:
- Highlight the complete sheet
- Click on the cell size icon from your task bar
- Set the row height to 20 in pixels
- Set the column width to 20 in pixels

Create your palette
You may already have threads that you want to use in your project and this will set your colour scheme or you might want to play around with the colours in excel to see what you like together.
Either way it’s better to create a custom colour palette rather than use the default colours.
You do this by clicking on the fill icon (the little pouring paint bucket) and clicking on more colours. That opens a colour spectrum where you can make your own tones and shades of the colours most suited to your project.

Start designing
Once you’ve set up the canvas to be squares and picked the colours you’d like to use, comes the fun bit! Designing! Use the fill icon to start colouring in blocks to create your design.
My top tips would be
- use the arrow keys to move around the sheet quickly
- f4 allows you to repeat the last action, so you can keep clicking to fill in areas with the same colour.

Printing
Once your happy with your design, you can choose to stitch it directly from the screen or if you prefer to take it with you for on the go stitching. Print it off.

If you want to print the design, simply click print and it will take you to the print instructions screen.
Remember to select the correct size paper for your printer and check the grid lines box. I also like it to fir all columns on one page, but this will obviously depend on how large the pattern is that you have created!
Then you’re good to go!
How big will it be?
So you’ve learnt how to make a cross stitch pattern in excel. Now you want to know how big your design will be before you stitch it, or the dimensions on different fabrics?
Check out my guide on how big will my cross stitch pattern be?