LOKLiK Auto Tumbler Heat Press review – your questions answered

I love a new crafty machine and one I’ve been keen to try out is a mug press. I’ve been lucky enough to be sent the LOKLiK Auto Tumbler heat press to review. So I will share my journey as a newbie with this machine, share my mistakes and successes and get your questions answered all in one post!

Unboxing and Setup
When you first get the machine, the setup process is straightforward. You get the machine, manual and warranty, heat resistant gloves and some heat resistant tape in the box. You need to ensure the workspace is clear, well ventilated and the machine is placed on a stable, heat-resistant surface. Then all you need to do is plug the machine in and read the instructions.
*note – in addition to this machine, you will need mugs / tumblers and sublimation paper and printer or HTV to decorate your projects.
Understanding the Controls
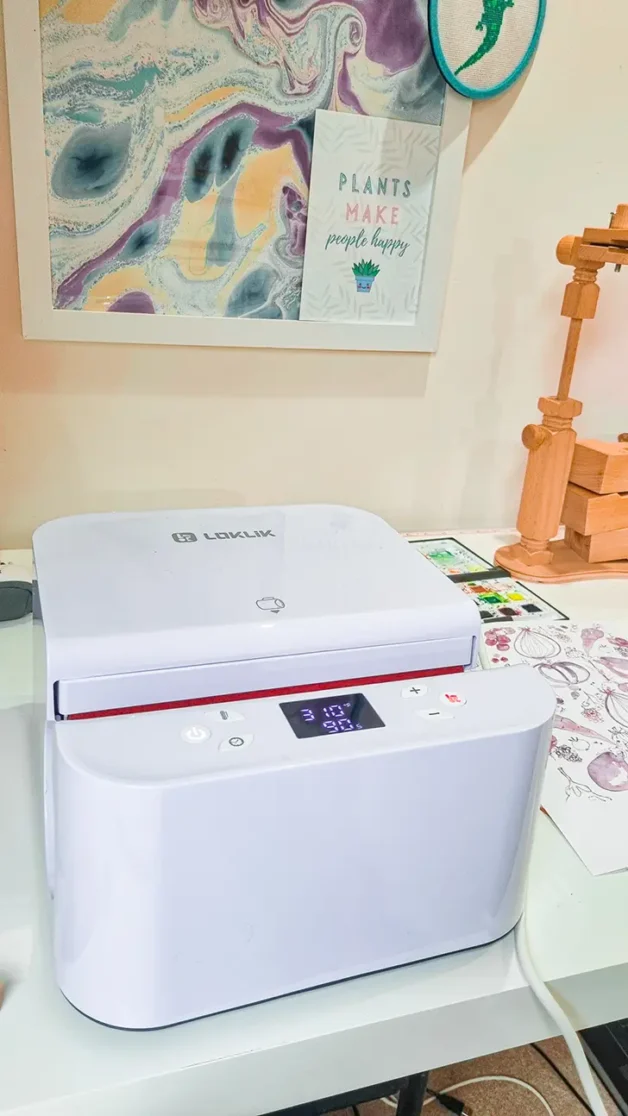
The LOKLiK Auto Tumbler heat press has adjustable temperature and time setting buttons on the top along with a power button and a ‘go’ button. A very easy to use interface, that you should be familiar with once you’ve had a quick read of the manual.
Choosing the Right Materials
It’s important to know what materials work well with the machine. It’s compatible with items like tumblers, mugs, and bottles made from materials like stainless steel, ceramic, or plastic, depending on the type of heat transfer you’re doing.
For my test I purchased a selection of glass and metal tumblers and ceramic mugs from HTVRONT that are all suitable for sublimation*.
*sublimation products have a special poly coating on them which allows the design to be transferred from sublimation paper into the surface of the product when heated. Not all tumblers and mugs are suitable for sublimation.

Safety Tips
The press gets hot quickly, so always use heat-resistant gloves when handling your tumblers both in and out of the machine. Make sure to keep kids or pets away from the machine while it’s in use. It has an auto turn off feature which will turn the machine off if there’s no operation in 15 minutes. Plus an emergency stop in which you can press any button when it is closing and the heating area will reset and open.
Prepping the Tumbler
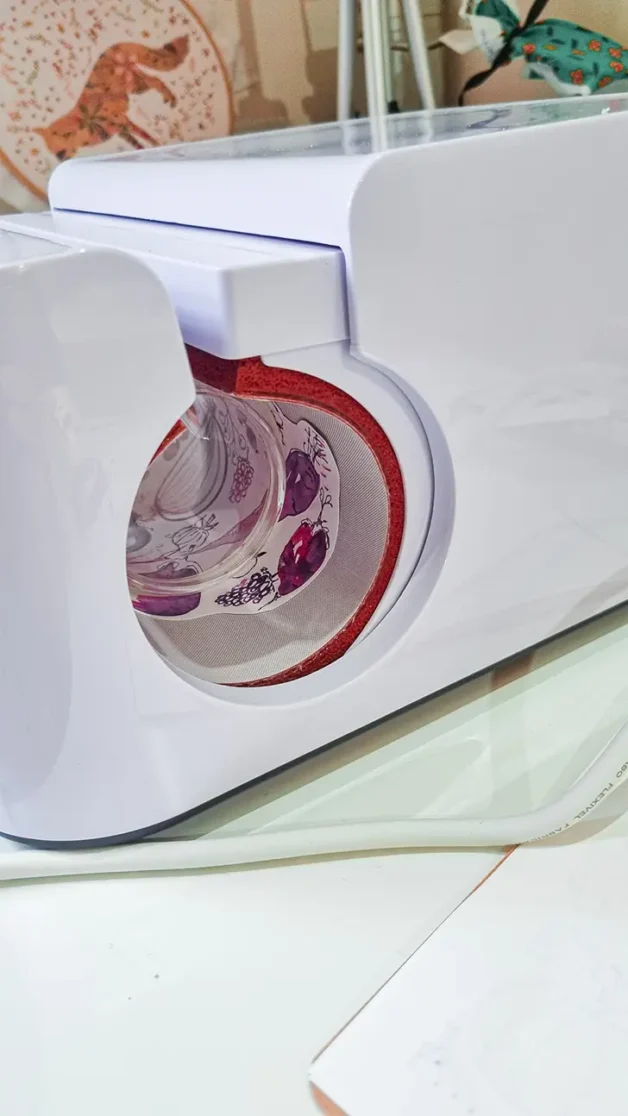
Prep your tumbler by cleaning it with alcohol wipes or a lint-free cloth to remove dust and oils that could interfere with the vinyl or sublimation ink adhesion. Ensure it’s completely dry before placing it in the press.
Printing your sublimation design
Remember you need to mirror your design before printing. This is especially important if you’re printing numbers and letters. You can find a range of sublimation designs for free here. Alternatively you can check out my svg files for vinyl crafts here.
Securing your design
Make sure the design or decal is securely attached to the tumbler using heat-resistant tape to prevent it from shifting during the press. Misalignment or bubbles can result in poor transfers. My first press missed a section because it wasn’t secured enough on the edge.

Testing on Scrap Materials
With most of my crafts, especially when sublimating, I would recommend that you do a test run. The problem is, that you can’t get scrap material to test on with a mug press. So you have to accept that you will make some mistakes and that you’ll have those wonky pressed tumblers in your cupboard! It’s worth shopping around for the best price you can find for your tumblers and mugs. So if you do mess up it’s not too costly a mistake!
The prices I bought my blanks per items worked out at £4.37 metal tumbler, £6.74 glass tumbler and £4.33 for a mug, but you can get some bundle deals and it’s worth checking for discount codes as well.
Temperature and Timings for Pressing
All three of the types of tumbler I pressed were set at 390f
- Glass tumbler – 240-360 seconds
- Stainless steel tumblers – 120-240 seconds
- Mugs – 360-480 seconds

Allow Cooldown Before Handling
After pressing, let the tumbler cool down completely before removing any tape or vinyl backing to avoid damaging the design or burning yourself.

Maintenance and Cleaning
After each use, make sure the machine is turned off and cool before cleaning. Wipe down the heat plate to remove any residue that may have transferred from vinyl or ink.
FAQ’s
How does this compare to the Cricut?
I haven’t used the Cricut mug press to I cannot make a comparison. But I do know that the Cricut mug press can only press one mug at a time, where as this can do two mugs.
Can you use an oven instead?
Yes I have seen you can use an oven instead, but I have not tried sublimation with this technique.
Do you need a cutting machine?
If you’re planning on sublimating, then you don’t need a cutting machine. If you want to press vinyl designs then you will need a cutting machine.
What is better sublimation or vinyl?
There are pros and cons with both. With sublimation it does require you to purchase a special printer and paper, so the cost of set up is expensive. But the quality of the prints are amazing, as it’s embedded in the surface of the product, so it has a much longer life span. Vinyl is much more accessible and therefore cheaper and you can do some fun things with colour changing vinyl in particular, but it will wear off eventually or peel.
Another alternative is dtf prints (direct to film), which you can get made for you with your designs on for £4-5 per sheet. These can be used on mugs and bottles as well as on clothing. The advantages of dtf is that you can print onto cotton and on dark colours as well, where as sublimation is best on light colours and has to have a poly surface to adhere to.
Is it worth getting a tumbler press?
There isn’t a simple answer to this question, if you’re only ever going to make one or two mugs, then no it’s probably not worth it. If you love sublimation and want to make gifts and novelty’s for your friend’s and family or maybe even start a side hustle then yes it’s worth it!