


DIY tea cup pin cushion and magnetic saucer (tutorial)

Welcome to my DIY tea cup pin cushion and magnetic saucer tutorial, where creativity meets practicality! If you’re a sewing enthusiast looking to organize your pins in a charming and functional way, you’re in the right place.
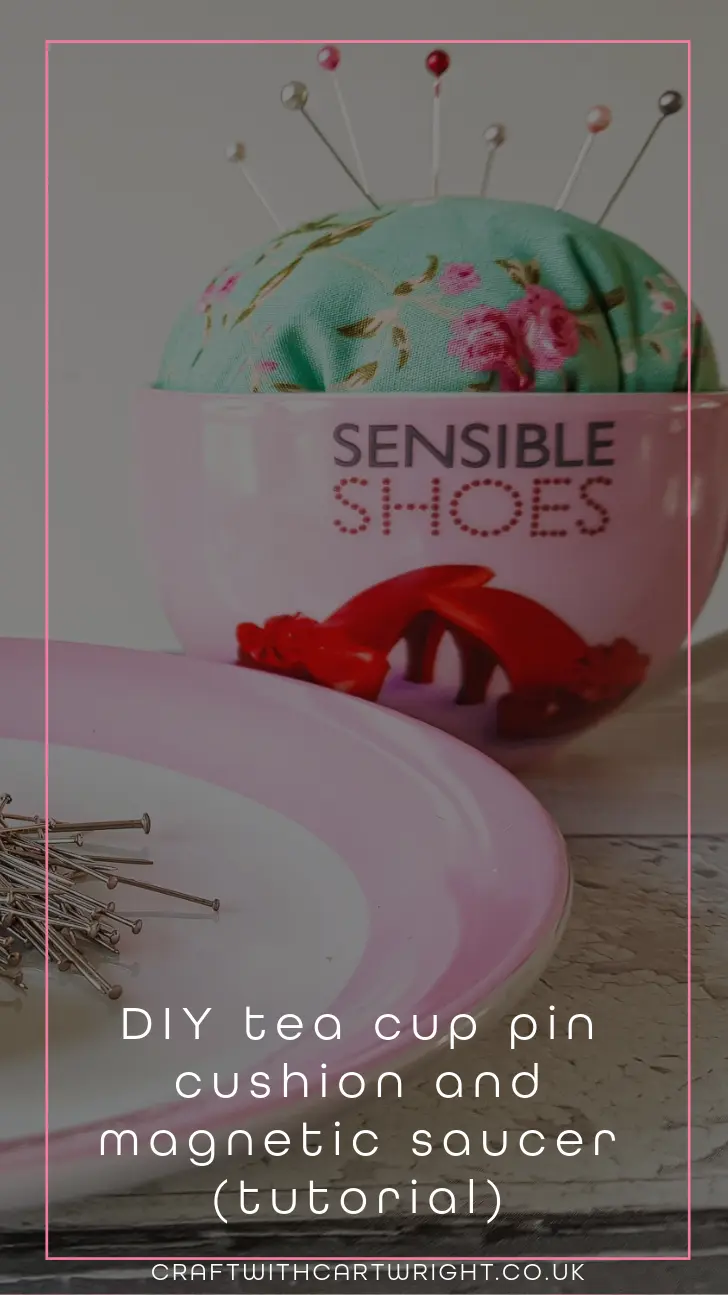
In this tutorial, I’ll guide you step by step through the process of creating a delightful pin cushion using a cup, and an accompanying magnetic saucer to keep your pins securely in place.
I have got back into sewing recently and started to organise my study so I could have a small space to keep my machine out. When space is a premium you need to know exactly where everything is and have everything to hand.
I have always struggle with losing my pins and needles and with children about I don’t want to risk them stepping on them. So I have even organised my pins and needles.
To make a diy tea cup pin cushion and magnetic saucer you will need:
- A pretty tea cup and saucer or your choice
- Fabric scissors
- A strong magnet
- Sewing needle and thread
- Toy Stuffing
- Fabric to coordinate with your cup
- Bostik Fix & Flash
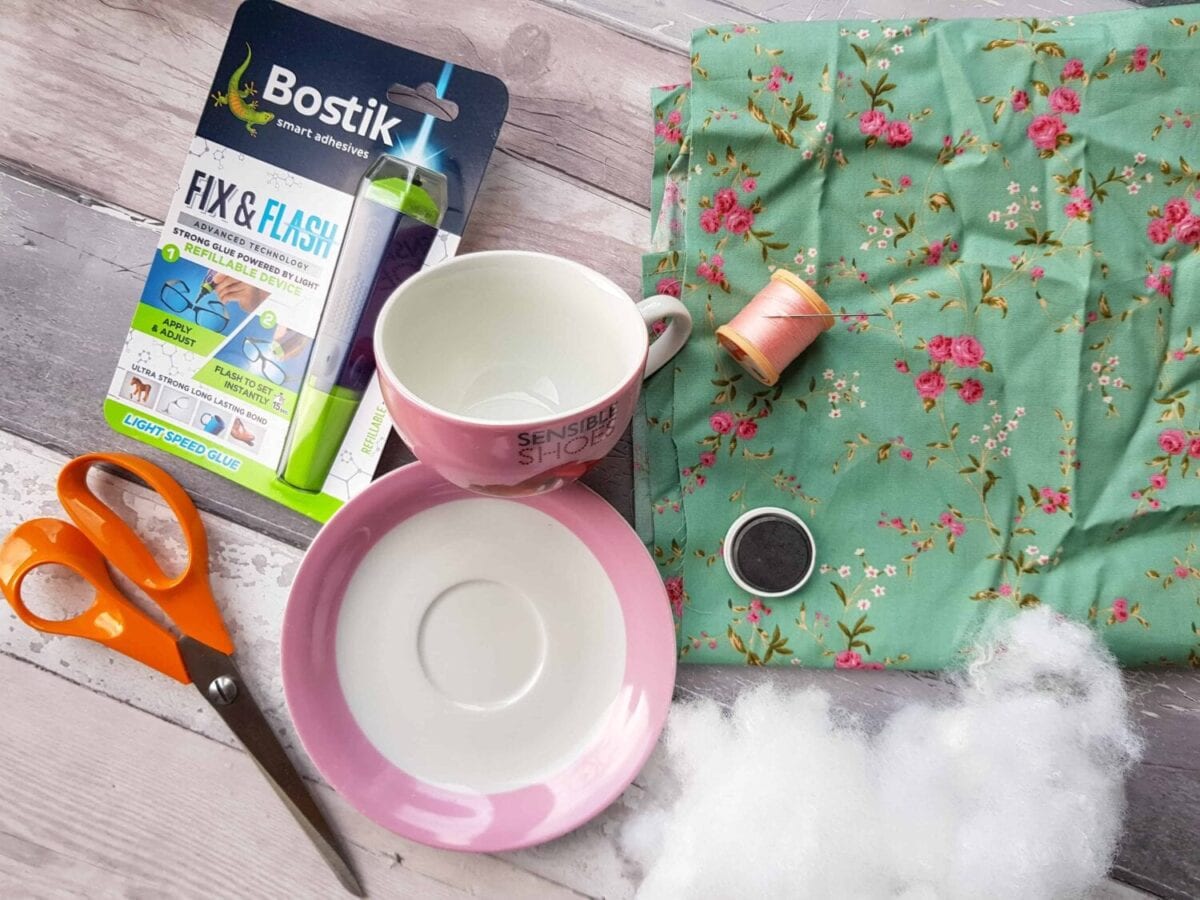
To make the cup pin cushion.
Use the saucer as a template. Draw around and cut out a circle of fabric.

Stitch a running stitch around the circle about half a cm from the edge.

Draw the running stitch together to make the circle gather and secure with a knot.
Turn the right way round.
Then fill the fabric with toy stuffing, until firm.

Check the fit with the cup.
Once you are happy.
Use Bostik fix and flash to position and secure the fabric ball inside the top of the cup.
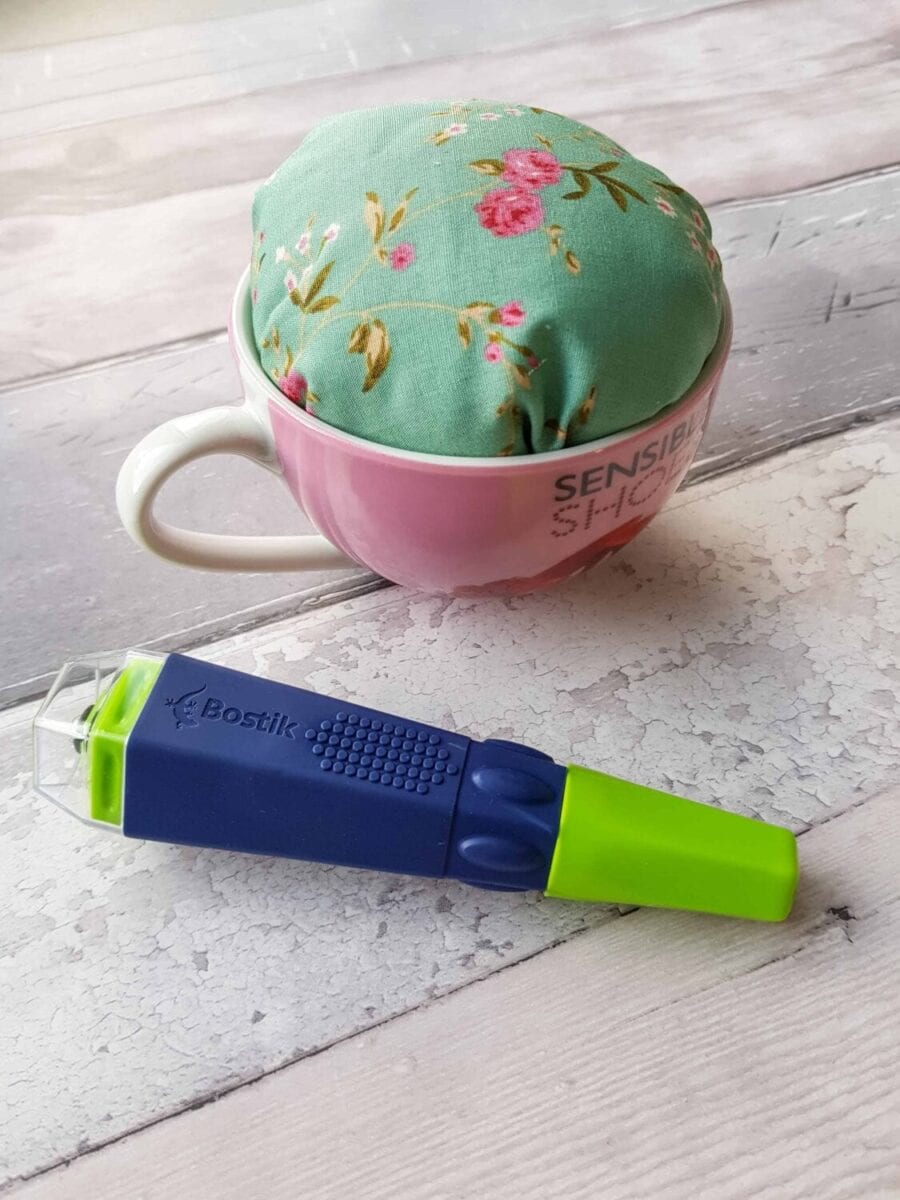
To make the magnetic saucer
First add Bostik Fix and Flash glue to the magnet.

Then set in place with the light.

Once complete.
Use your magnetic saucer as a pin and needle minder and the pin cushion for your dress making pins.
Never loose a needle again!





So simple and cute 🙂 Thank you for the fun project idea .
Lovely little project that doesn’t cost an arm and a leg! Think I’ll have a go at it. 🙂