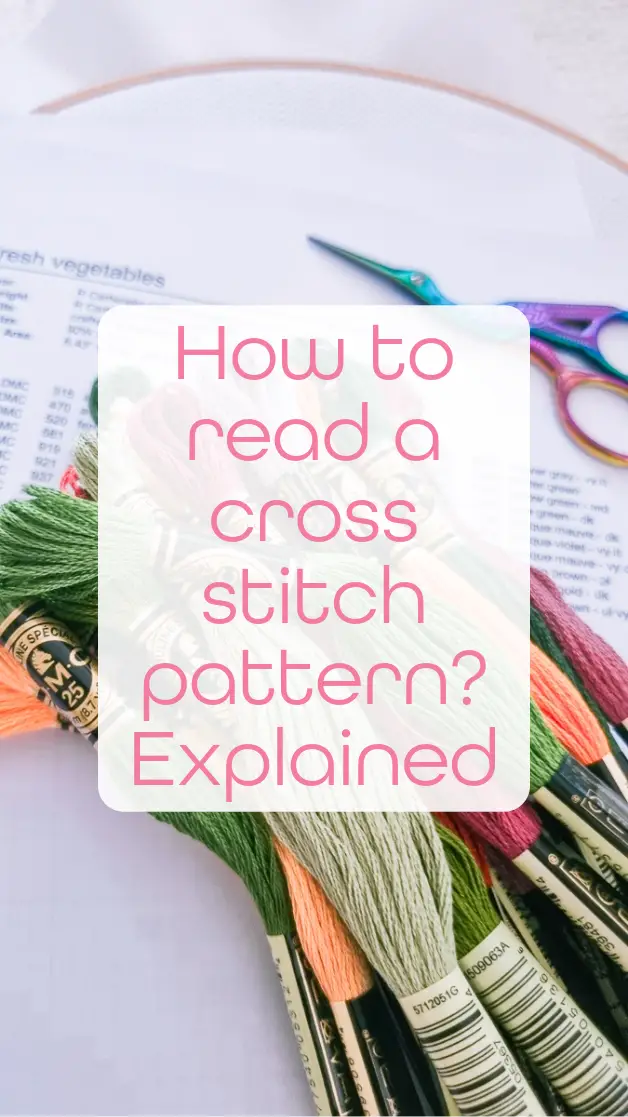
How to read a cross stitch pattern? Explained
If you’re new to cross-stitching, understanding how to read and follow a cross-stitch pattern is fundamental to creating beautiful and visually pleasing projects. In this guide, I’ll explain the basics of reading cross-stitch patterns, decoding their symbols and deciphering their structure to send you on your stitching journey.
Decoding cross stitch patterns
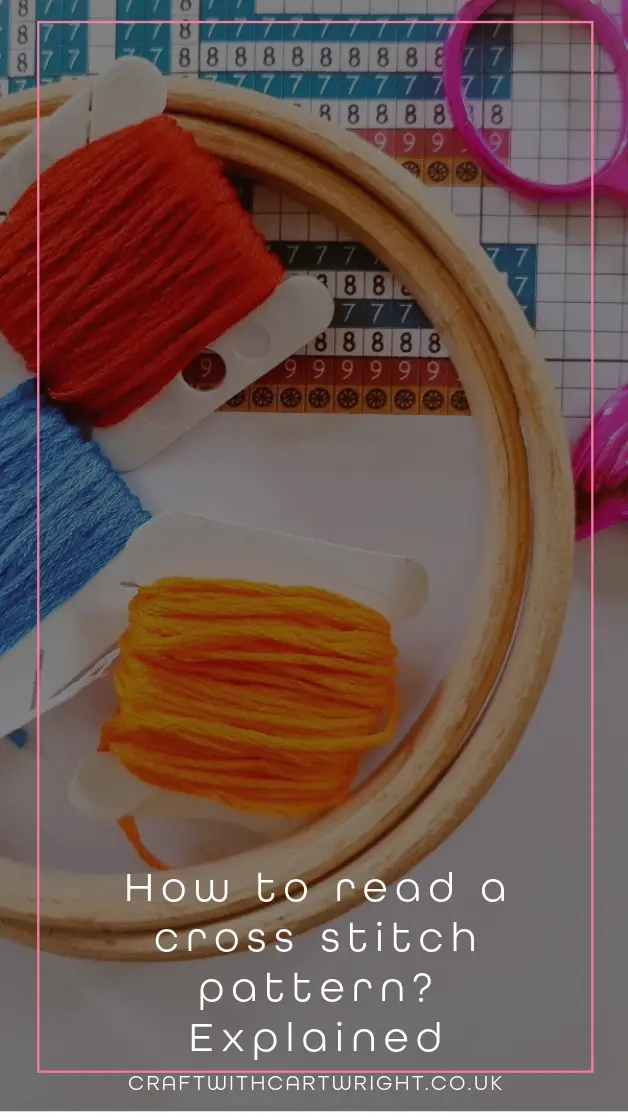
Cross-stitch patterns are visual representations of a finished cross-stitch design. These patterns use symbols and colors to represent different elements of the design, enabling you to recreate the image on your chosen fabric. Let’s break down the essential components of a cross-stitch pattern:
1. Grid and fabric
The first step in reading a cross-stitch pattern is understanding the grid and fabric. The pattern is usually presented on a grid, with each square representing a cross-stitch on your fabric. Matching the grid on the pattern to the fabric helps you maintain accuracy in your stitching.

2. Symbols and colours
Cross-stitch patterns employ symbols and colours to represent specific threads or flosses. Each symbol corresponds to a particular colour, helping you select the right thread for each stitch.
3. Key or legend
A key or legend is typically provided in the pattern, illustrating the symbols used and their corresponding thread colors. Referencing this key ensures you use the correct colors throughout your stitching.

How to read and follow a cross stitch pattern
Now that we’ve covered the basic components of a cross stitch pattern, let’s outline the step-by-step process of reading and following a pattern:
Step 1: Familiarize yourself with the pattern
Begin by carefully examining the pattern as a whole. Look at the sizing information and cut your fabric to that size plus a 2” border on all edges.

Take note of any borders, outlines, or central motifs. Understanding the layout will help you navigate the pattern more efficiently.
Step 2: Start from the centre
Locate the centre of the pattern, typically indicated by arrows or bold lines. Starting from the centre ensures the design is centred on your fabric.

Step 3: Follow the symbols
Refer to the key or legend to identify the symbols in the pattern. Work section by section, following the symbols to stitch the corresponding colors on your fabric.
Step 4: Pay Attention to Detail
Be mindful of intricate details within the pattern. Subtle color changes and fine details contribute to the overall beauty of the finished piece.
Step 5: Double check your work
Regularly review your work against the pattern to ensure accuracy and identify any errors early on. Correcting mistakes promptly maintains the integrity of the design.

Keeping track
You may find it useful to mark off with a highlighter, the areas you have stitched to help you keep track. If you do this, I recommend making a photocopy or printing two of the chart. So you have one you can use if you want to stitch the pattern again at a later date.
Alternatively, you could try a pattern tracking app. such as Pattern keeper. I have only recently started using it, but find it a helpful tool to keep my progress on the pattern and avoid printing costs.
Enhancing your cross stitching skills
As you gain experience in cross-stitching and become more proficient in reading and following patterns, your projects will showcase your evolving skills and creativity. You can then move on to trying stitches such as fractionals, half stitch, French Knots and backstitch.