

How to Make a Fabric Pear

I use to use this tutorial with my year 8 class when we made fabric food. I have made it more detailed for my pupils with more photographs to explain the process. Hope you also enjoy making a fabric pear.

First choose your fabrics you could use one, two, three or six patterns if you wish. Choose lightweight cotton dress making fabrics.
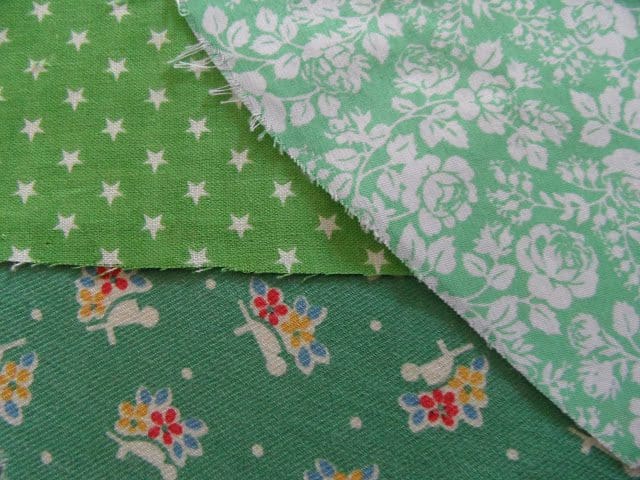
Then iron interfacing on to the reverse of all your fabrics.

Then draw on the outline of the pear segments onto your interfacing. You will need 6.
Templates can be found here http://mos.molliemakes.com/MollieMakes6_temps.pdf or you can make your own.

Cut out and arrange in the order you’d like to sew them in.

Pin two segments together and sew along one edge with a 4 mm seam allowance, repeat for each pair.

Finally join the pairs of segments together, leaving a gap in the last join to turn the pear inside out.

So it should look like this

Then stuff with toy stuffing, which should be packed firmly to give the pear shape.
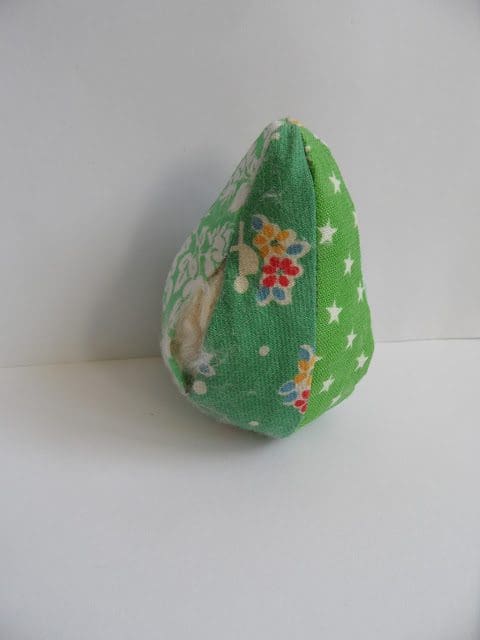
Over sew to close the pear.

Sew a button on the bottom of the pear upwards through the pear to secure.

To make the stalk cut two squares of felt.

Roll together, pin and over sew the edge to secure

Cut the top at an angle to reveal the inner colour
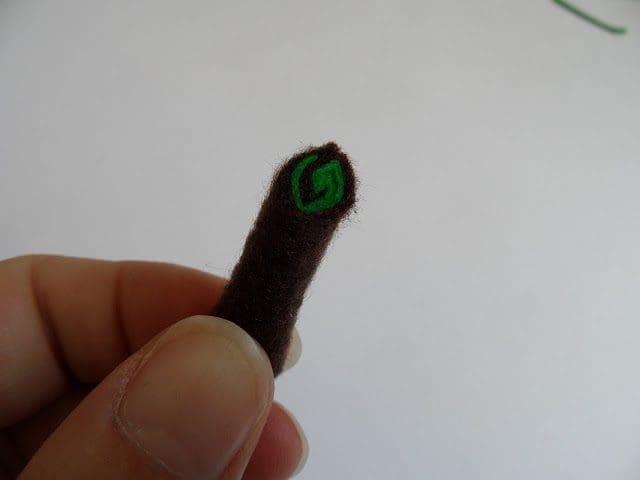
Attach to the top of your pear along with a felt leaf if you wish.

Use as a decoration at harvest time or as I do a pin cushion.




I dont understand where you are securing the button. Are you sewing it from the bottom all the way up to where the stem is to secure it?
Yes, and pulling tight to get the indent at the bottom.
Thankyou for the fabric pear. I intend to combine crafts of cross stitch and sewing to stitch panels round look like a pear and sew them together as well as making just a fabric one just to see what it would look like
That sounds like a great idea