A Guide to Fitting the Mr Beam Height Extension: Upgrading Dreamcut [s]

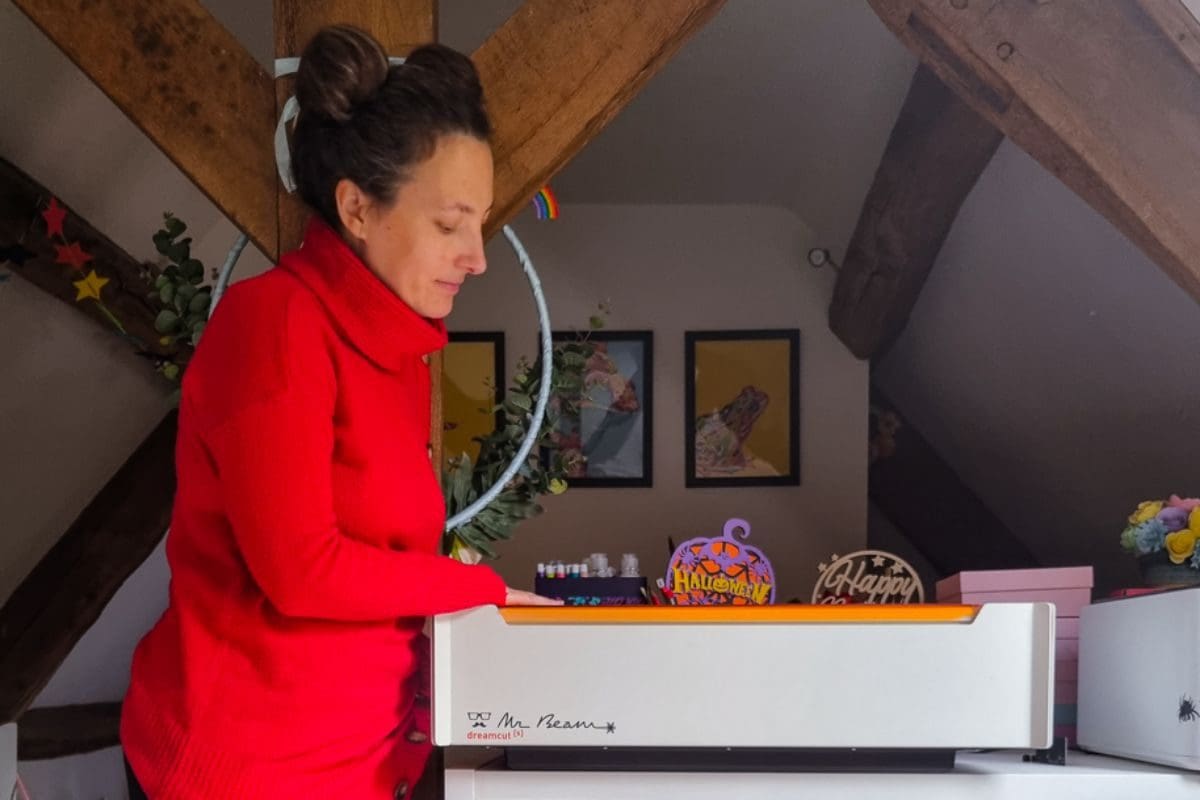
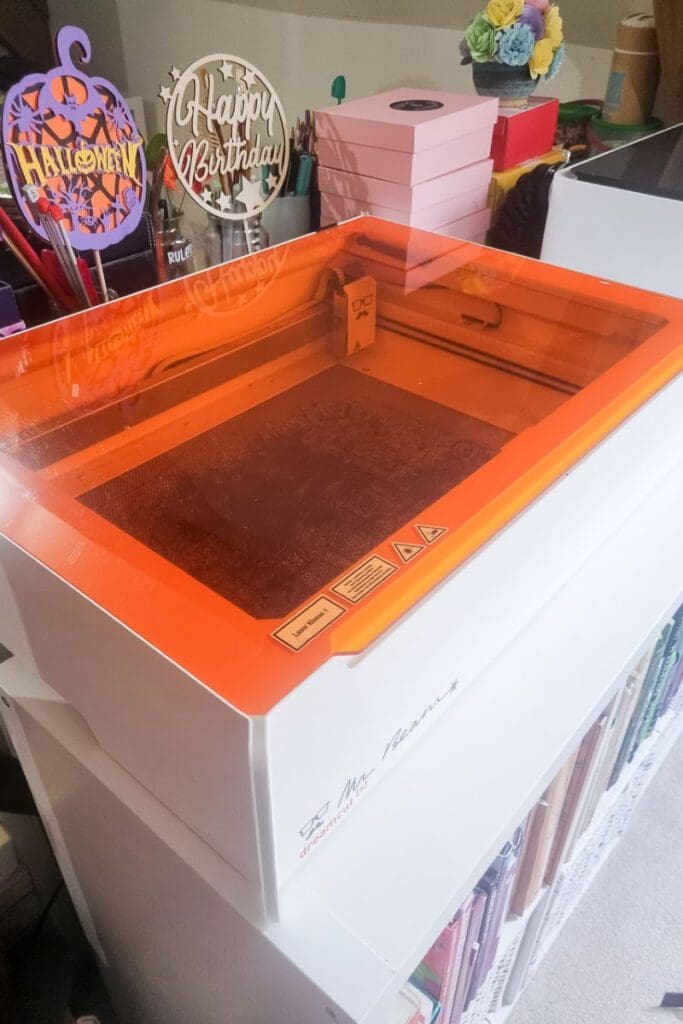
I’ve had my Mr Beam Dreamcut [s] for over a year now and I use it regularly to create all manner of projects. It cuts wood like a dream and some colours of acrylic. It can also laser engrave on all manner of materials. So why would I need to upgrade my Mr Beam Dreamcut [s] and what can the height extension offer?
Let me guide you through fitting the Mr Beam Height extension and show you how it it will enhance performance.
Understanding the Mr Beam Height Extension
The Height Extension allows you to engrave thicker materials with your Mr Beam. Instead of the usual height of 38 mm, it can engrave objects with a height of 68 mm. Thanks to the deeper base.
So thick chopping boards, wood slices and even rocks can now be engraved. It also comes with a Cutting Frame which takes you back up to the 38 mm when you need to work on thinner objects. It’s easy to switch depth now and the cutting frame is easy to clean.
I’ve fitted it to my dreamcut [s] but it is also compatible with the [x] model as well.
Preparing for the Upgrade
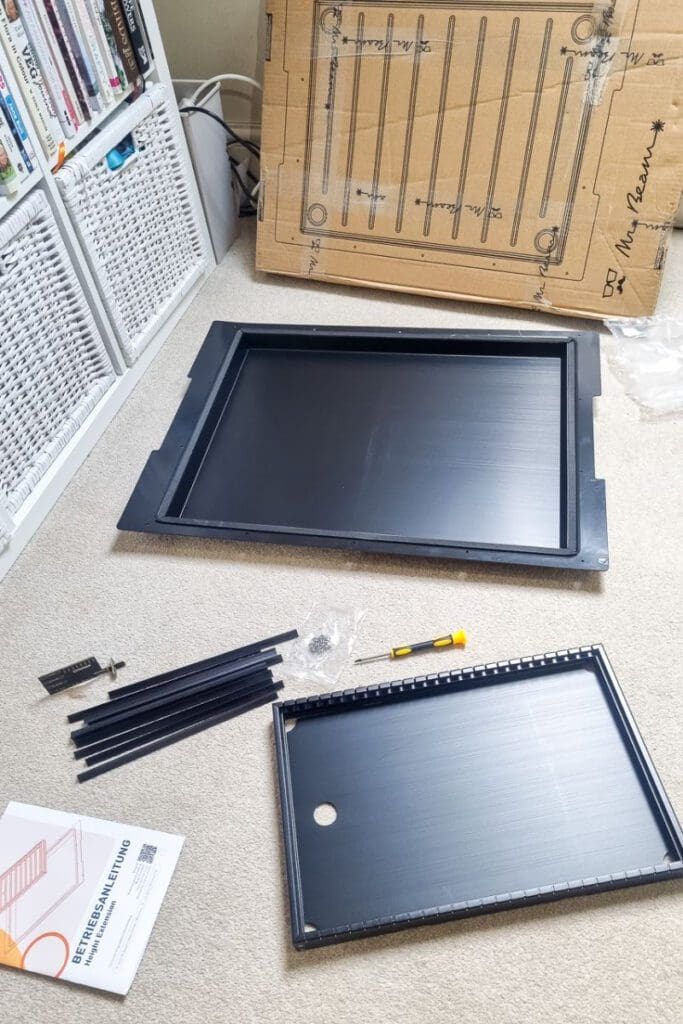
The height extension pack includes:
- Mr Beam Height Extension
- a Mr Beam Cutting Frame with 9 Sti[x]
- Mr Beam focus tool
- a small screwdriver
- 14 screws
You will also need:
- Tape to secure the lid
- A towel or similar to protect the lid
- Work gloves
Step-by-Step Guide to Fitting the Height Extension
Step 1: Unboxing and inspecting the height extension kit, check everything is included and nothing is damaged. Collect the extra tools you need.
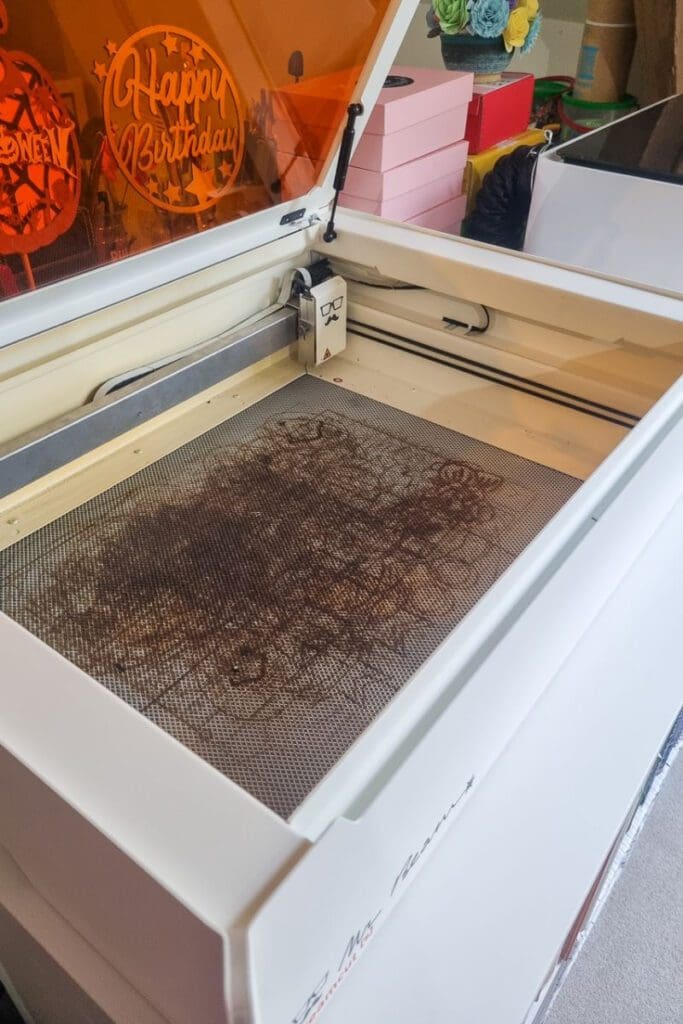
Step 2: Preparing your Mr Beam Dreamcut [s] for the upgrade. Unplug the air filter, and power cords. Tape the lid shut and lay a towel on the floor to protect the lid when you lift it and place it down on the lid.
Step 3: Installing the height extension following provided instructions. The instructions are included in the box, but they were in German, so I found the English instructions on the Mr Beam support page. First you unscrew the original base plate using the screwdriver provided and then with gloves on, lift off the base plate and grid and store them in the height extension box. Then align the height extension, making sure the indents are the correct way round and use the new screws to attach it. Don’t over tighten the screws.

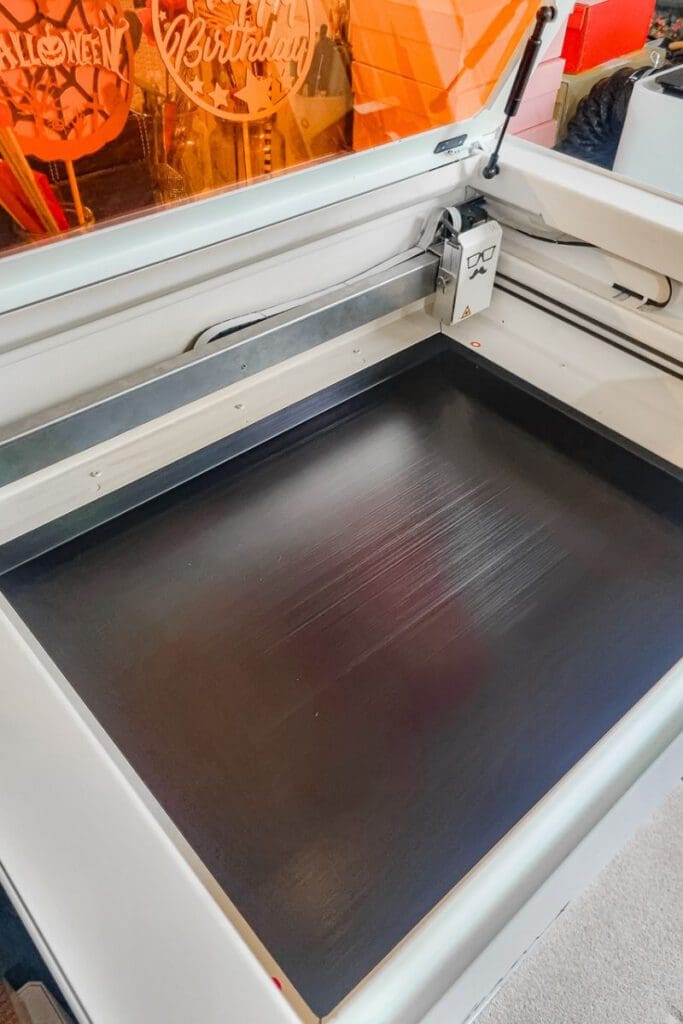
Step 4: Verifying the successful installation and alignment. Once you’ve fitted the base, you can turn it over and place back in your work area, then you can add the cutting frame inside if needed. Once you’ve installed it, it’s time to give engraving at a new height ago!
Troubleshooting and Tips
The height extension only goes on in one position, if it is overlapping the indents on the machine you’ve got it the wrong way and you need to turn it around.
Benefits of Upgrading by Fitting the Mr Beam Height Extension
A wider range of engraving possibilities has opened up to me and I’ll be on the look out for objects I would have rejected before for being to thick!

Conclusion
It was so easy to fit the height extension taking less than 30 minutes and that was with me putting it on the wrong way round the first time! I think it’ll be a valuable upgrade to my Mr Beam dreamcut [s]
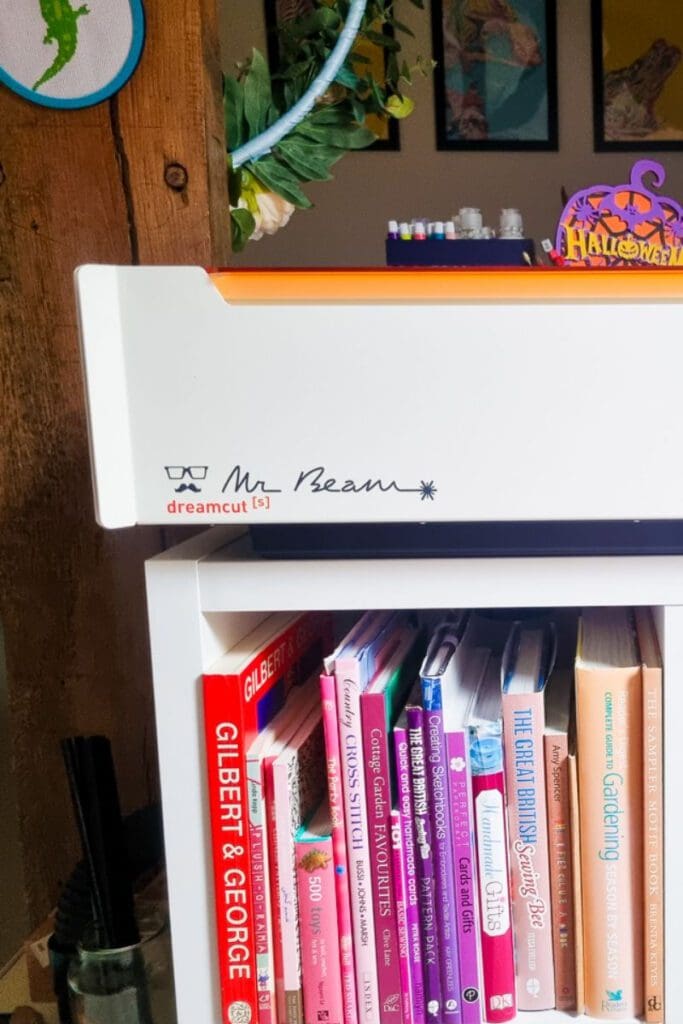
If you want to maximize the potential of their Mr Beam Dreamcut [s] or [x] machine I would recommend checking it out.