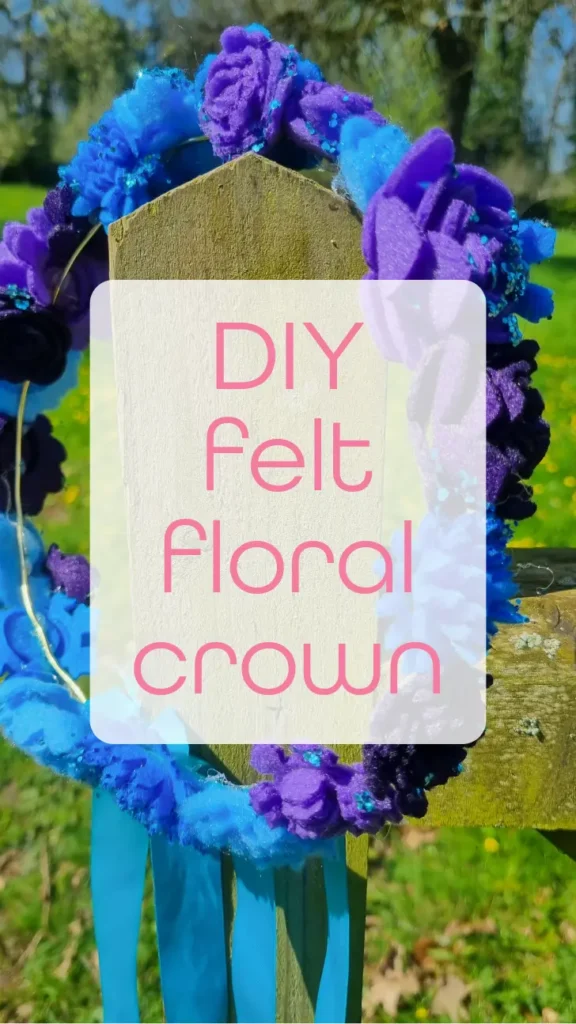
DIY felt floral crown

This DIY felt floral crown is a fun and easy project to make. Perfect for summer season.
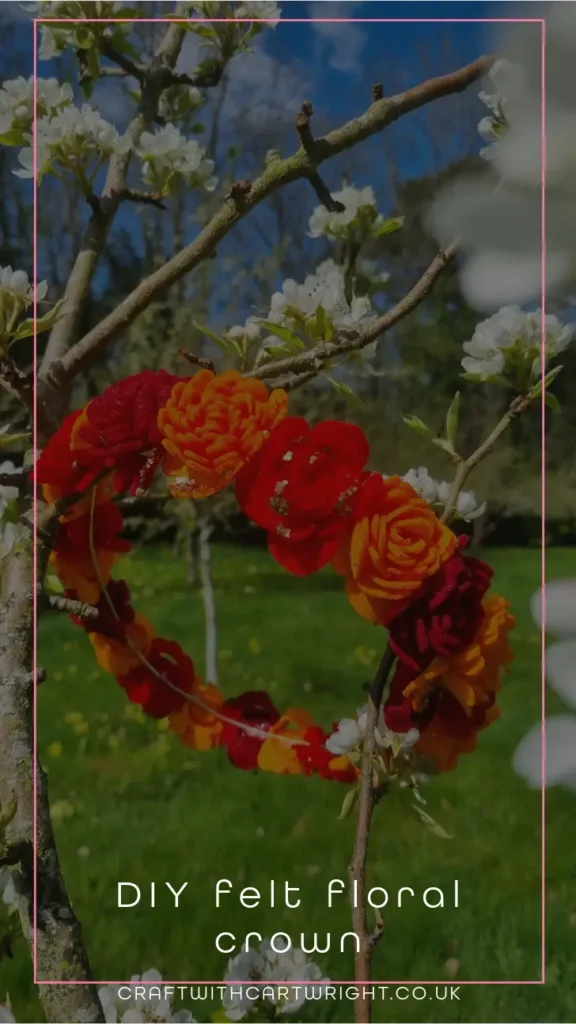
Making your own DIY felt floral crown is a great way to make your own unique accessory. This project is perfect for beginners and it doesn’t require any sewing skills.

You will need:
- Rolled flowers svg
- Craft felt in a variety of your chosen colours
- scissors or cricut or laser cutter
- thick floral wire
- Floral tape
- hot glue gun
- Optional: bio glitter and fabric glue, brush
- Optional lengths of ribbon in a matching colour

My DIY felt floral crown is a great way to look beautiful and unique when heading to the summer festivals. It is also a great project for you to do with your kids. Here are the steps on how to make one:

- First download the rolled flowers svg from Design bundles. Don’t worry if you don’t have a cricut or a laser cutter, you can print and cut by hand.
- Then using the templates cut out flower shapes felt in various sizes and colours. You should have about 24 flowers in all for an adult head
- Measure your head and cut your floral wire to the size plus 1 inch so the wire overlaps slightly. Shape into a circle and with the overlapping edges bind with floral tape to secure.
- Roll up the flower shapes and glue gun the ends to stop them unrolling. I have a tutorial on rolled paper flowers which is the same technique, if you’re not quite sure.
- Once you have created all your flowers, you can add glitter if you wish. I used bio glitter on mine which is eco friendly and made from plants.
Optional glitter
- To add glitter, brush a little fabric glue on the edges of your flowers and dip in glitter. Shake off excess and leave to dry.
- You can do with a complimentary colour, try and match the colour exactly or go for a contrast. Its up to you!
Optional ribbon
- If you want to add ribbon to your crown – do this part before adding your flowers.
- I added ribbon to my blue flower crown, by cutting lengths of ribbon from longer to shorter. I arranged them so the longest was in the centre back of my crown and they got smaller as they came out from the back.
- To secure the ribbons, I simply folded over the top centimetre of ribbon over the wire circle and secured with hot glue.
- Now it’s time to add the flowers. I tried to alternate my colours and shapes as I went around the crown.
- The best way I found to secure the flowers was to put a blob of hot glue on the back of the flower and press the wire circle into the glue, waiting briefly for it to cool and become secure before moving on the next one.
- Once you’ve got all your flowers in place, try it on for size and shape, adjusting the fit by bending the wire.
- Then you can add more flowers or glitter if needed.

Yield: felt floral crown
DIY felt floral crown
Learn how to make a beautiful felt flower floral crown in this easy diy tutorial. No sewing needed! Can be made for adults and children.
Materials
- Craft felt in a variety of your chosen colours
- thick floral wire
- Floral tape
- Optional: bio glitter and fabric glue,
- Optional lengths of ribbon in a matching colour
Tools
- Rolled flowers svg
- scissors or cricut or laser cutter
- hot glue gun
- Optional - brush
Instructions
- First download the rolled flowers svg. Dont worry if you dont have a cricut or a laser cutter, you can print and cut by hand.
- Then using the templates cut out flower shapes felt in various sizes and colours. You should have about 24 flowers in all for an adult head
- Measure your head and cut your floral wire to the size plus1 inch so the wire overlaps slightly.
- Shape into a circle and with the overlapping edges bind with floral tape to secure.
- Roll up the flower shapes and glue gun the ends to stop them unrolling. I have a tutorial on rolled paper flowers which is the same technique, if you're not quite sure.
- Once you have created all your flowers, you can add glitter if you wish. I used bio glitter on mine which is eco friendly and made from plants.
- To add glitter, brush a little fabric glue on the edges of your flowers and dip in glitter. Shake off excess and leave to dry.
- You can do with a complimentary colour, try and match the colour exactly or go for a contrast. Its up to you!
- If you want to add ribbon to your crown - do this part before adding your flowers.
- I added ribbon to my blue flower crown, by cutting lengths of ribbon from longer to shorter. I arranged them so the longest was in the centre back of my crown and they got smaller as they came out from the back.
- To secure the ribbons, I simply folded over the top centimetre of ribbon over the wire circle and secured with hot glue.
- Now it's time to add the flowers. I tried to alternate my colours and shapes as I went around the crown.
- The best way I found to secure the flowers was to put a blob of hot glue on the back of the flower and press the wire circle into the glue, waiting briefly for it to cool and become secure before moving on the next one.
- Once you've got all your flowers in place, try it on for size and shape, adjusting the fit by bending the wire.
- Then you can add more flowers or glitter if needed.