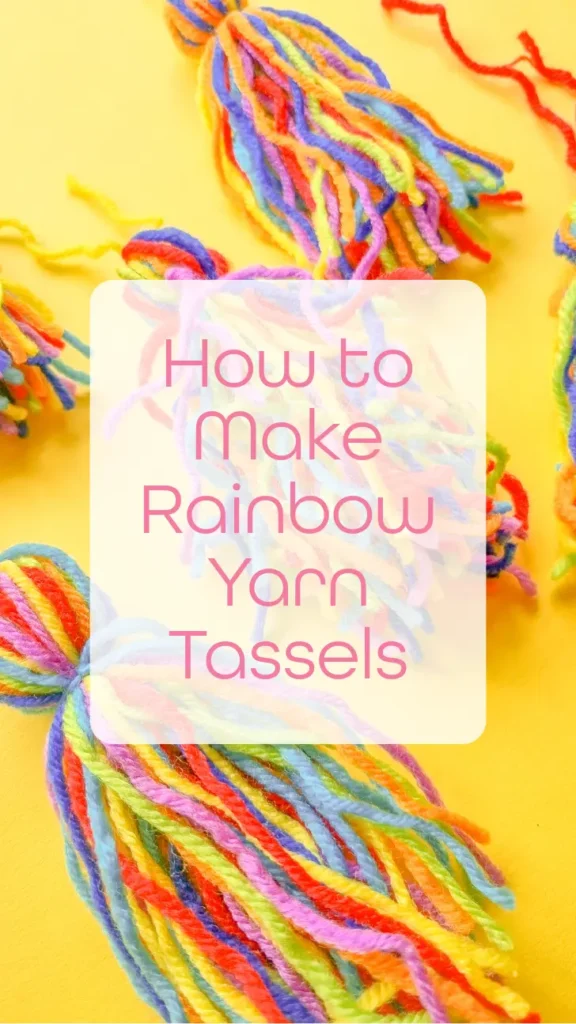
DIY Tutorial: How to Make Rainbow Yarn Tassels

This is a quick, easy, and simple tutorial on how to make yarn tassels. This DIY project is perfect for those who love to create beautiful things at home. I’ll be making rainbow yarn tassels that you can use for a scarf, a blanket, bookmarks, or even a garland.

Materials Needed
Step-by-Step Guide
Step 1: Choose Your Yarn
Start by selecting your yarn. For this tutorial, we’re going to make rainbow tassels, so you’ll need yarn in all colors of the rainbow.
Step 2: Wrap the Yarn
Take one strand of each colour of yarn and start wrapping it around the small book. The number of wraps will determine the thickness of your tassel. For a fuller tassel, I recommend wrapping the yarn around the book about 5 times.
Step 3: Tie the Yarn
Once you’ve wrapped the yarn around the book enough times, cut the yarn from the ball. Then, cut a separate piece of yarn (a couple of inches long), and thread it under the wrapped yarn at the top of the book. Tie this piece securely in the middle.
Step 4: Cut the Yarn
Now, take your scissors and cut the yarn at the opposite end of where you tied it. You should now have a bunch of yarn strands that are held together at the top by the piece of yarn you tied.
Step 5: Create the Head of the Tassel
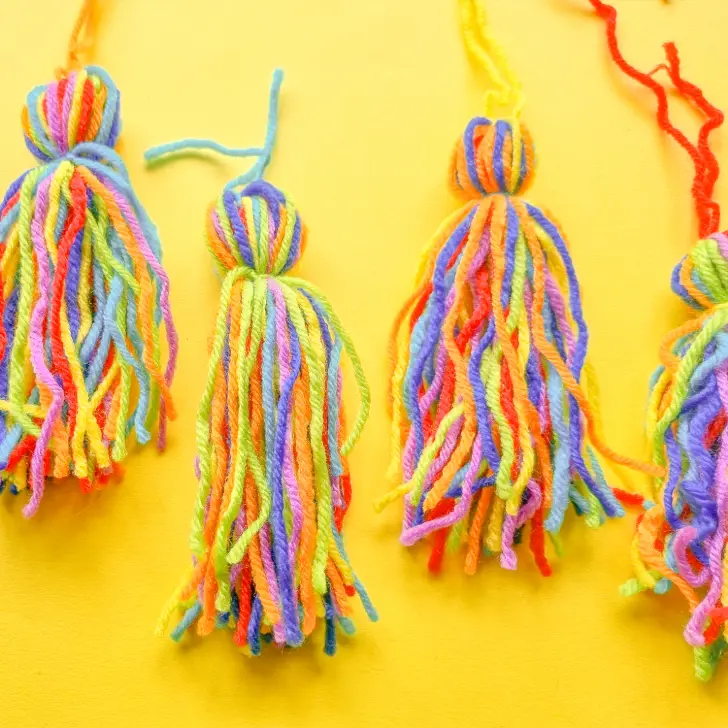
To create the head of the tassel, cut another piece of yarn (a couple of inches long). Tie this piece about an inch down from the top of the tassel. Make sure it’s tied securely.
Step 6: Fluff and Trim
The final step is to fluff your tassel and trim the ends if needed. And voila! You’ve made a beautiful rainbow yarn tassel.
Ideas for Using Your Tassels

These rainbow yarn tassels are incredibly versatile. You can use them to add a pop of color to a scarf or a blanket. They also make cute bookmarks. Or, string them together to create a vibrant garland.
If you’re looking for more ways to use your tassels, check out my post on how to decorate a cesto shopping tote with tassels. It’s a fun and easy project that will give your tote a unique, handmade touch.