How to make a felt cross stitch frame
Fed up of always framing your finished embroidery projects in their hoops. Try something new and learn how to make a felt cross stitch frame. Perfect for any colour scheme and can be sized to any project.

Materials needed
- Two pieces of 4mm thick felt in your chose size
- fabric glue
- Fabric scissors
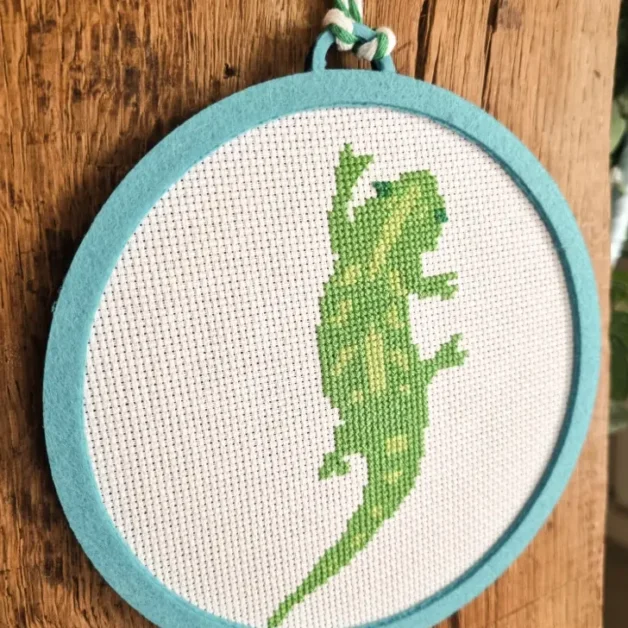
- your completed cross stitch project (I chose the gecko)
- a large heavy book
- String or ribbon to hang it from
- The felt frame svg template


The first thing you will need to do is download the felt frame svg file. You can then upload this to your Cricut or silhouette cutting machine. Or like I did use it in your laser cutter, for this project I used my xTool M1 but it would have also worked in my Mr Beam.
Alternatively if you have none of this machines, you can simply print out and draw round as a template and cut out the shapes with scissors.

Make sure you’ve correctly sized the template to fit your chosen cross stitch project. You must also ensure that you use a thick felt, the thin felt you find in stacks at craft stores will not be ridgid enough for this project.

Use the back piece of felt as a guide for trimming your cross stitch project down to size.

Holding it up to a light source can help with this stage.

Once trimmed apply a thin layer of fabric glue around the reverse edge of the cross stitch.

Place onto the backing felt making sure it is centred.

Then place under a large heavy book and leave to dry.

Once dry, its now time to add the top section of the felt frame.

On the back side of the felt frame top section apply a thin layer of fabric glue.

Position is place making sure the the edges of the frames are aligned. Leave to dry, heavy book is optional.

Cut a length of cord or ribbon twice the size you’d like it to hang and fold in half. Knot at the end.

Pull the looped cord through the top of the felt frame and push the knotted end through the cord securing it at the top of the frame.
It’s now ready to hang and admire your felt cross stitch frame!


