Get the Cross Stitch Look with Cricut

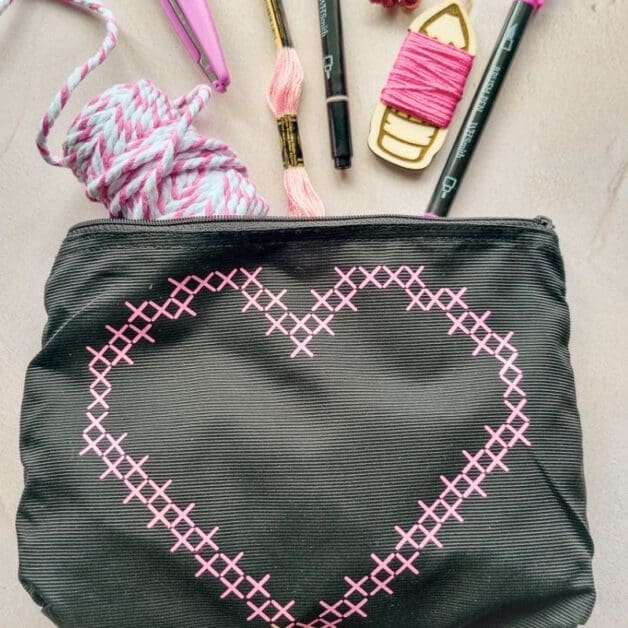
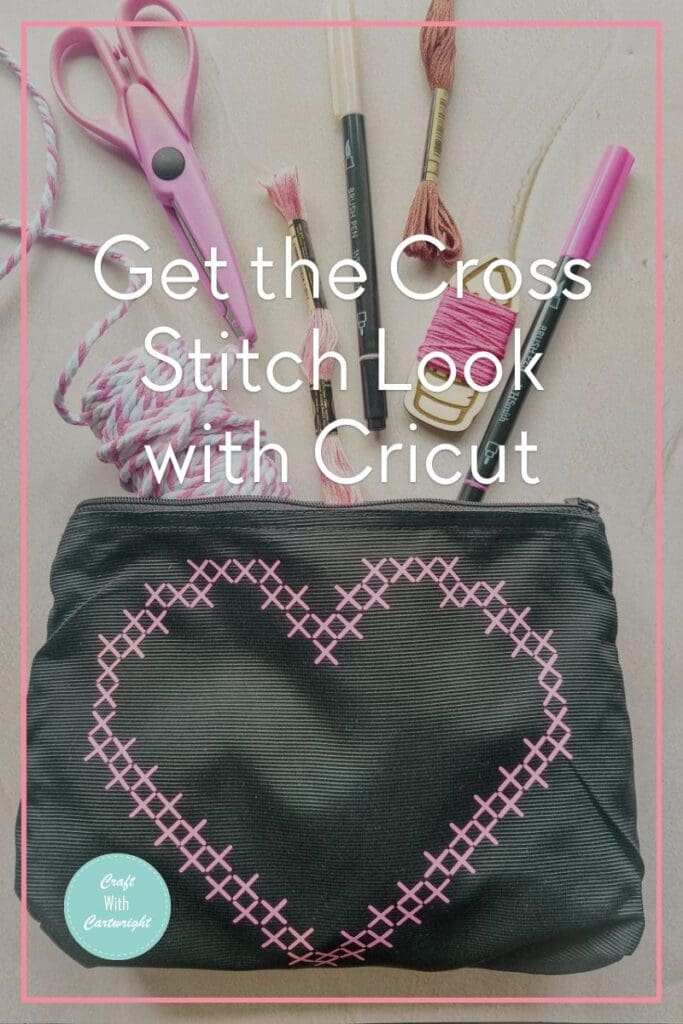
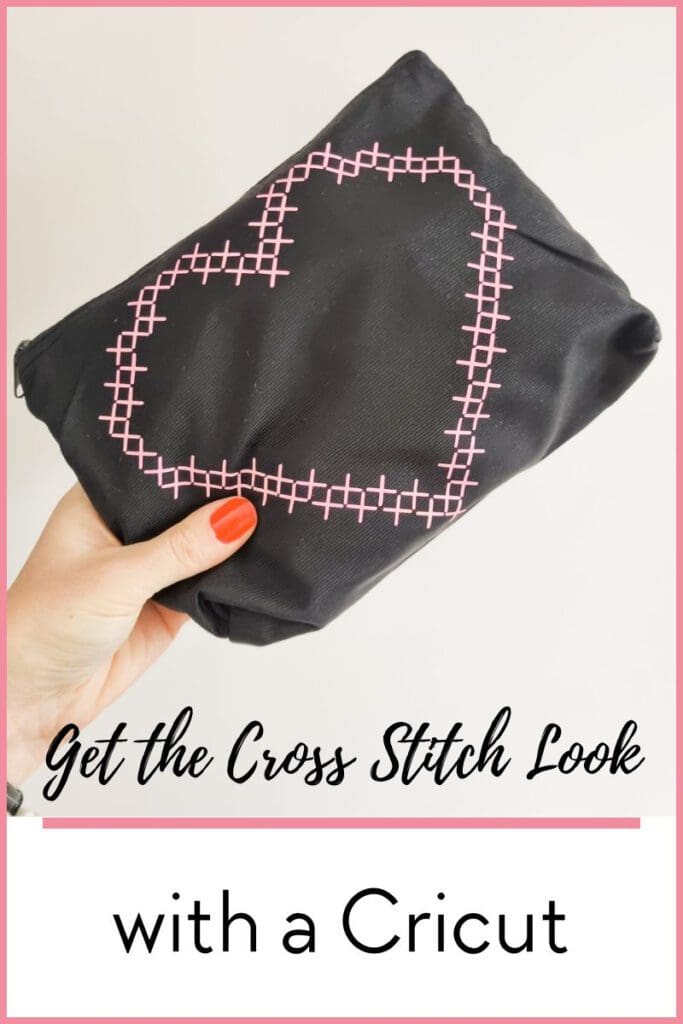
Lets explore a fun and creative way to get the cross stitch look using your Cricut machine. This project is perfect for those who want to add an embroidered look to a project.
What You’ll Need
- Cricut machine
- Heat Transfer Vinyl (HTV)
- Standard grip mat
- Fine point blade
- Weeding tools
- Bag for decoration
- Iron or heat press
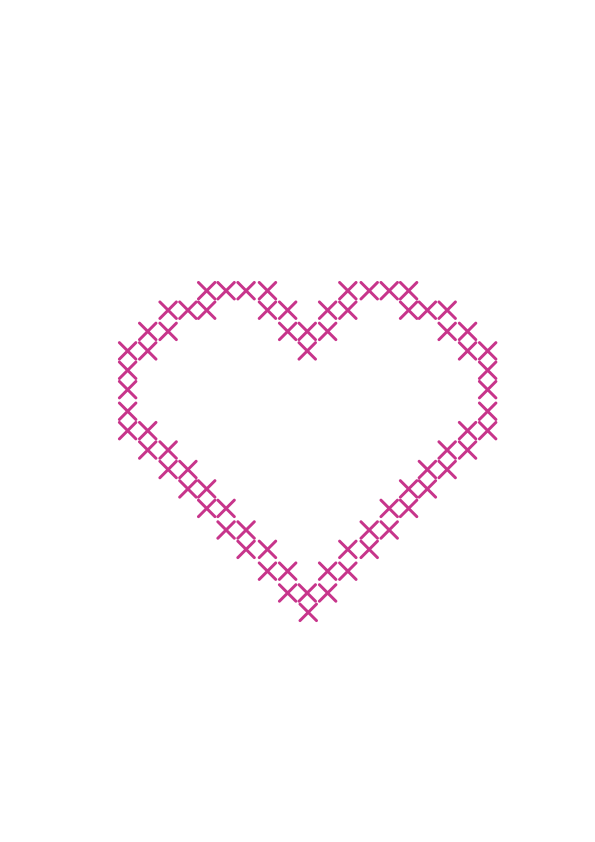
- Free Cross Stitch Heart SVG file
Step 1: Download the SVG File
First things first, you’ll need to download my free Cross Stitch Heart SVG file. To get this file, simply sign up for my exclusive content by popping your email address in at the bottom of this post. Not only will you get this SVG file, but you’ll also gain access to a plethora of other freebies!
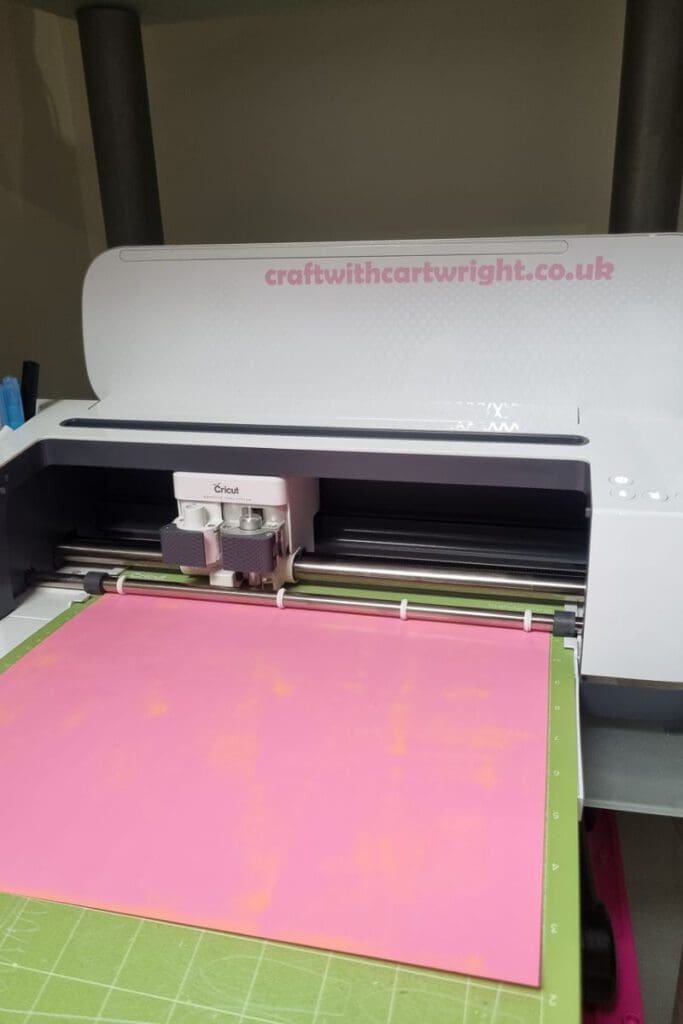
Step 2: Prepare Your HTV
Next, you’ll need to cut your HTV, I used a standard grip mat and pink heat transfer vinyl from HTVRONT. No need to mirror your design before cutting as the pattern is symmetrical. Once cut, weed out the excess vinyl, leaving only your beautiful cross stitch heart design.
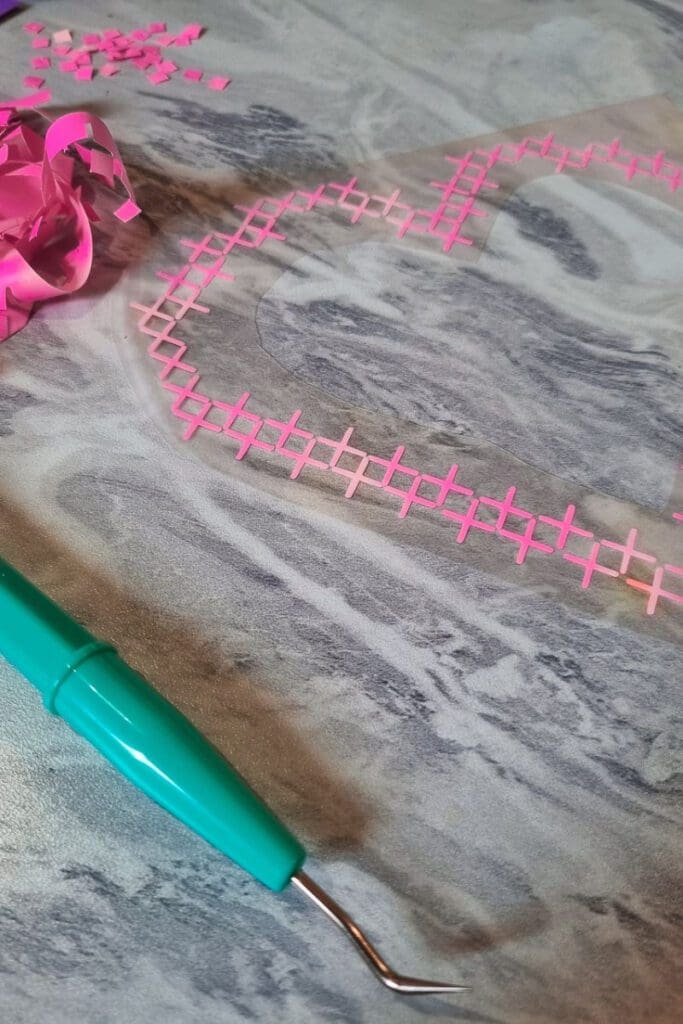
Step 3: Apply Your Design
Now comes the fun part – applying your design to the bag! Position your weeded HTV on the bag where you want your design to appear. Once you’re happy with the placement, apply heat with your iron or heat press according to the HTV’s instructions. Remember to apply pressure evenly and check that all edges are well adhered.

Step 4: Reveal your design
Once the HTV has cooled down, gently peel off the carrier sheet. And voila! You now have a beautiful bag with a cross stitch look, all thanks to your Cricut machine.
Please note: Always use caution when working with HTV and heat sources. Follow all manufacturer’s instructions.
So why wait? Download the free Cross Stitch Heart SVG file today and start crafting! Don’t forget to sign up for our exclusive content to get this SVG file and many more. Happy crafting!
Download the free cut file here!