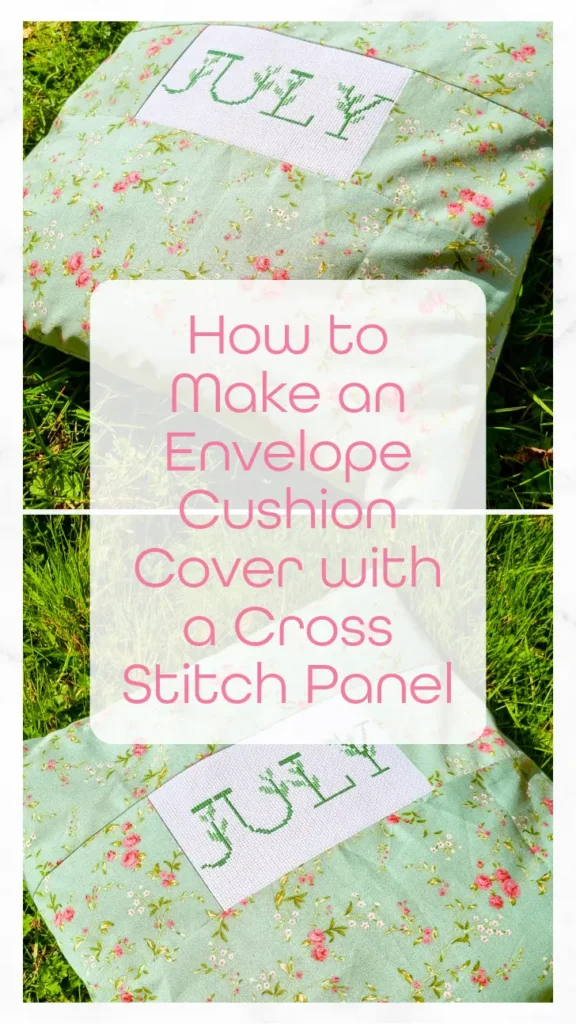
How to Make an Envelope Cushion Cover with a Cross Stitch Panel

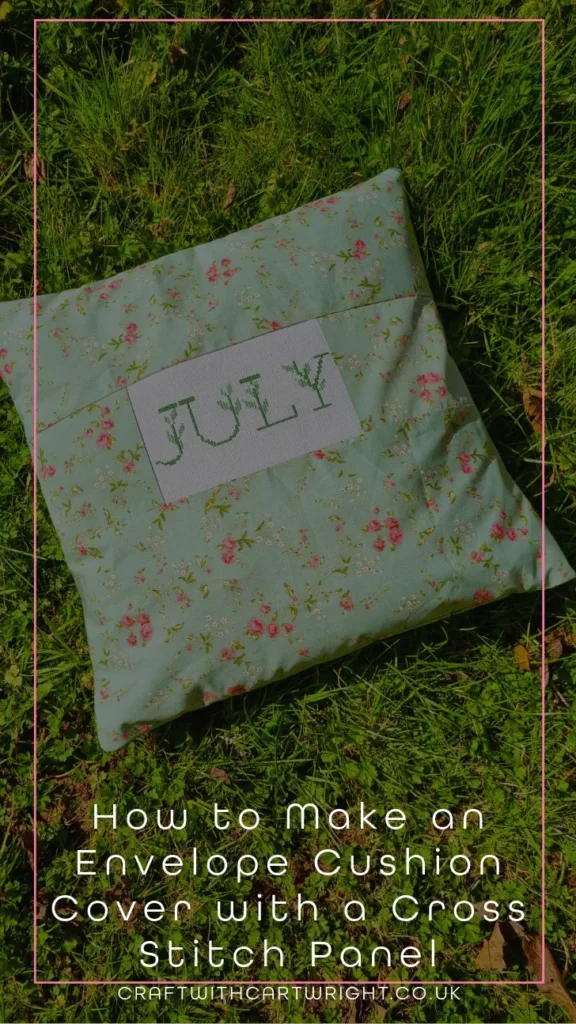
There’s something so satisfying about combining cross stitch with sewing, and this envelope cushion cover is a wonderful way to showcase your work. It’s a beginner-friendly project, perfect for adding a personal touch to your home or as a thoughtful handmade gift. The July Leaf cross stitch pattern featured on this cushion is available for free here.
Materials Needed:
- 1 finished cross stitch panel (on Aida or evenweave fabric, trimmed and pressed)
- Cotton fabric for the cushion cover (I used a soft floral print for a summery look)
- Matching thread
- Sewing machine (or you can hand stitch if preferred)
- Pins or clips
- Fabric scissors
- Iron
- Cushion pad (to fit your finished cover size, e.g., 16” x 16”)
Step 1: Prepare Your Fabric
- Measure and Cut:
- Cut four panels for the front of the cushion.
- Cut two pieces for the back, each the same width as the front but half the height plus an extra 3 inches (for overlap). For a 16” square cushion, cut two rectangles measuring 16” x 11” each.
- Hem the Back Panels:
- Take the two back pieces and fold one long edge of each over by ½ inch, then fold again to enclose the raw edge.
- Press and stitch along the folded edge to create a neat hem.
Step 2: Attach the Cross Stitch Panel
- Position the Cross Stitch Panel:
- Pin or clip the side panels either side of the cross stitch panel, right sides together.
- Stitch in Place:
- Using a straight stitch on your machine or a neat hand stitch, sew close to the edge of the cross stitch panel to secure it.
- Press and repeat with the top and bottom panels.
Step 3: Assemble the Cushion Cover
- Lay the Front Panel Right Side Up:
- Place your stitched front fabric piece on your work surface, right side facing up.
- Layer the Back Pieces:
- Place the two back pieces on top, right sides down, so the hemmed edges overlap in the center.
- Pin and Sew:
- Pin all around the edges, then sew with a ½ inch seam allowance. Reinforce the edges where the back panels overlap for durability.
- Trim and Finish:
- Trim the corners at an angle (without cutting the stitching) to reduce bulk, then turn the cushion cover right side out.
- Press and Insert the Cushion Pad:
- Give the cover a final press, then insert the cushion pad through the envelope opening.