FREE July – leaf cross stitch pattern
I really love the summer months and July is a special time for us as the schools break up. To celebrate I designed this simple counted cross stitch pattern for July in a leaf font.

Download the free pdf month chart and create a beautiful embroidery that you could use for tea towels, cushions table linen or simply frame.
It uses only two colours of embroidery floss and full count stitches. I’ve designed it to be stitched on 14 count aida, but if you wanted a smaller version it would look beautiful on 28 count even weave linen.
Pattern dimensions
- Grid Size: 86W x 28H
- Design Area: 6.00″ x 1.86″ (84 x 26 stitches)
- 2 DMC thread colours
How to download and print the pattern
You could simply right click and save as the image above, but for much higher quality pattern, plus the full floss and pattern sizing’s, head to the bottom of this post to download the printable PDF chart.
If you’ve never signed up to my exclusive content before, you’ll have to pop your email address in to access it, but you’ll only have to do that once and then you’ll have access to not only this beautiful pattern but all my exclusive content across the site!
Don’t forget to share your makes with me on twitter, Instagram , Facebook and TikTok just tag me with @craftcartwright so I spot them.
New to cross stitch?
Find everything you need in my beginners guide to cross stitch and 7 ways to master embroidery. Plus find lots of other great free charts on my cross stitch patterns page.

How to stitch the July - leaf cross stitch pattern
If you've never stitched before, then read through these simple instructions to help you stitch the July - leaf cross stitch embroidery pattern
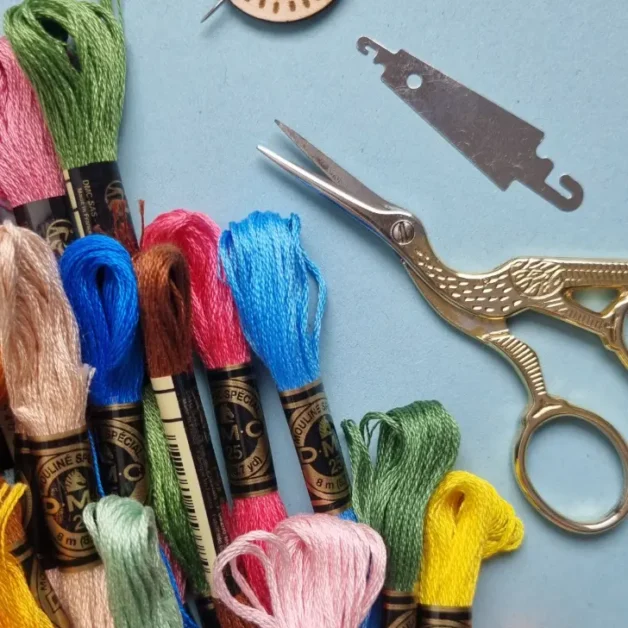
Materials
- 14 count white aida
- DMC embroidery threads -
- DMC-909
- DMC-912
Tools
- July - leaf cross stitch pattern
- Embroidery needle
- Embroidery hoop
- Embroidery scissors
- Optional - a thimble
Instructions
- Start by printing off your pattern and checking it's dimensions
- Cut the fabric to larger than the pattern dimensions and your hoop size
- Fold the fabric into quarter to identify the centre
- fit in your hoop
- Tighten the hoop to secure the fabric
- Find the centre of your pattern and the centre of your fabric design
- Start stitching from the centre, which will be the light grren leaves on the L
- Cut a length of embroidery floss no longer than the length of your arm
- Separate it into one strand and keep the remaining five for later
- Double the thread and thread your needle
- Start stitching from the front of your fabric, leaving a loop to thread your needle through on the first stitch to secure. Tug so that it moves to the back.
- Work your stitches all the in same direction, the bottom of the cross should always be the same in every stitch.
- Work in either individual crosses or for longer areas of stitch work the bottom arm of the cross stitch in a row and then stitch back over the row to do the top arm of the cross.
- To finish, ensure the needle is on the back of the fabric. Thread it through the underside of a few stitches and then snip off the loose end.
- Stitch all of the first letter, before switching to the next. Securing loose ends and snipping off to avoid seeing messy threads across the back of the fabric.
Don’t forget to Pin it for later!