How to make a cross stitch pincushion

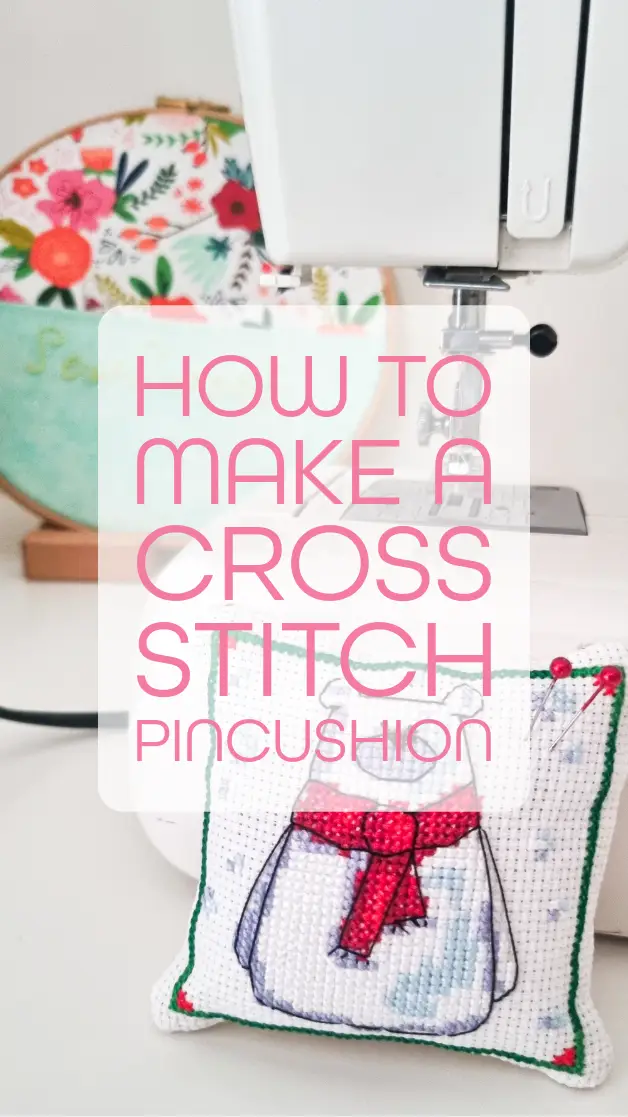
Here’s how to make a charming cross stitch pincushion. This delightful accessory not only adds a touch of personality to your crafting space but also serves as a practical and beautiful tool for keeping your pins in order.

Materials:
- Aida fabric
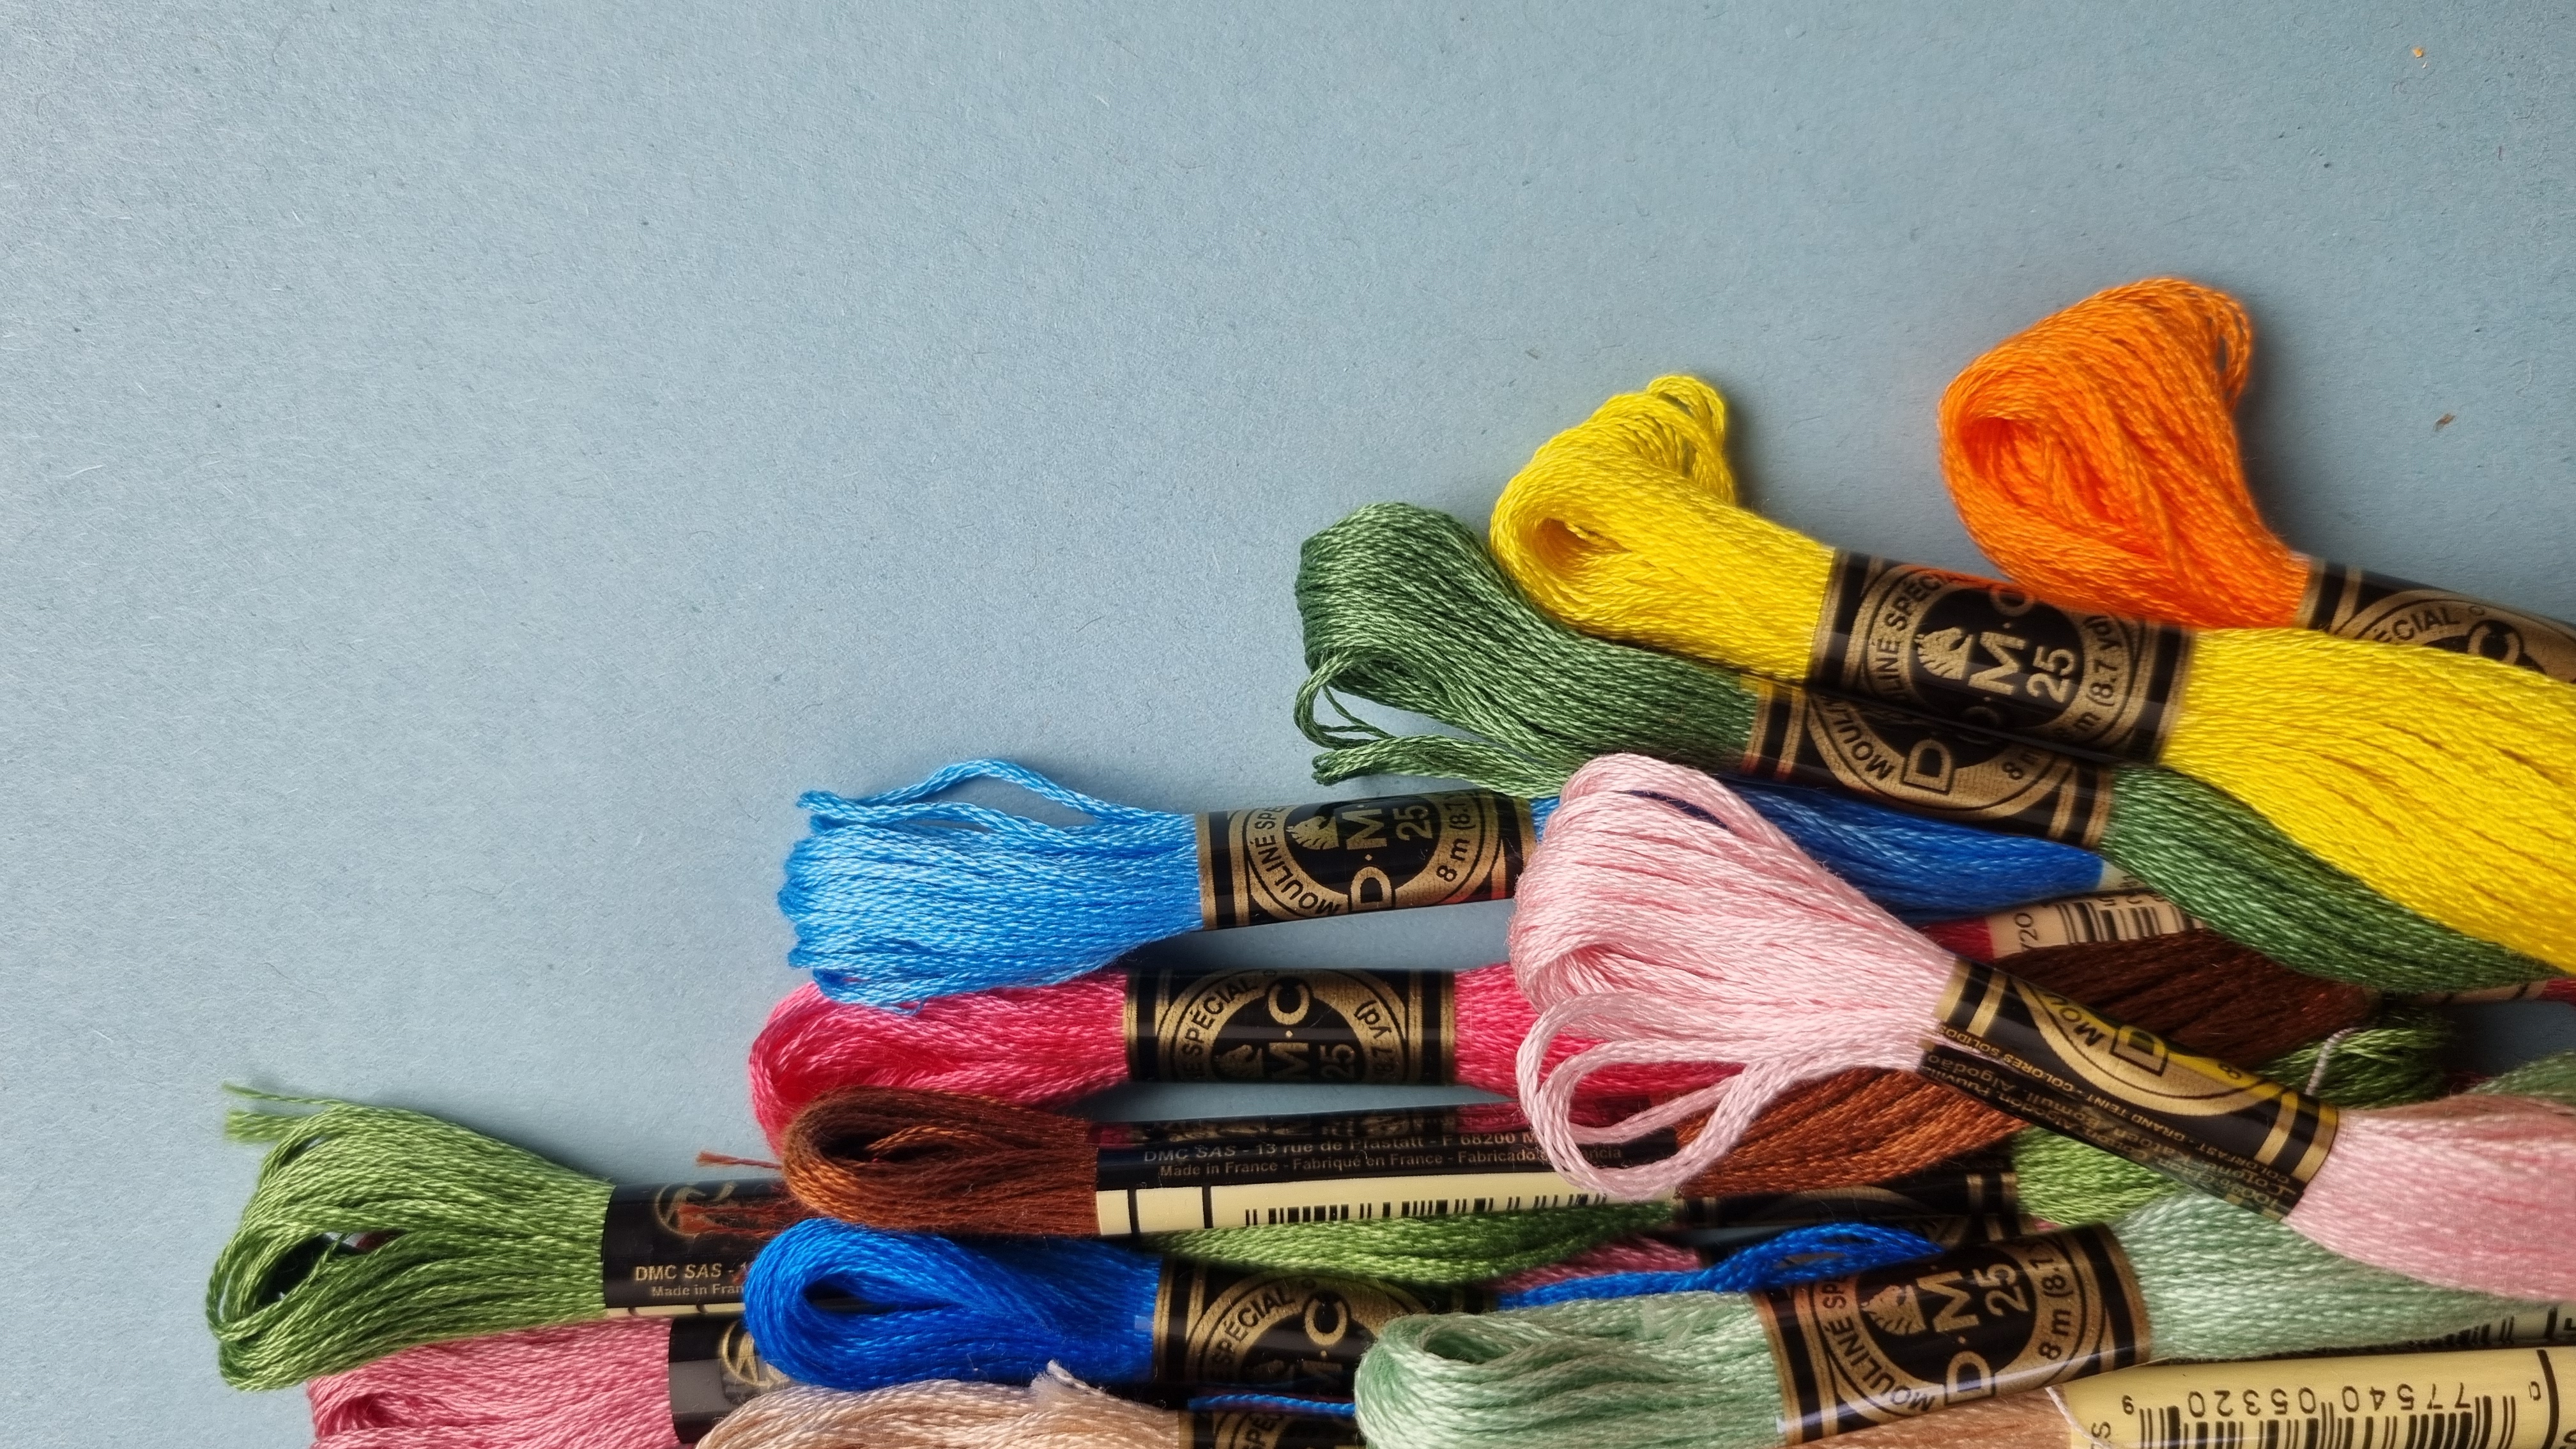
- Embroidery floss in various colours
- Cross stitch needle
- Embroidery hoop
- Scissors
- Sewing machine
- Thread
- Fabric for the backing
- Filling material (polyester filling)
Step 1: Choose Your Design
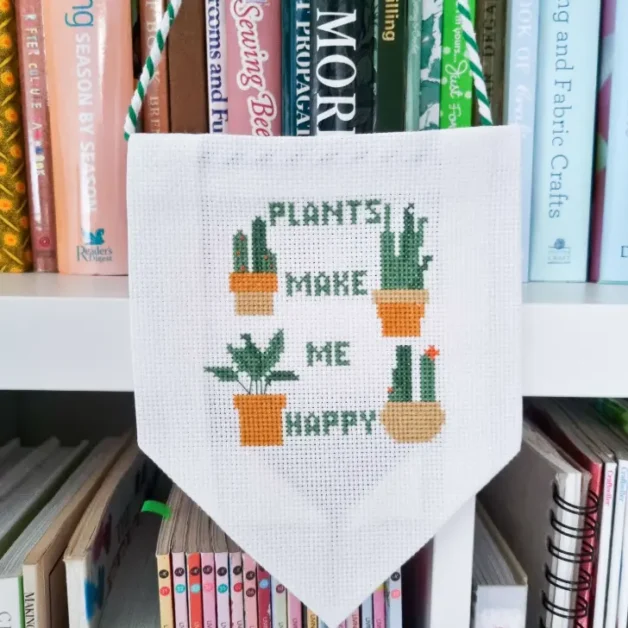
Begin by selecting a cross stitch pattern for my pincushion, I went with my Cosy Christmas bear cross stitch pattern as it had a square boarder. Whether it’s a simple geometric pattern or an intricate floral design, make sure it fits within the dimensions of your chosen fabric.
Step 2: Prepare the Fabric
Placed your Aida fabric in the embroidery hoop, ensuring it was taut. This helps create even stitches and makes the cross stitching process smoother.
Step 3: Thread the Needle
Separating the embroidery floss into individual strands (usually, two strands work well for cross stitching), thread your needle with a single thread doubled, to start with a loop to secure.
Step 4: Cross Stitching
Following your chosen pattern, stitch each cross carefully. Begin from the centre of my design and worked your way outwards. Taking your time, to ensure each stitch is neat and even.
Step 5: Finishing the Cross Stitch
Once your design was complete, secure the thread at the back of the fabric by tucking the needle under a few of the previous stiches and trim any excess. Then removed the fabric from the embroidery hoop, press and cut to size. I had a one inch boarder around my design.
Step 6: Backing Fabric
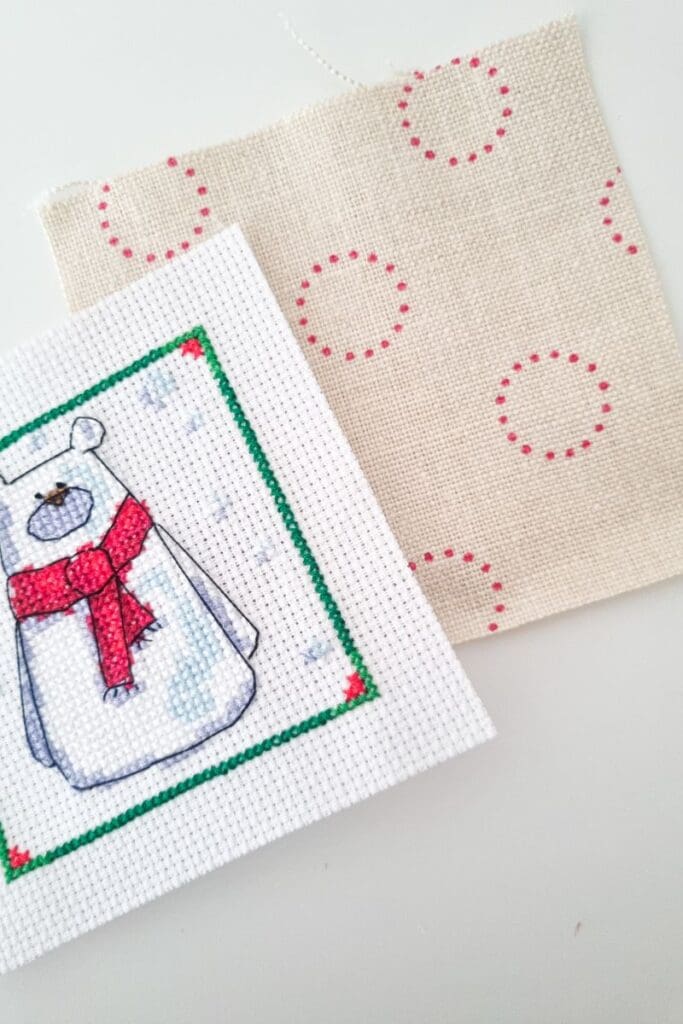
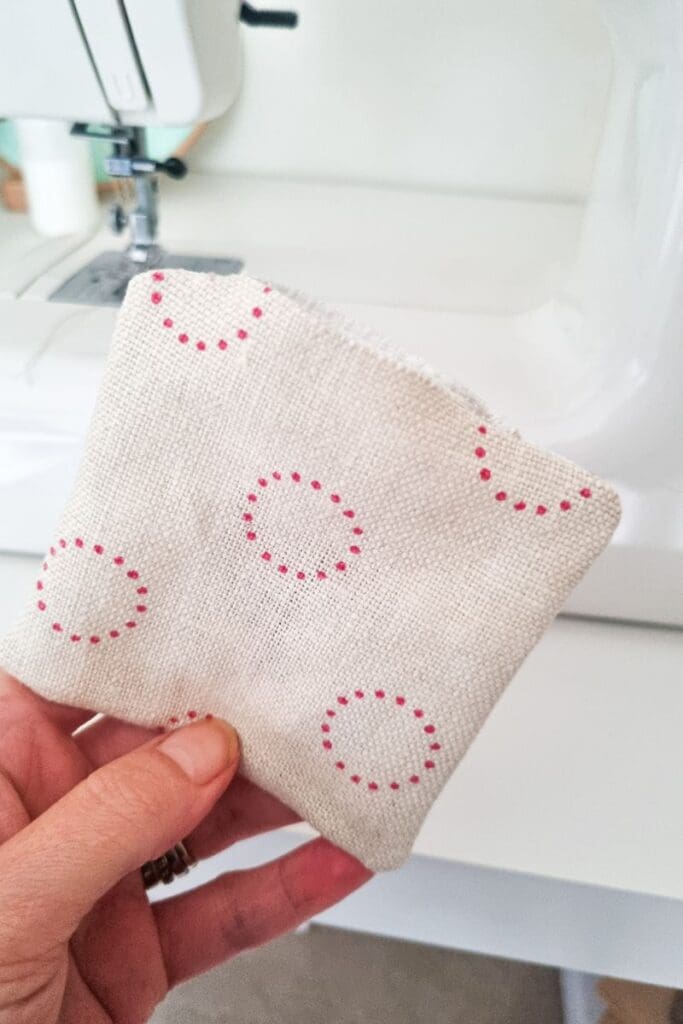
Cut a piece of fabric for the backing, the same size as the cross-stitched piece.
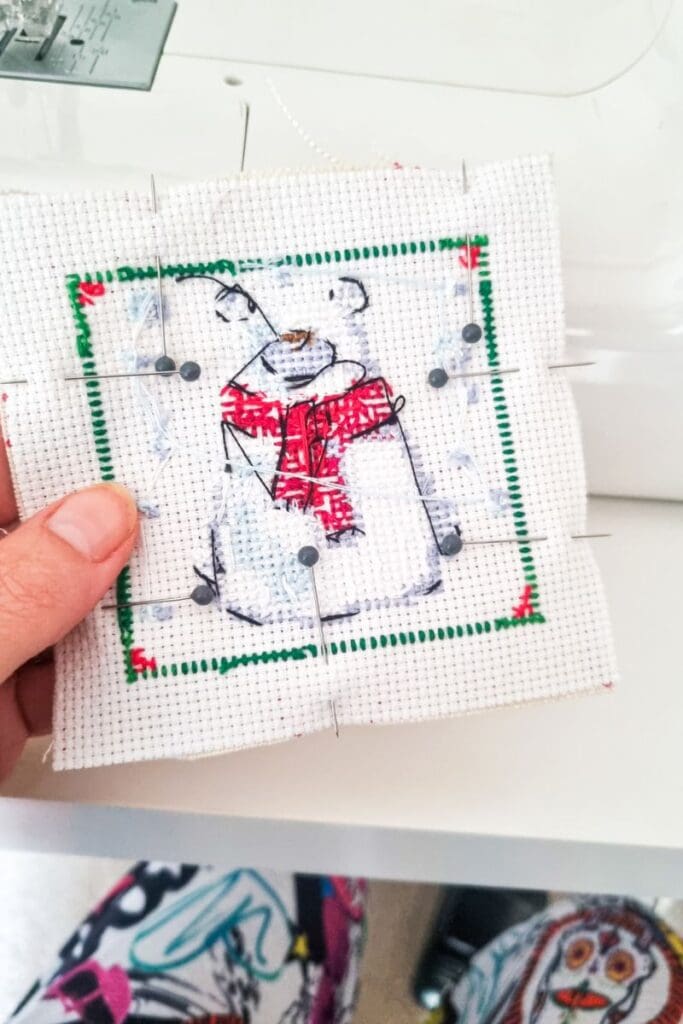
Place the cross-stitched fabric and the backing fabric right sides together.

Pin and machine sew around the edges, leaving a small opening.
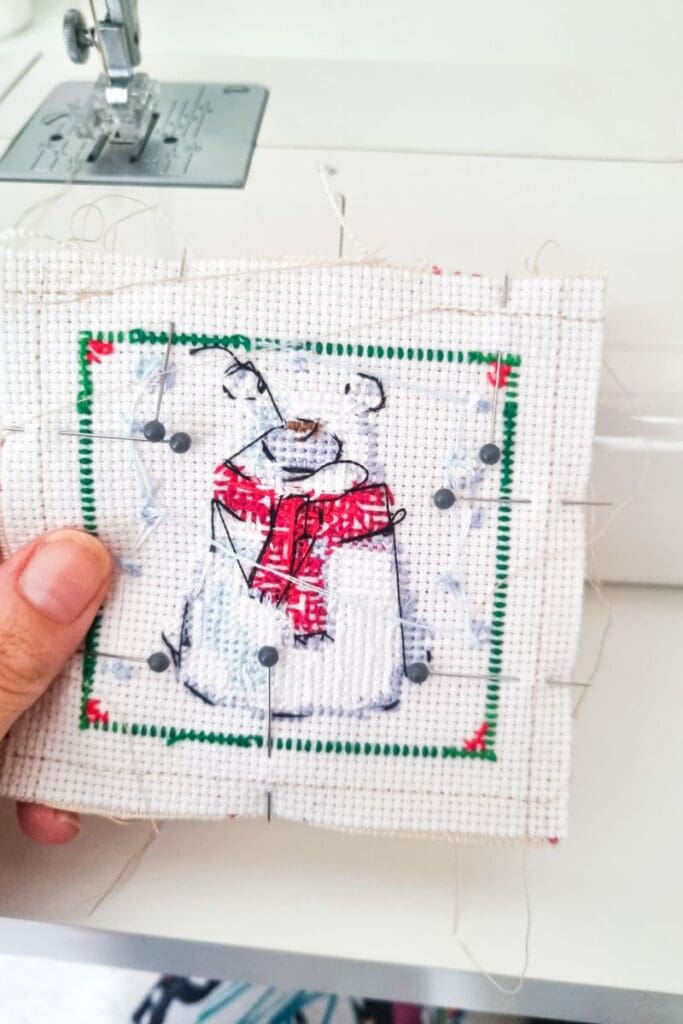
Step 7: Fill and Close
Trim the seams and snip the corners.

Turn the pincushion right side out through the opening.

Filled it with chosen filling material.
– polyester filling for a soft pincushion or crushed walnut shells for added weight.
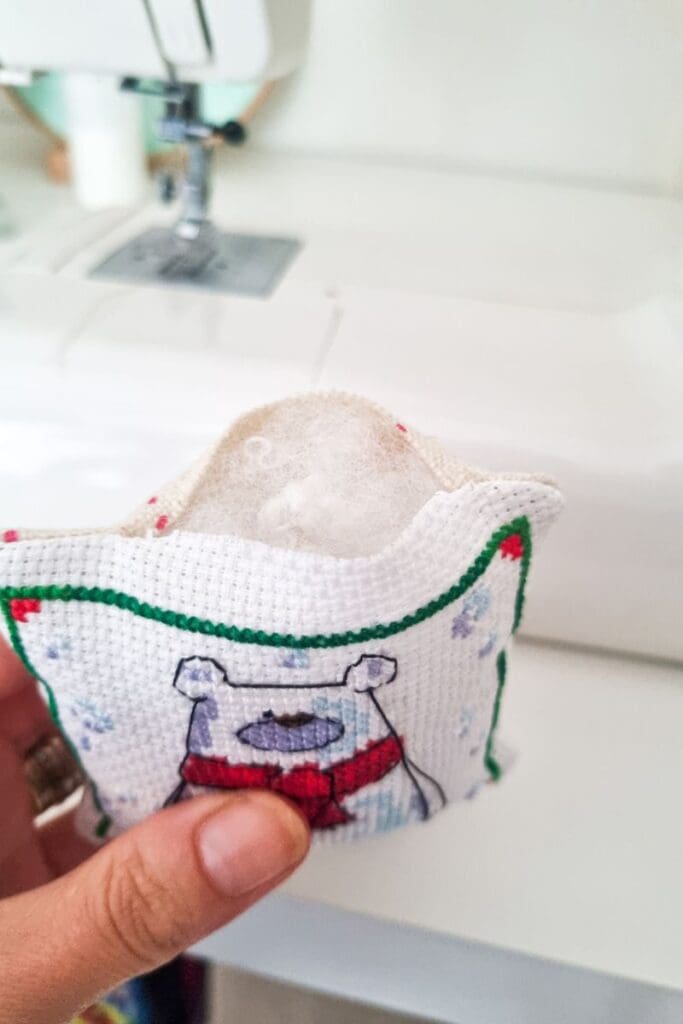
Tuck the open edges in neatly and pin in place.

Hand-sew the opening closed.

Step 8: Final Touches
Trim loose threads and giving the pincushion a final fluff. Your personalised cross stitch pincushion is now ready to add a touch of handmade charm to your crafting space.