How to use patterned HTV to make a Halloween Tote

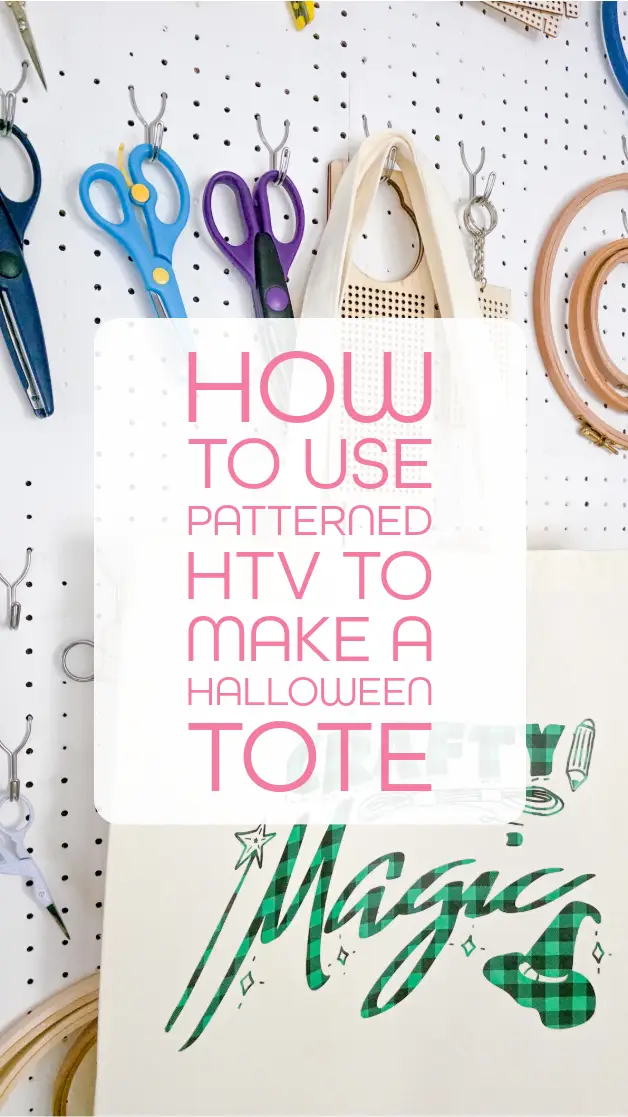
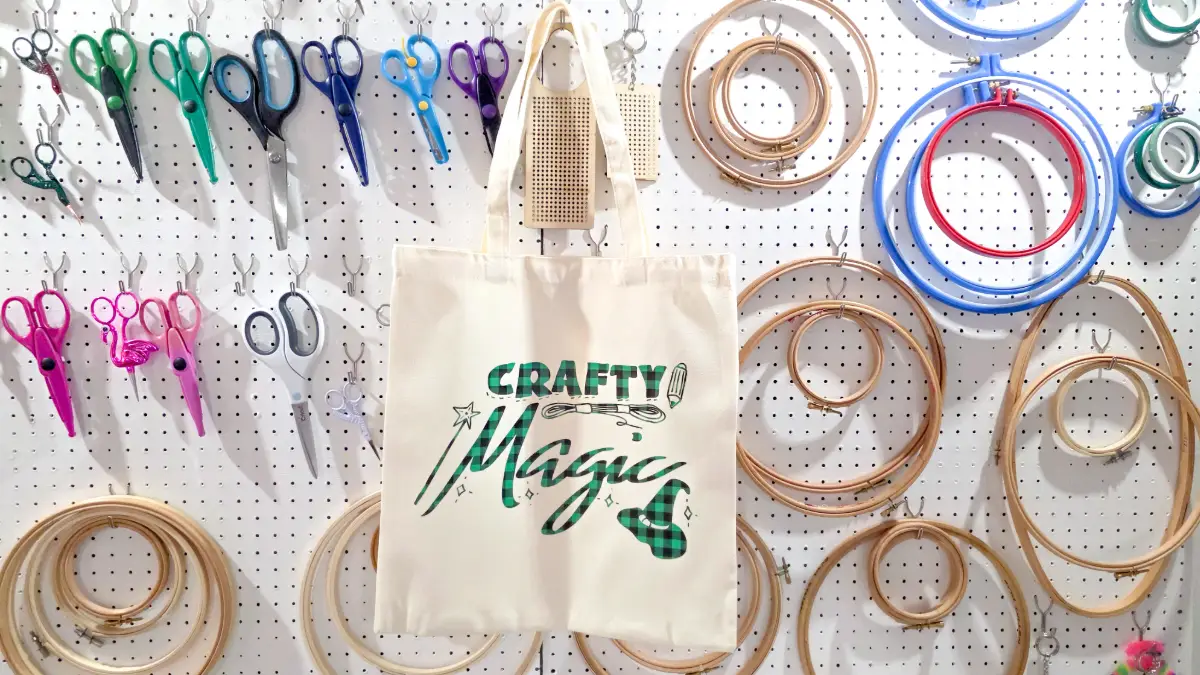
Halloween is the perfect time to experiment with fun materials, and patterned HTV is one of the easiest ways to add instant spooky magic to your designs. Let me show you how to use patterned HTV to make a fun Halloween tote! Don’t forget you can also download the free svg featured in this project at the bottom of this post.
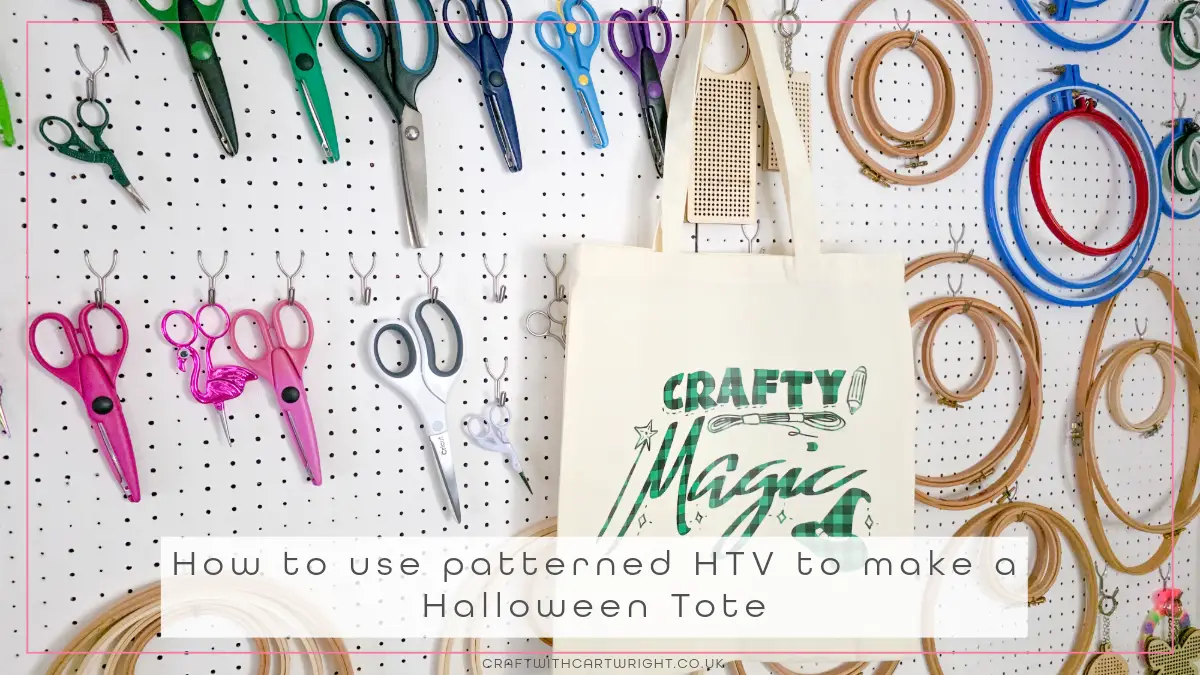
To make the tote you will need
- canvas tote bag
- patterned htv
- Auto Heat Press 2
- cutting machine
- weeding tools
- free crafty magic svg (download at the bottom of this post)
Step 1: download the crafty magic svg
Download the free crafty magic svg and upload it into your cutting software. Resize it to fit the front of your canvas tote. Measuring the flat area of the tote first will help you decide on the best scale for your design.
Step 2: cut your patterned htv
Place your patterned htv shiny side down on your cutting mat. Mirror your design before cutting. Patterned htv still needs to be mirrored because you cut from the back.
Cutting settings:
- Cricut – standard blade, Iron on
- Silhouette – blade 1, speed 5, Force 8, passes 2, material smooth
- Loklik iCraft – Fine point blade, Force 6.5, 1 pass
Step 3: weed the design
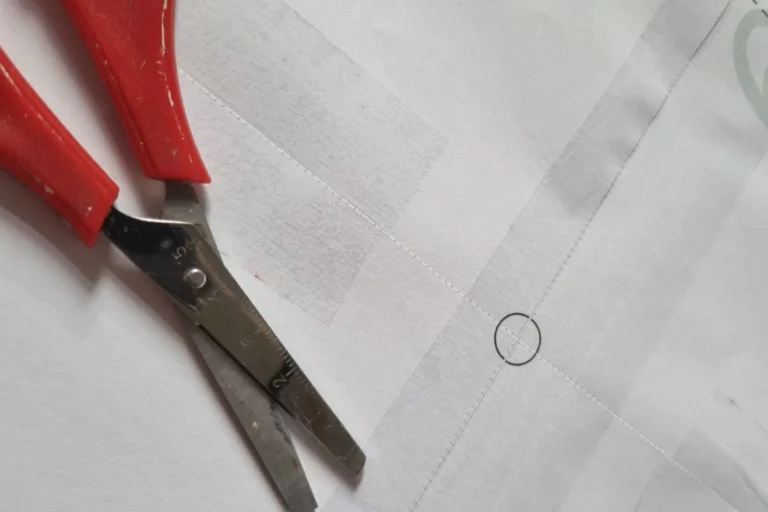
Weed away the excess vinyl, leaving only the design on the carrier sheet. Patterned htv should weed smoothly, but take your time around any small details. Trim the carrier sheet down to avoid an outline appearing when pressing on your tote.
Step 4: press your design
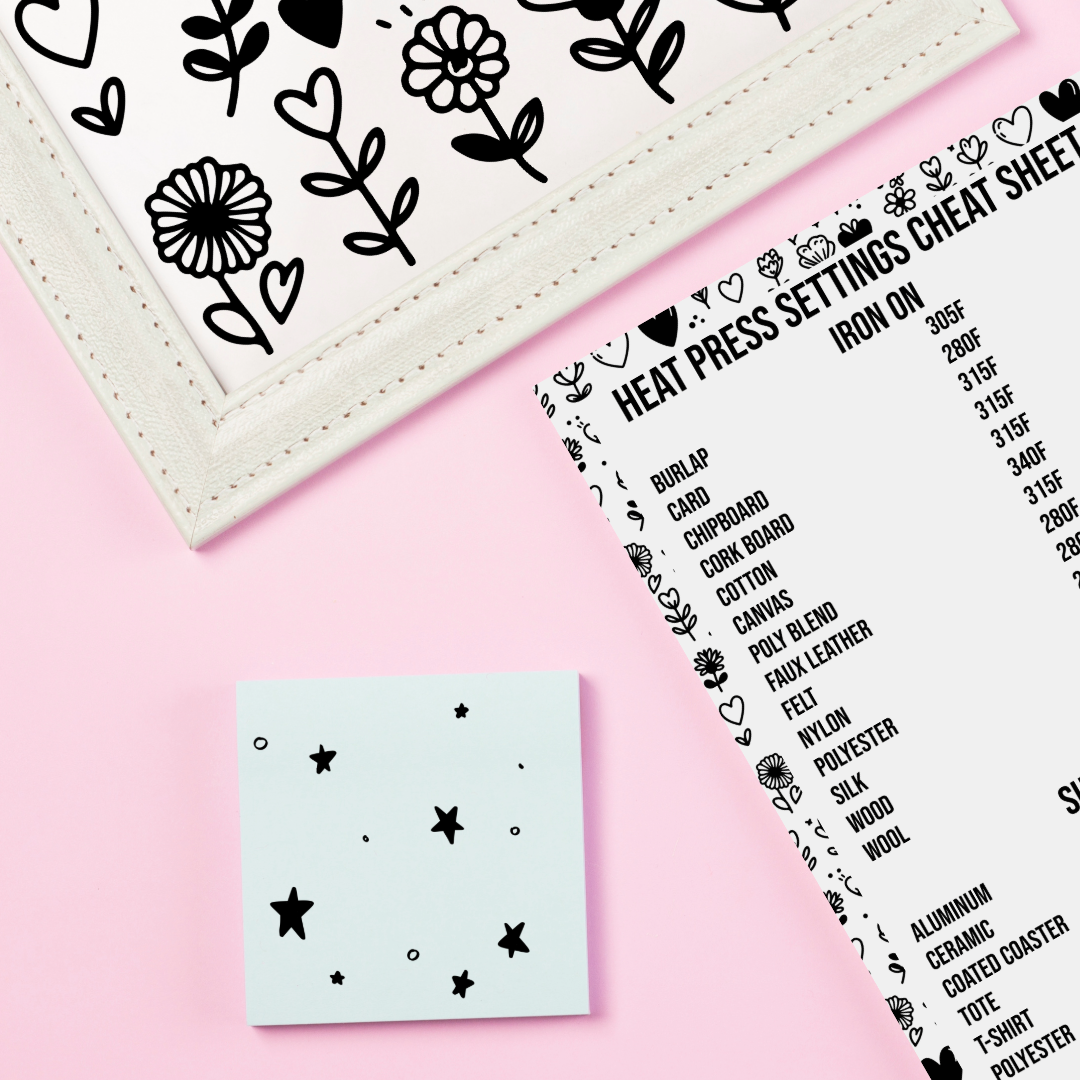
Preheat your tote for a few seconds to remove moisture. Position your patterned htv design on the tote. Use the recommended settings for patterned htv on your heat press.
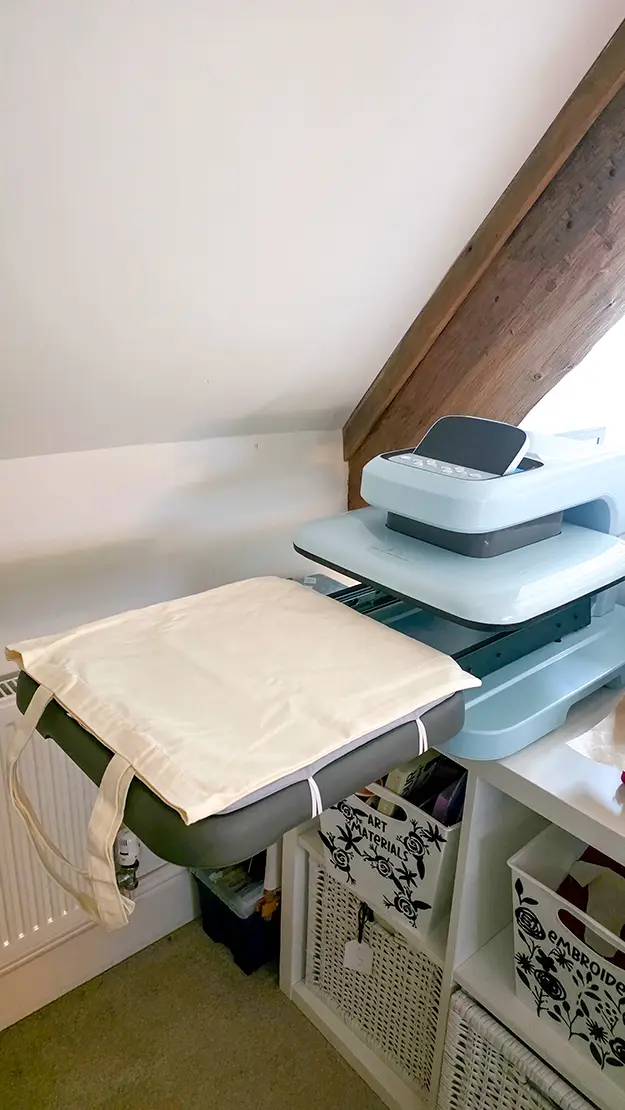
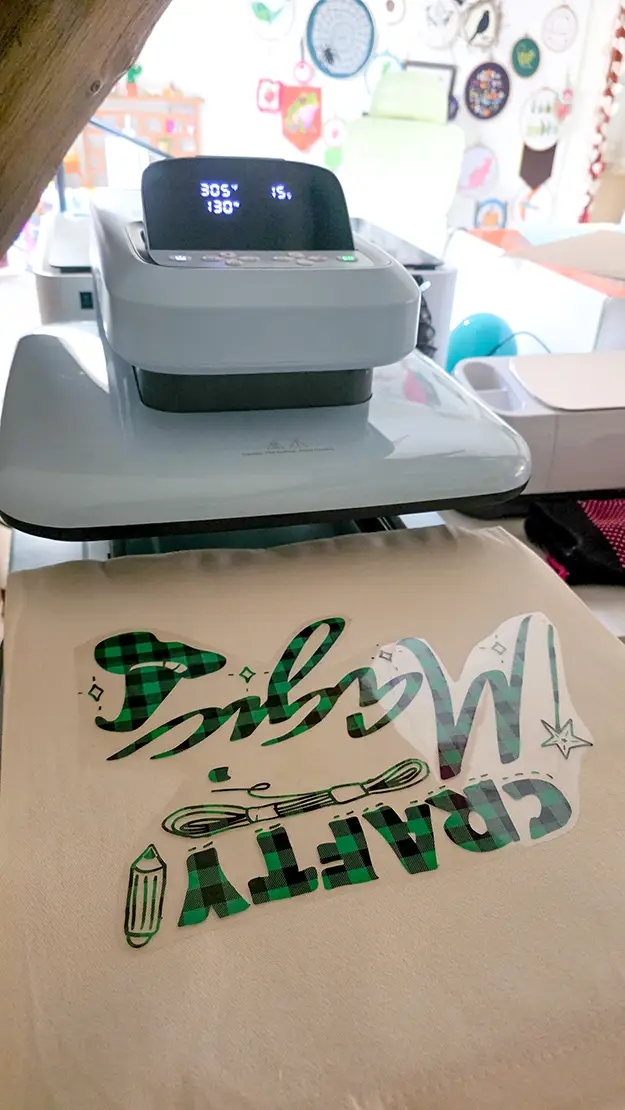
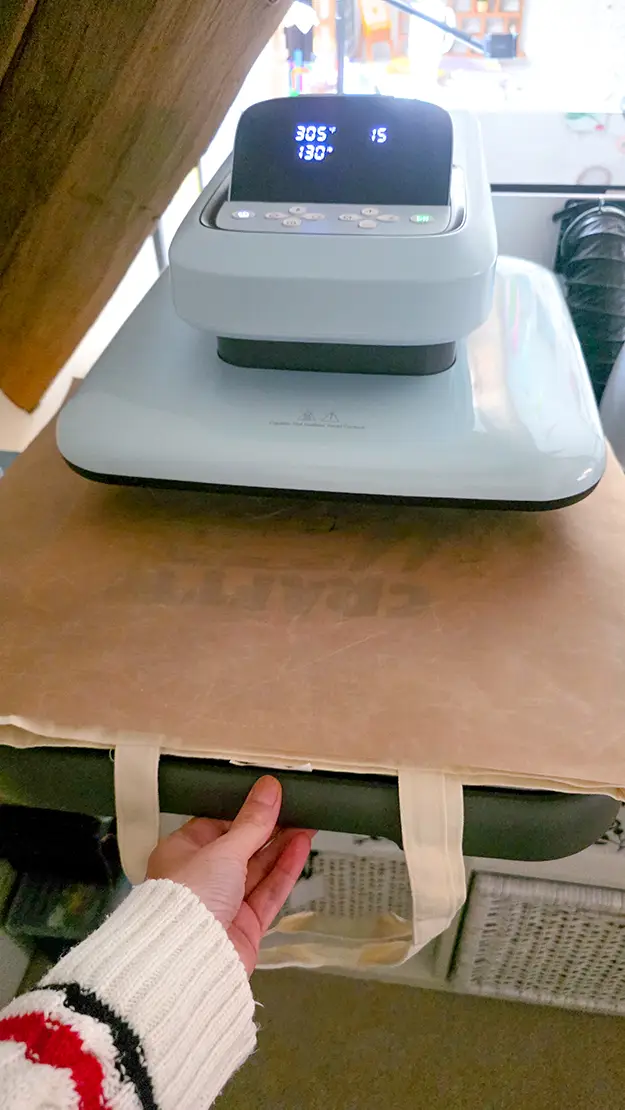
I used the HTVRONT Auto Heat Press 2 with their patterned vinyl. Use code Ruth10 for $52 off
My settings were: 305f, medium pressure, for 15 seconds. Cool peel.
Download the free crafty magic svg
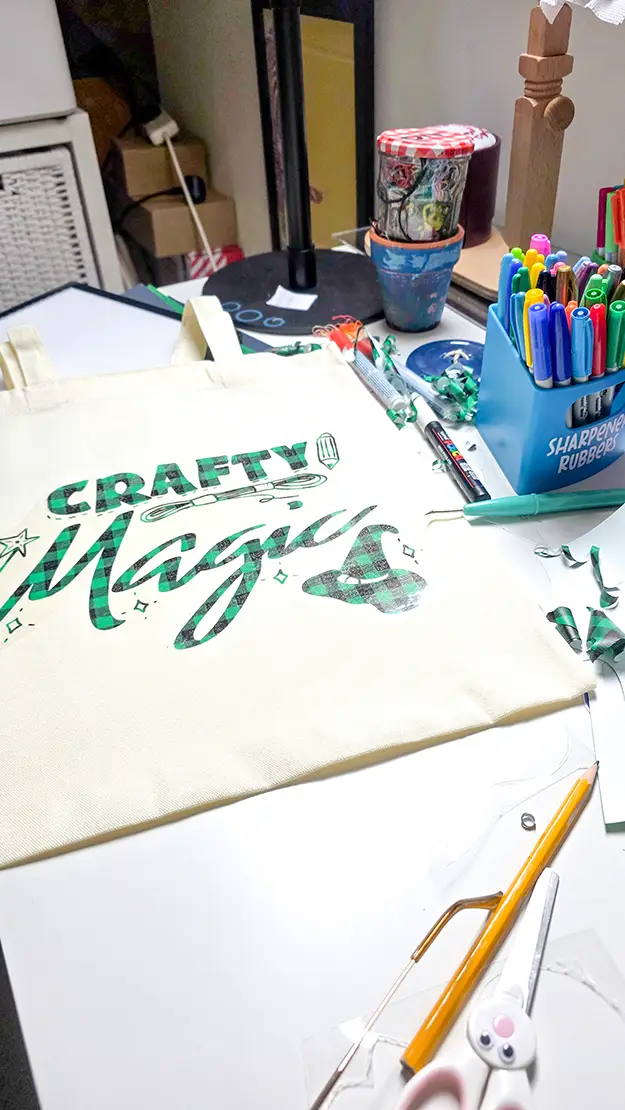
You can download the crafty magic svg for free and make your own version of this tote. Or try it on wooden signs, shirts, hoodies or even cardstock.